Murphy Ultralight
Carbon Dome 2 - Ultralight Backpacking Tent
Carbon Dome 2 - Ultralight Backpacking Tent
Couldn't load pickup availability
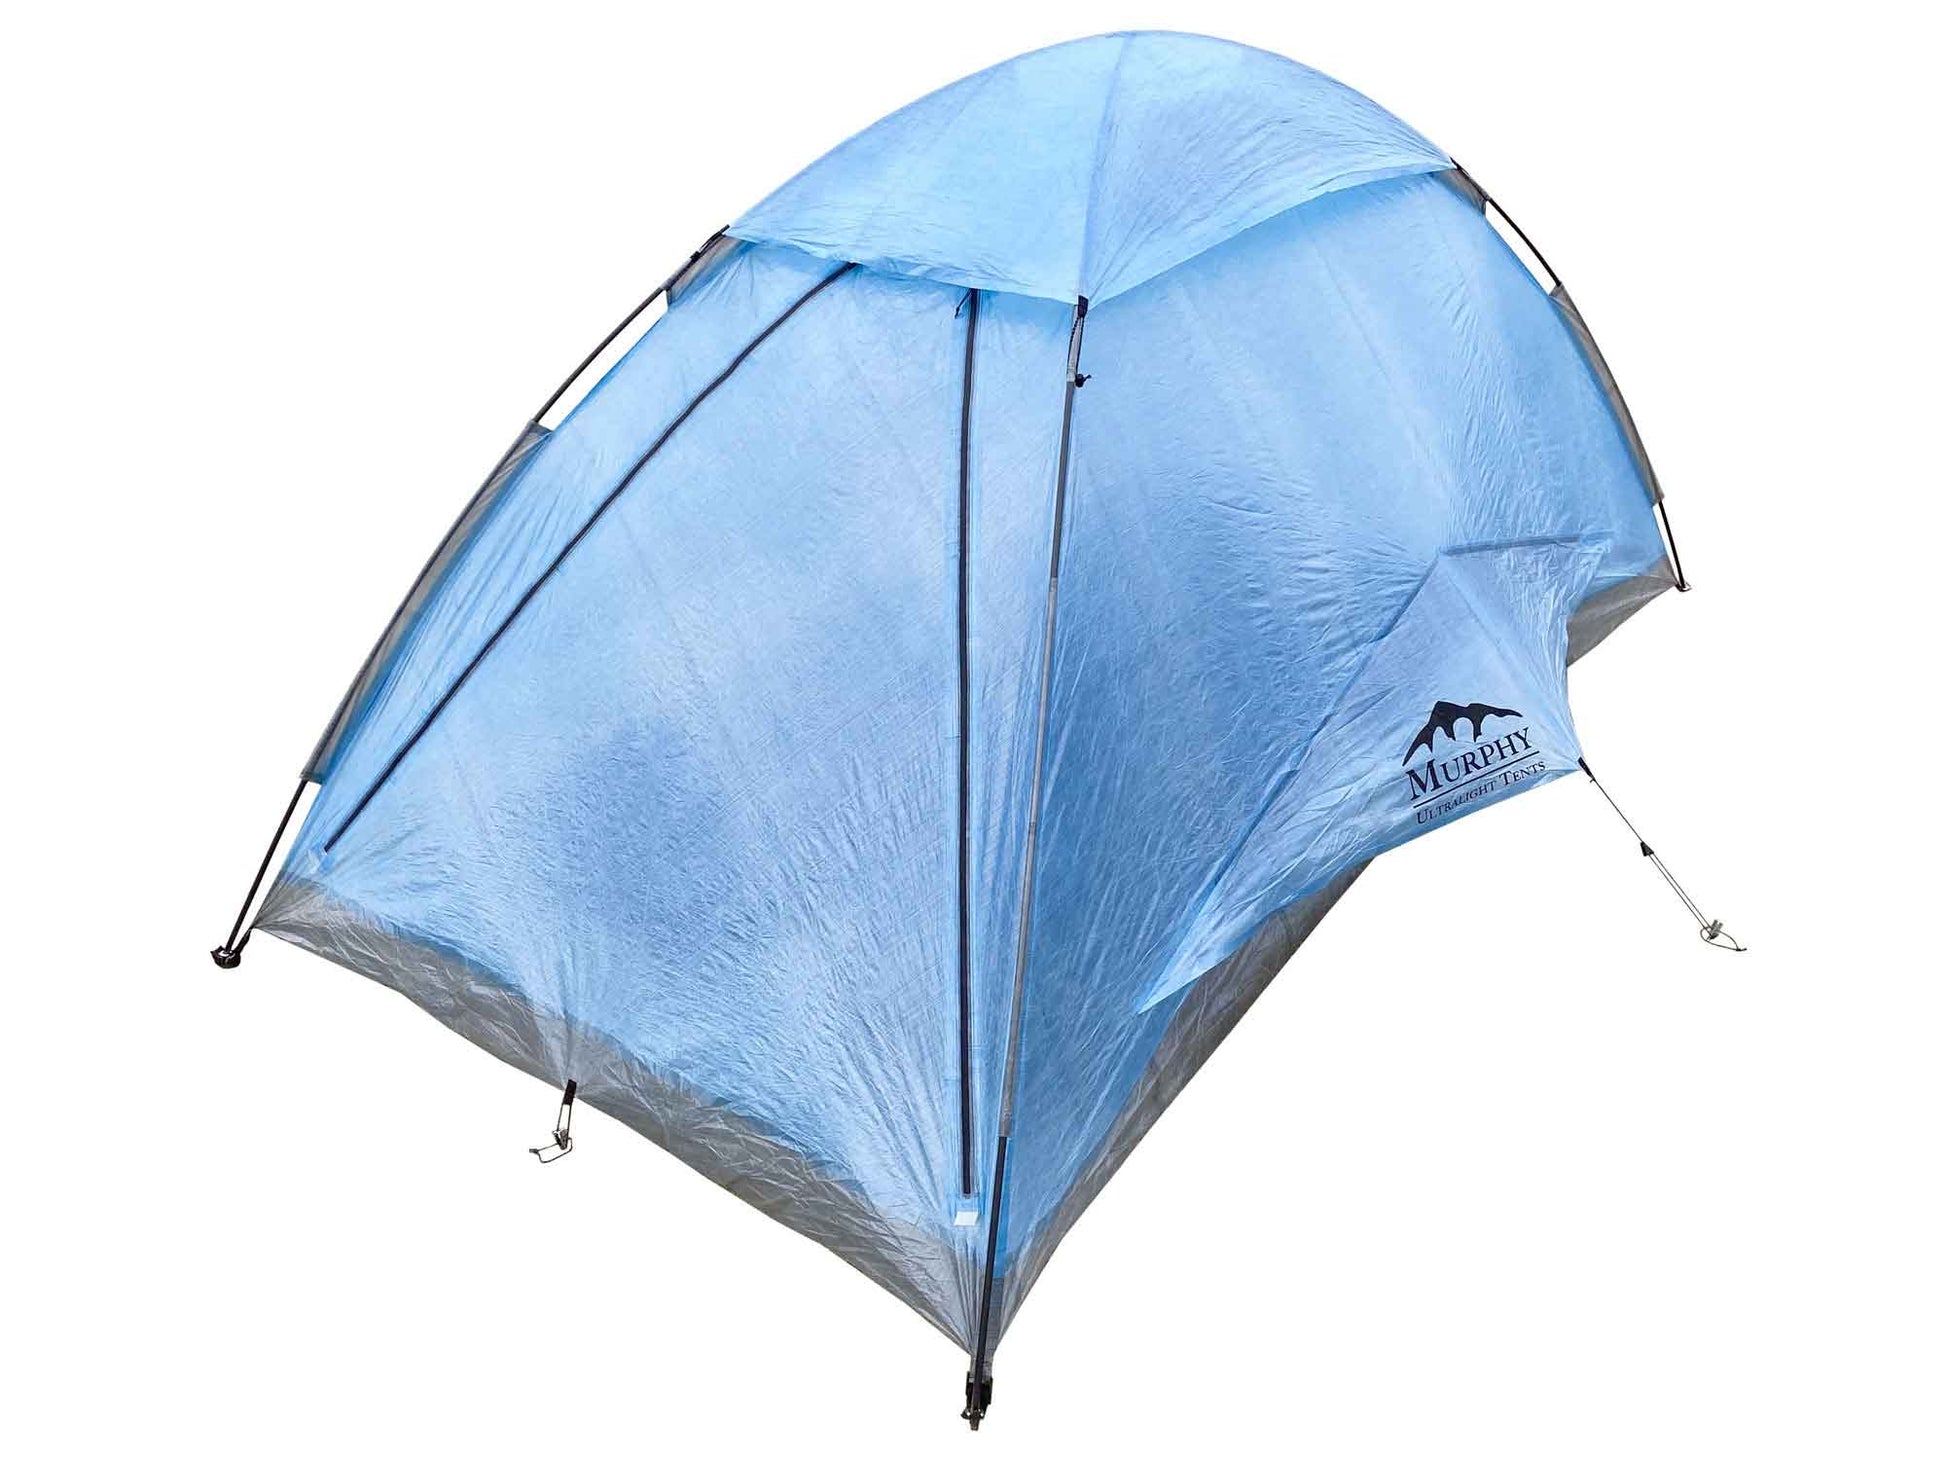
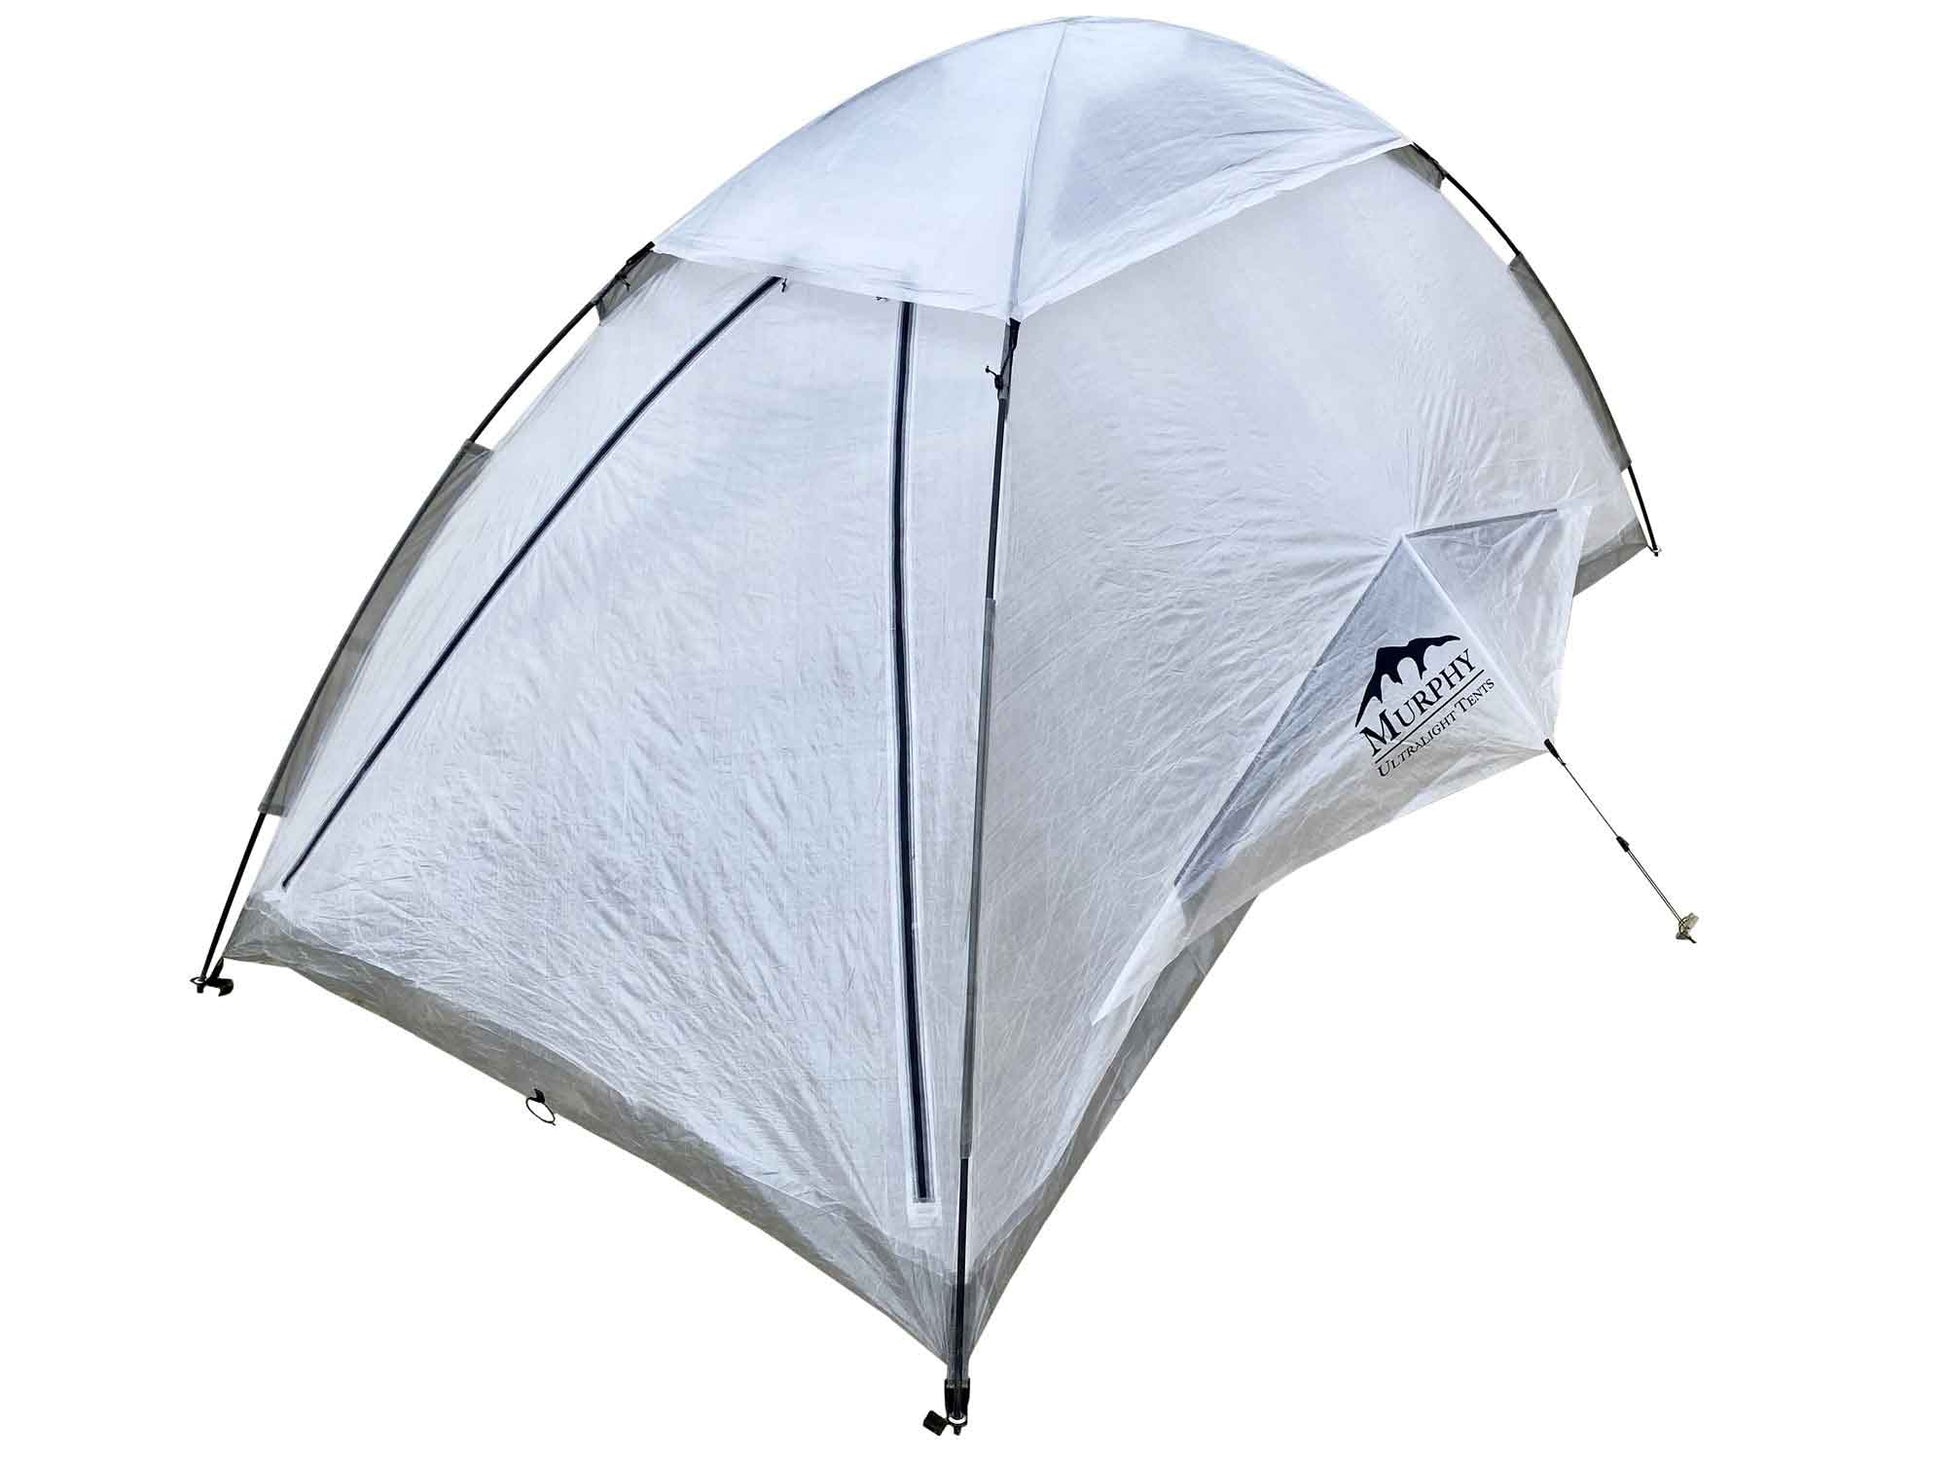
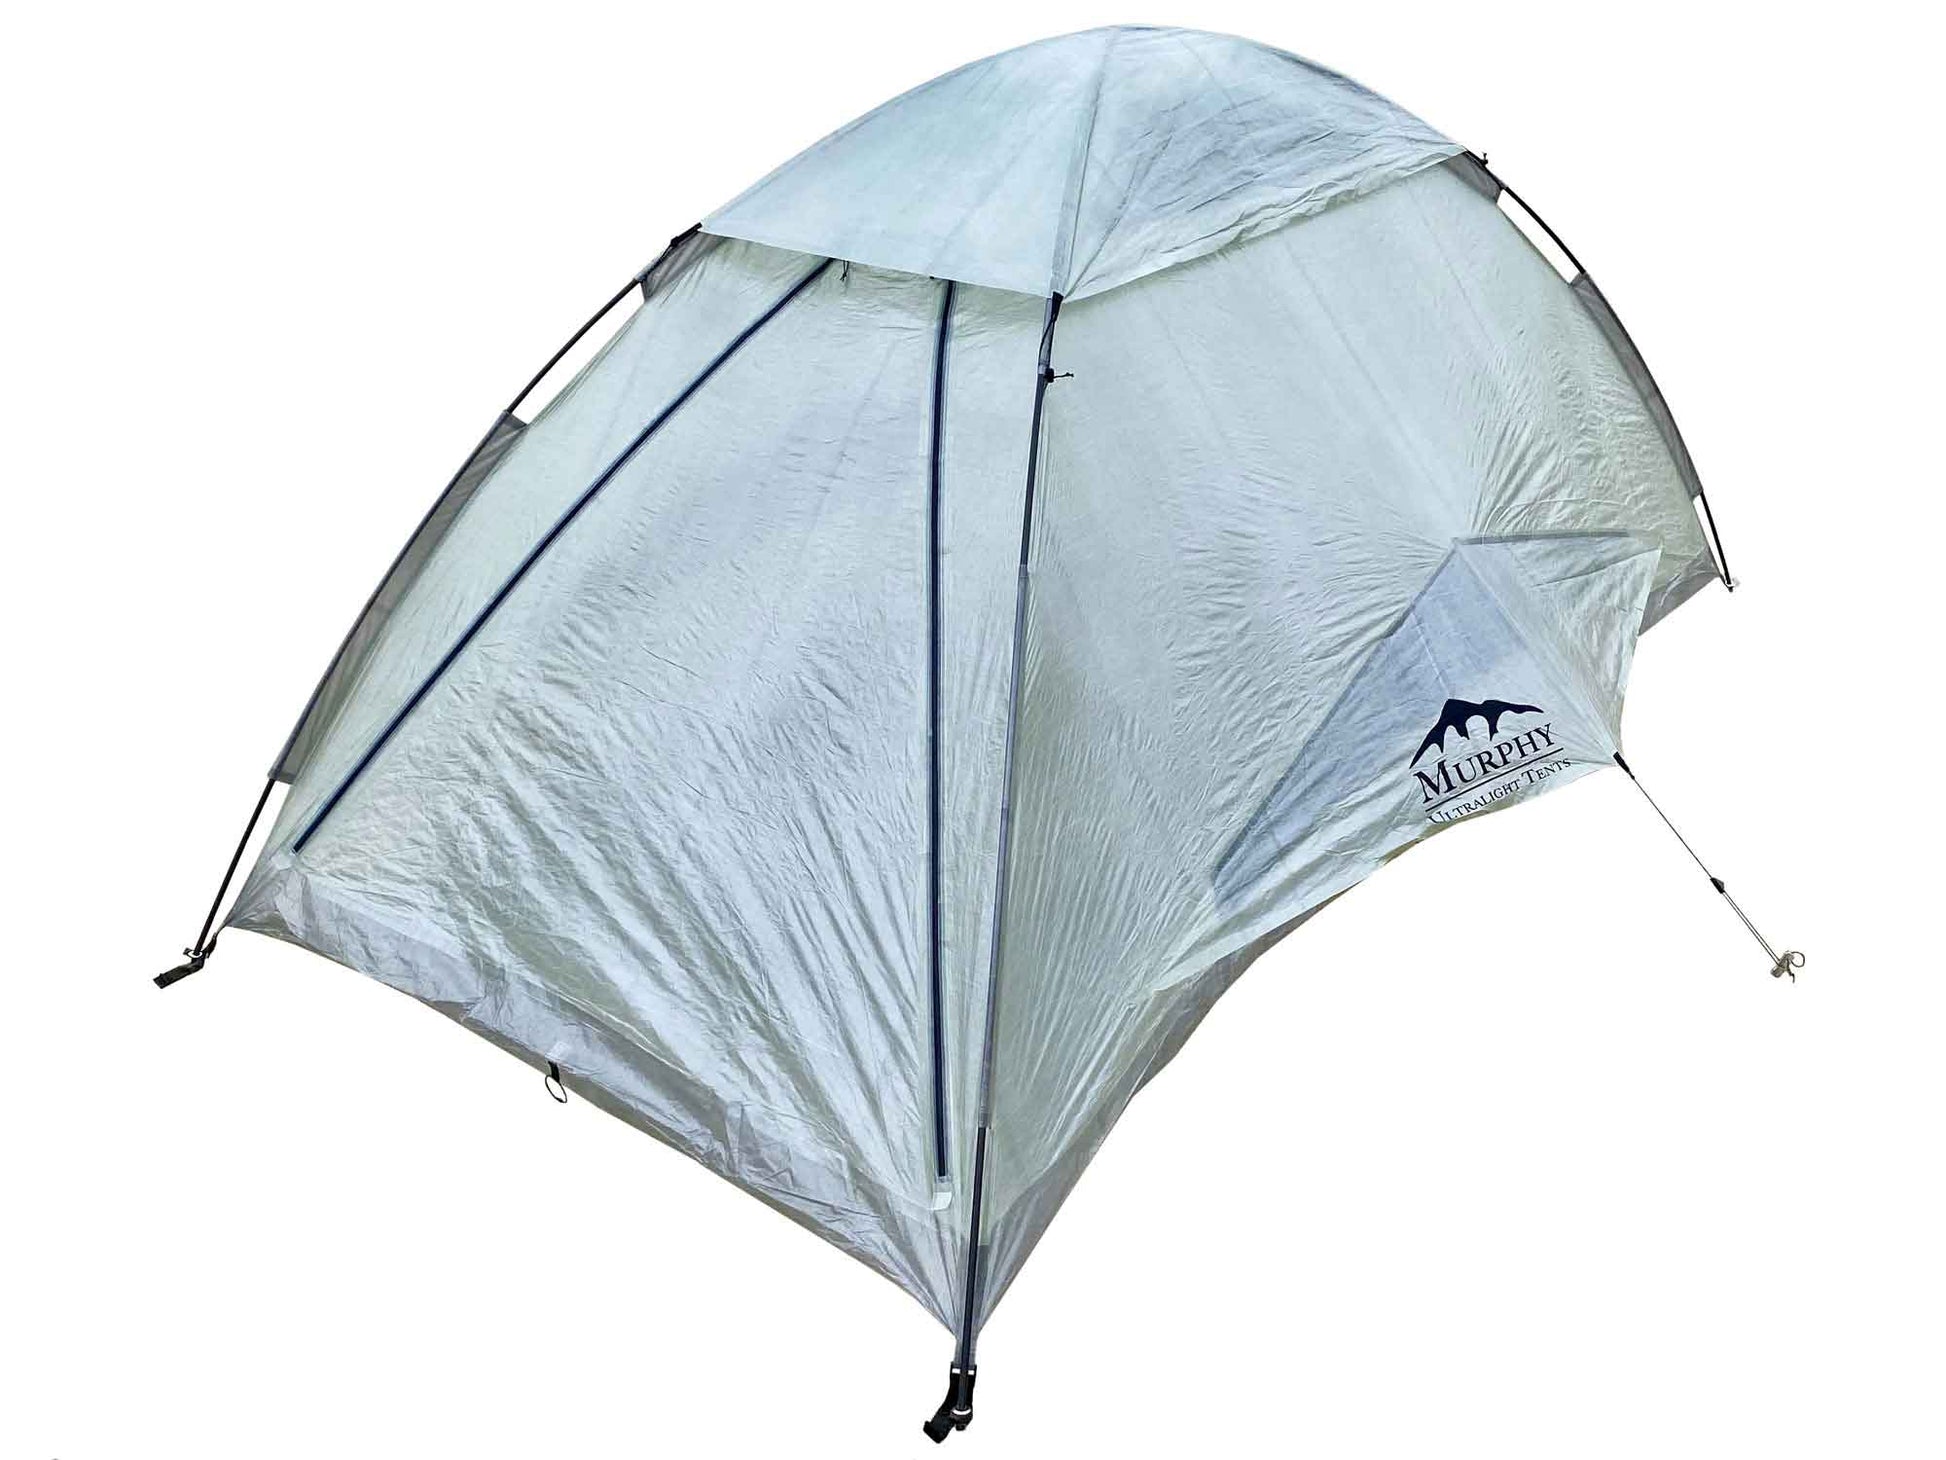
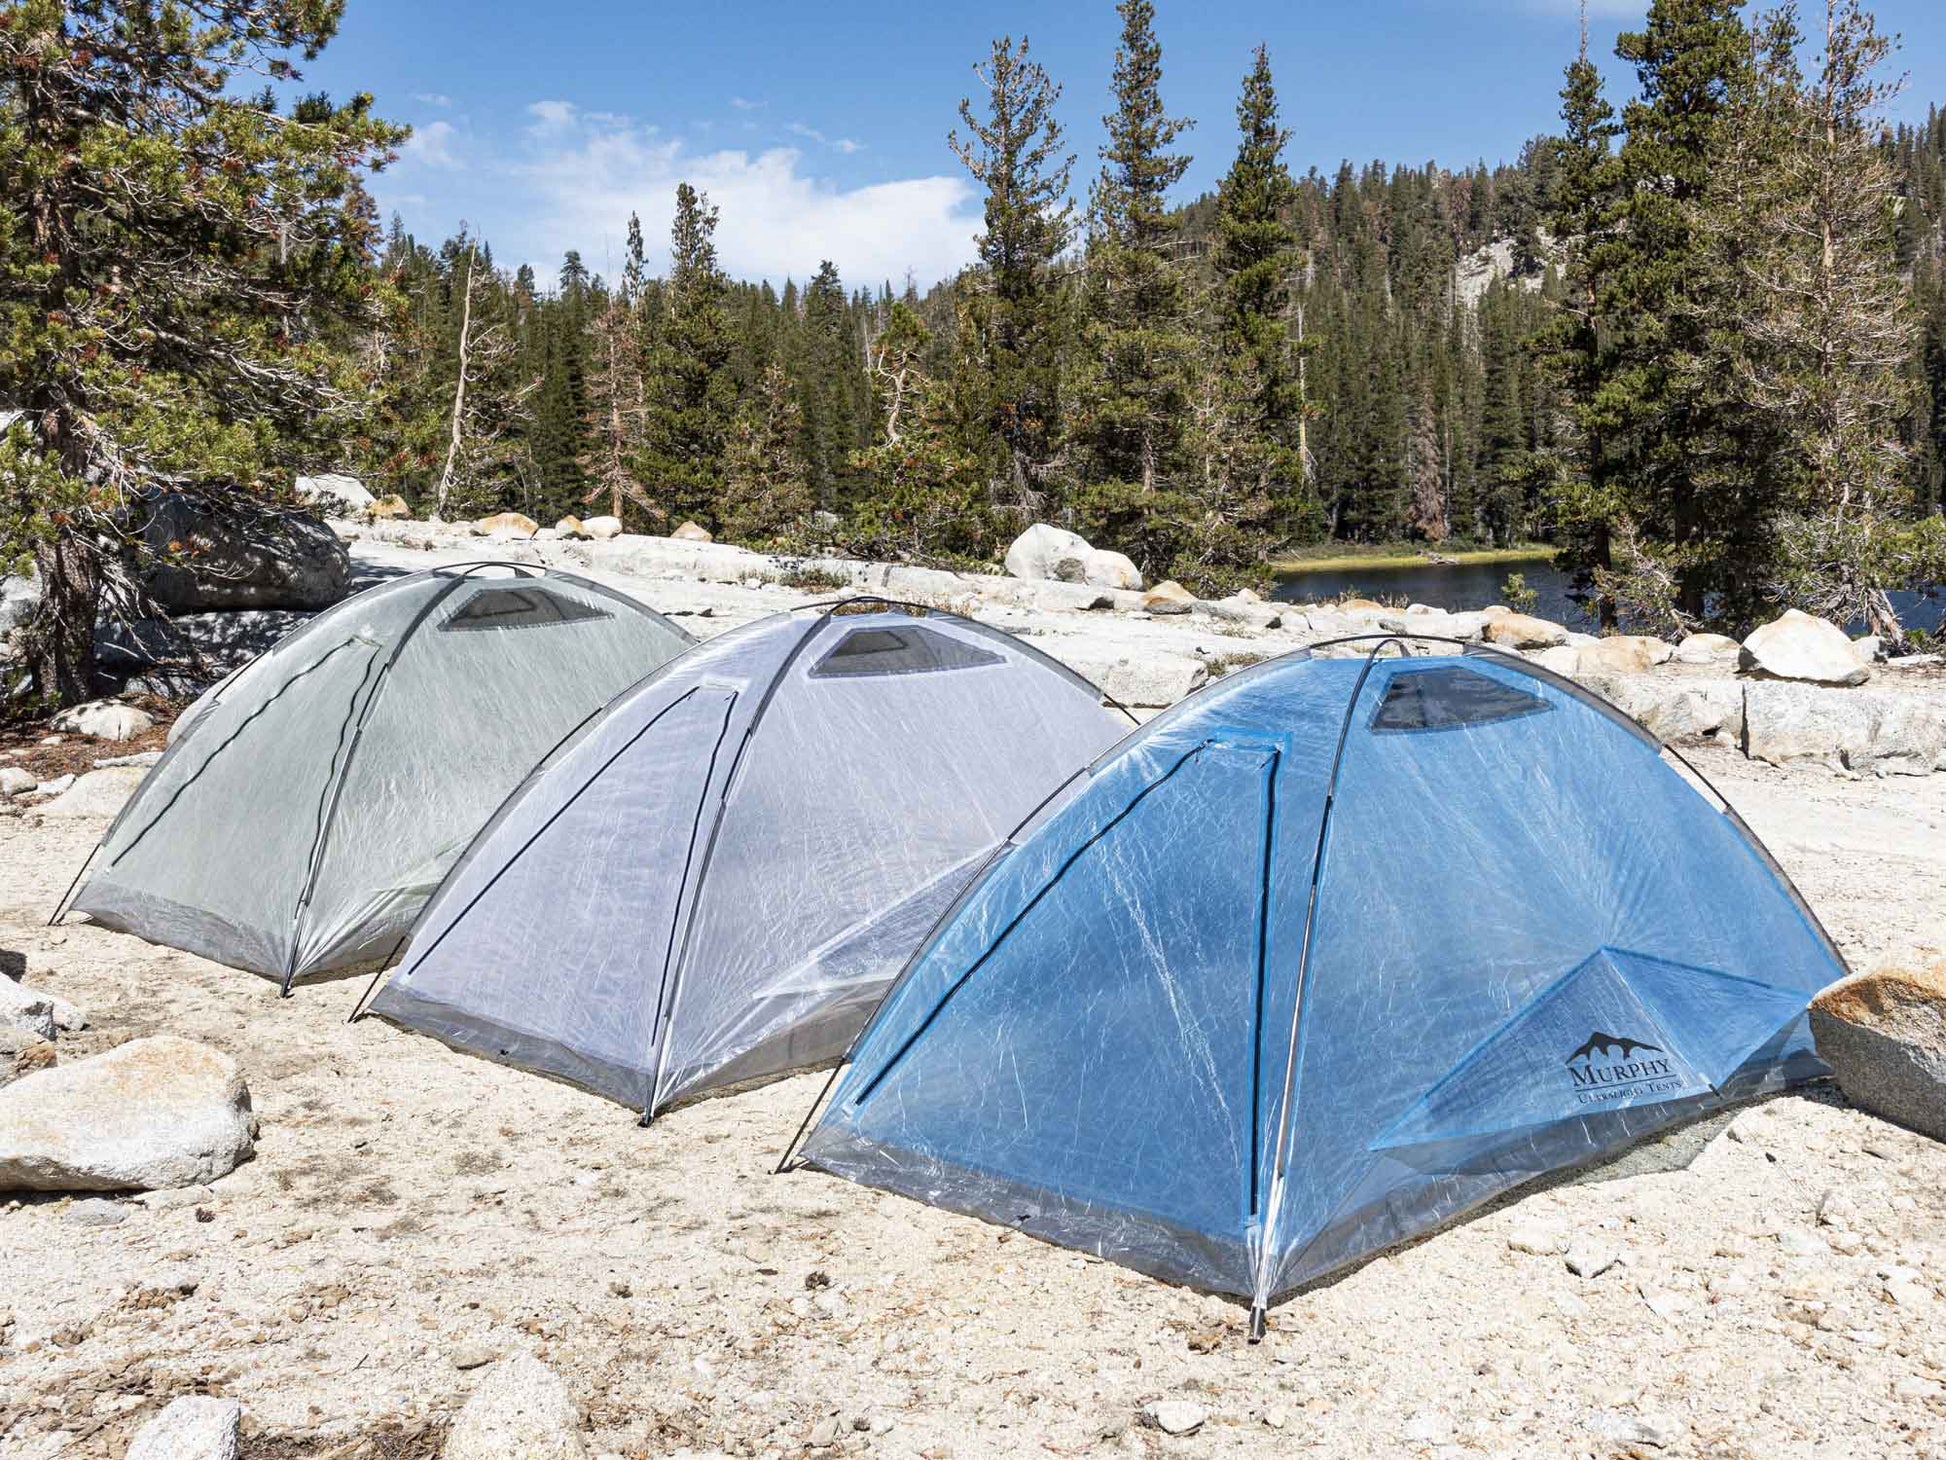
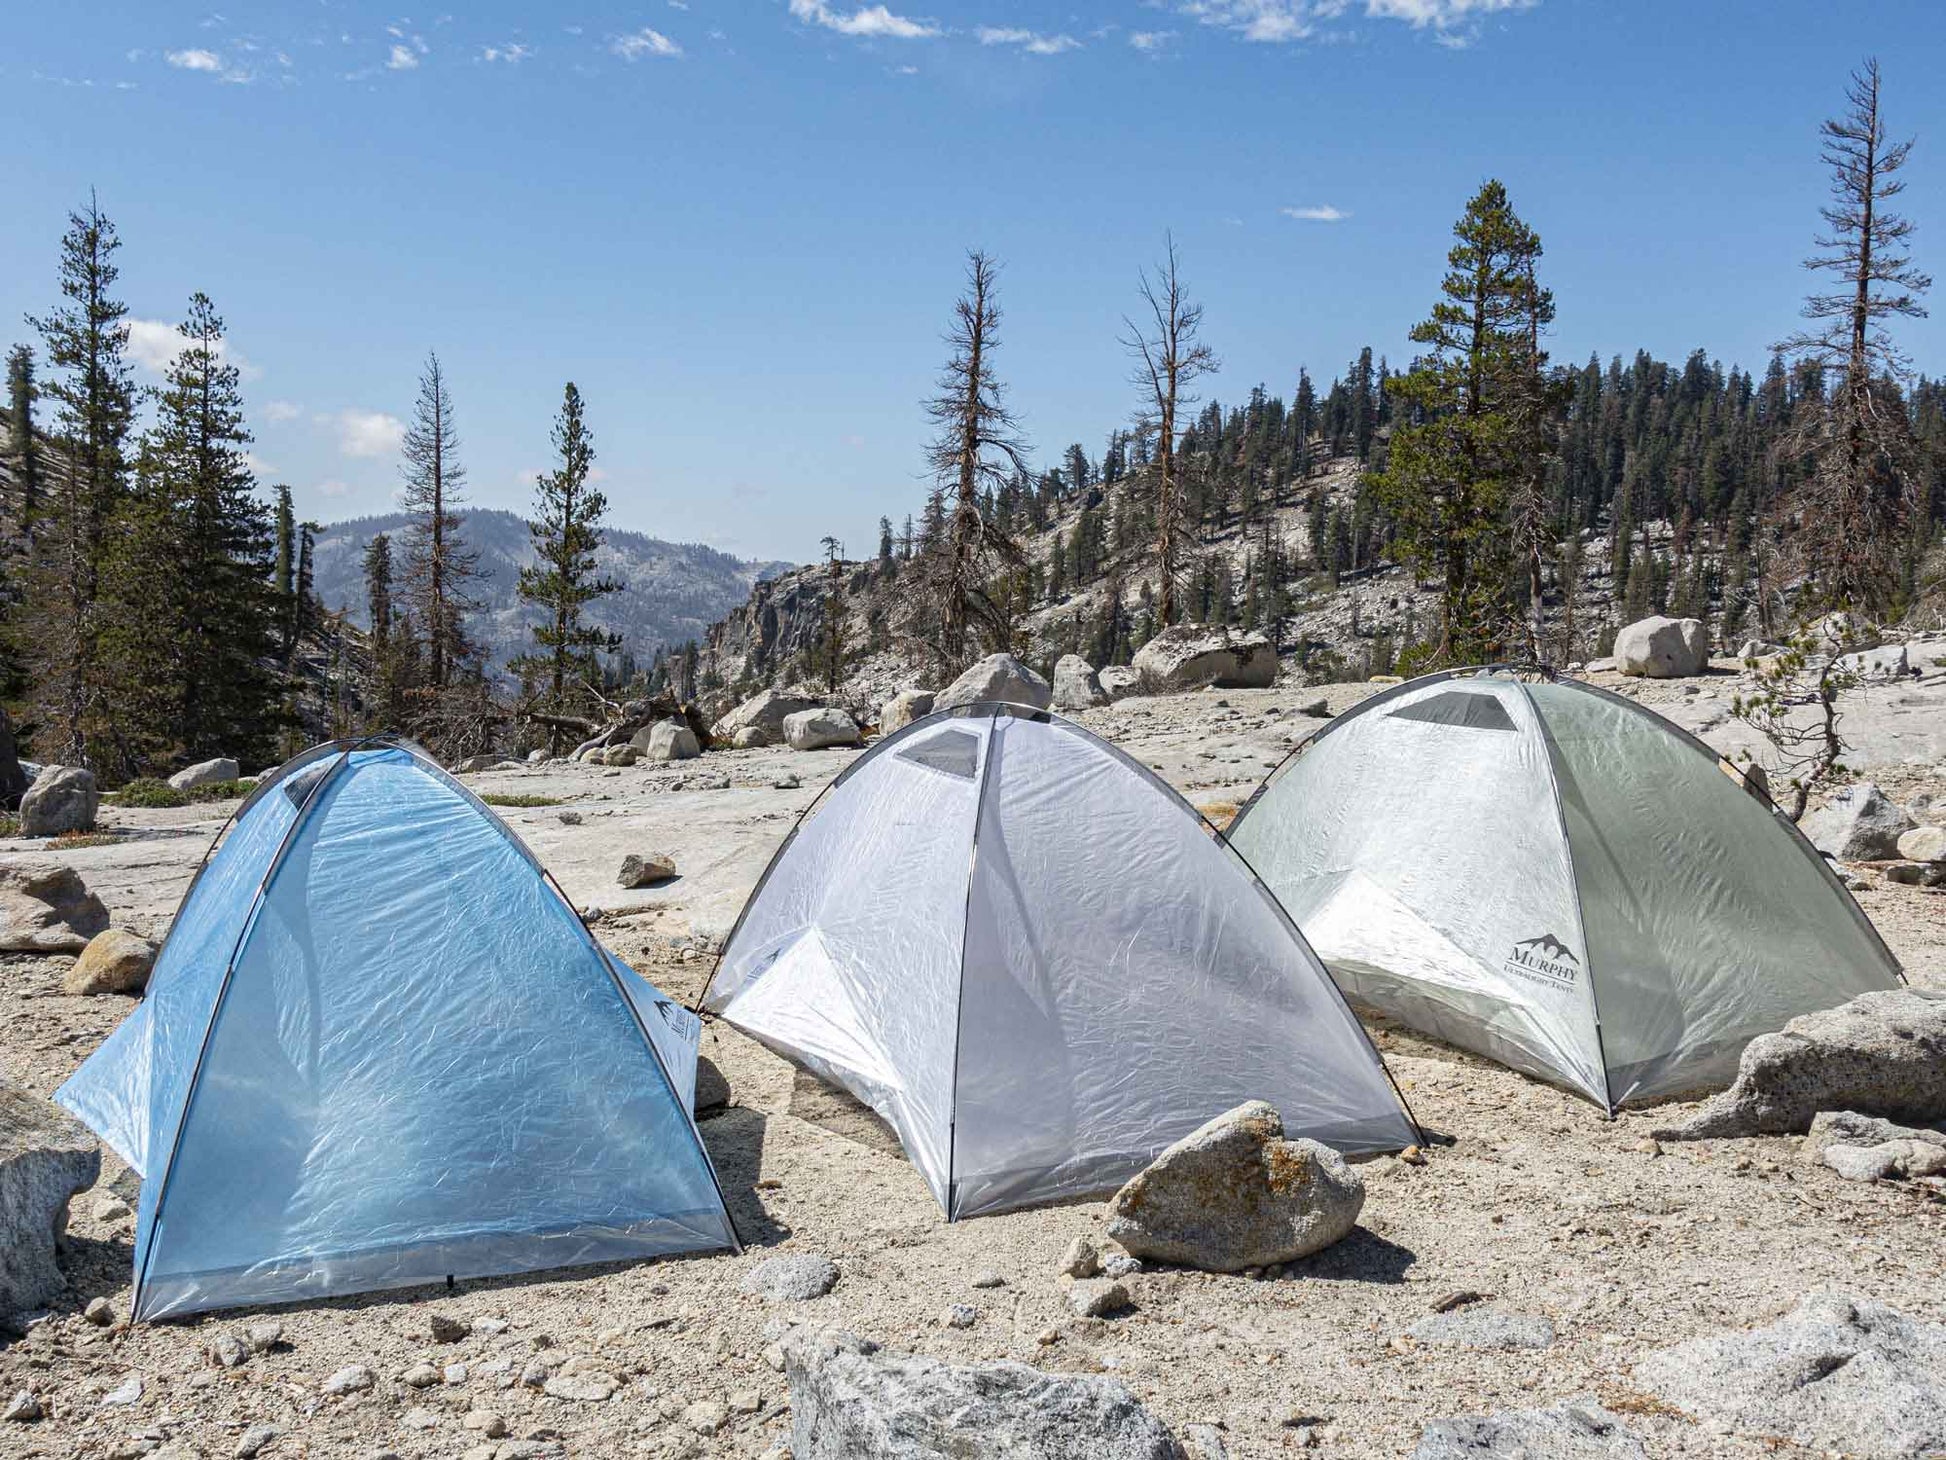
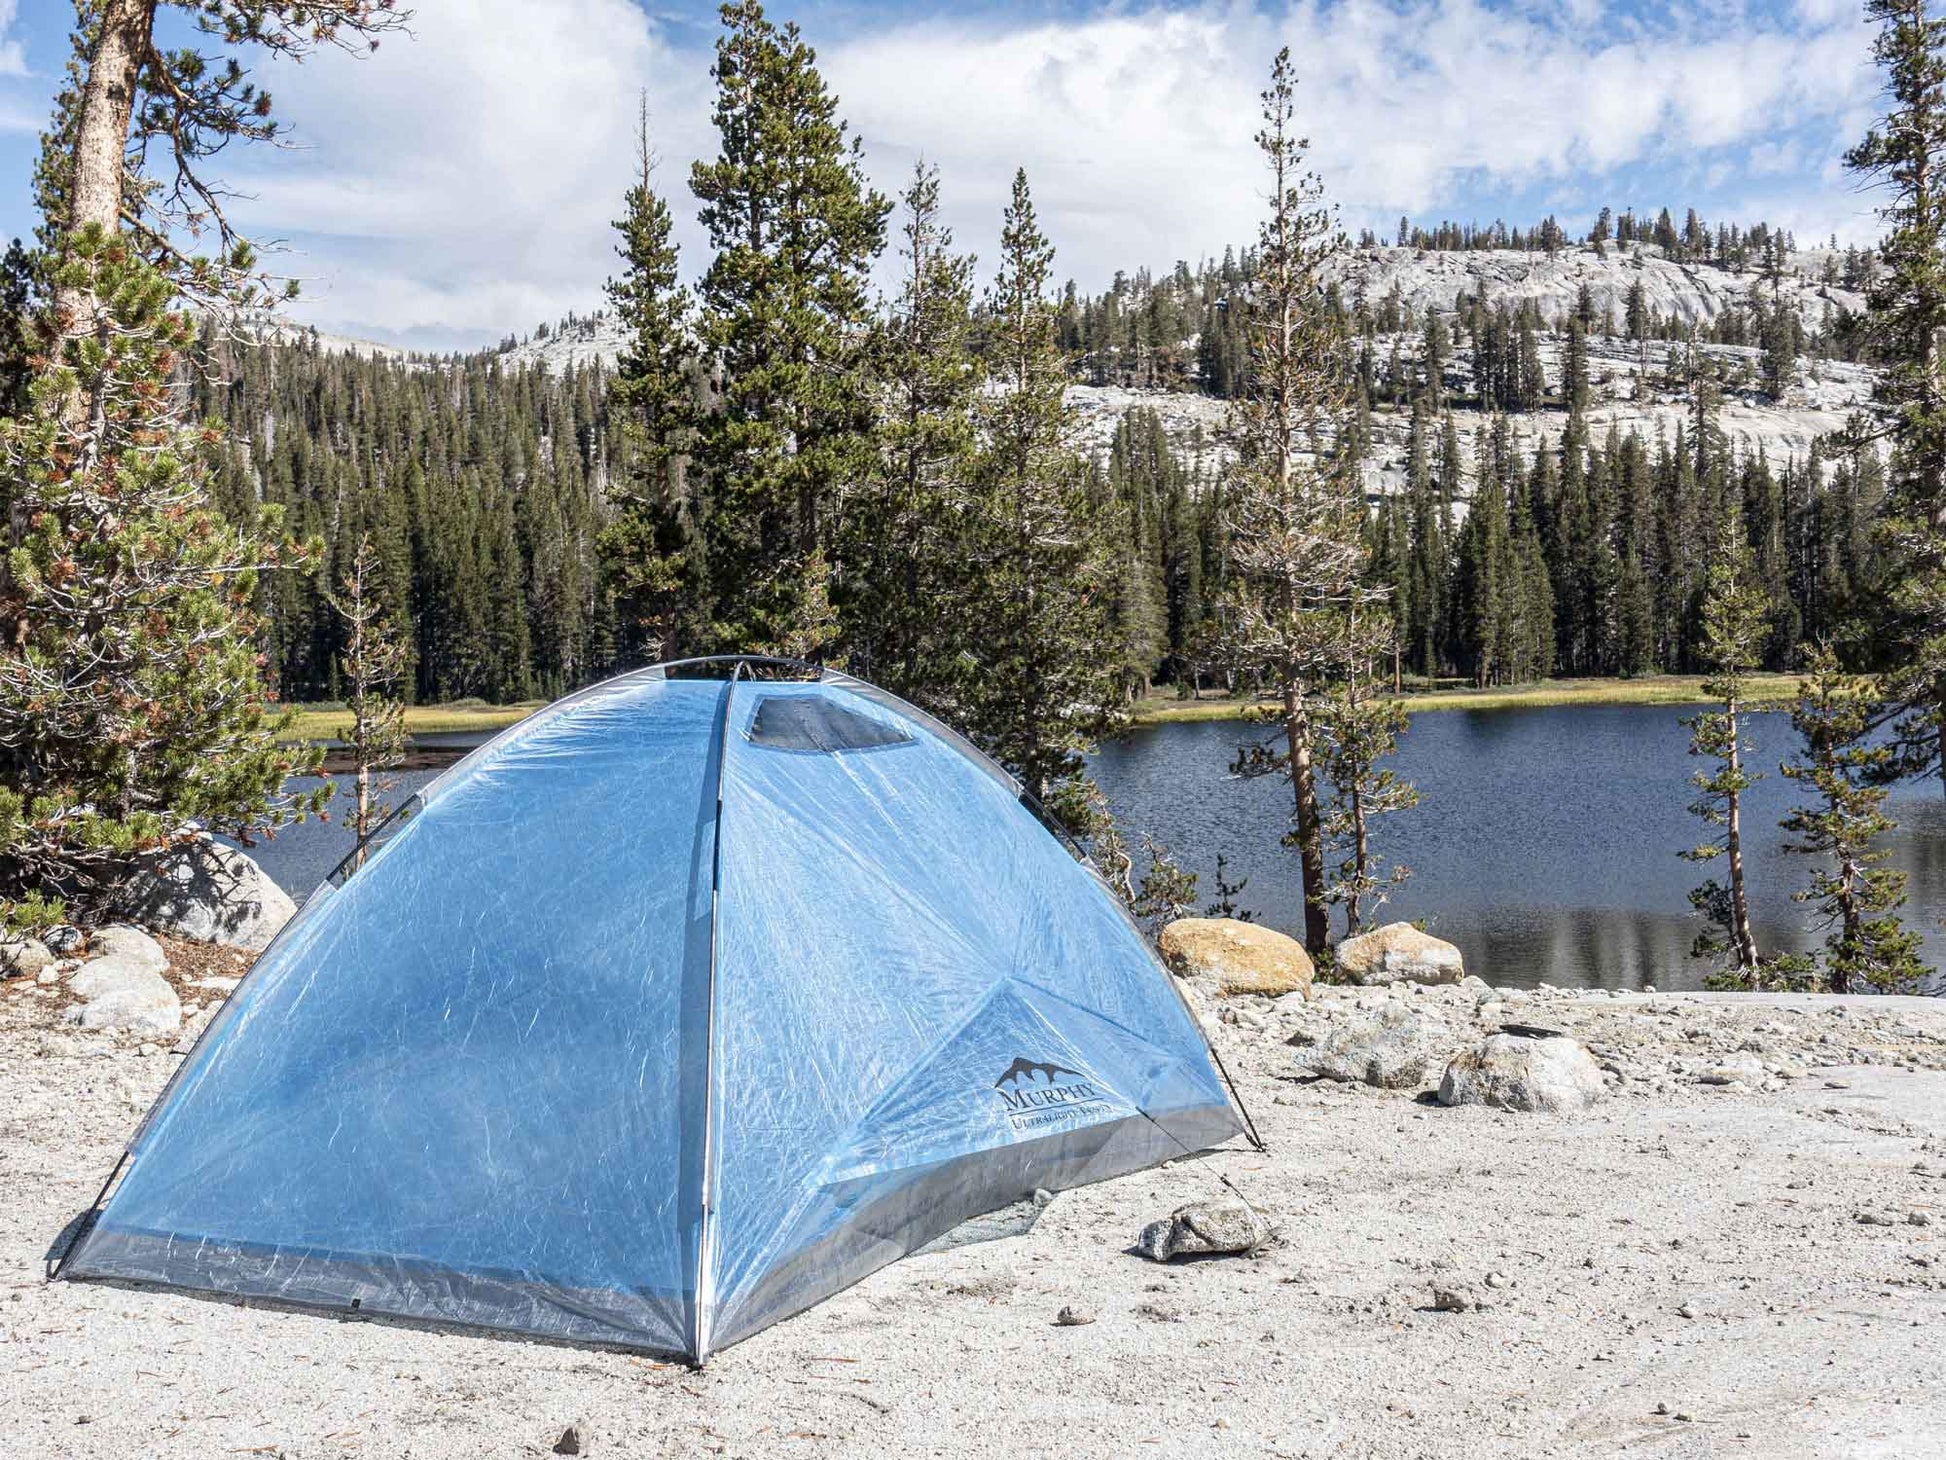
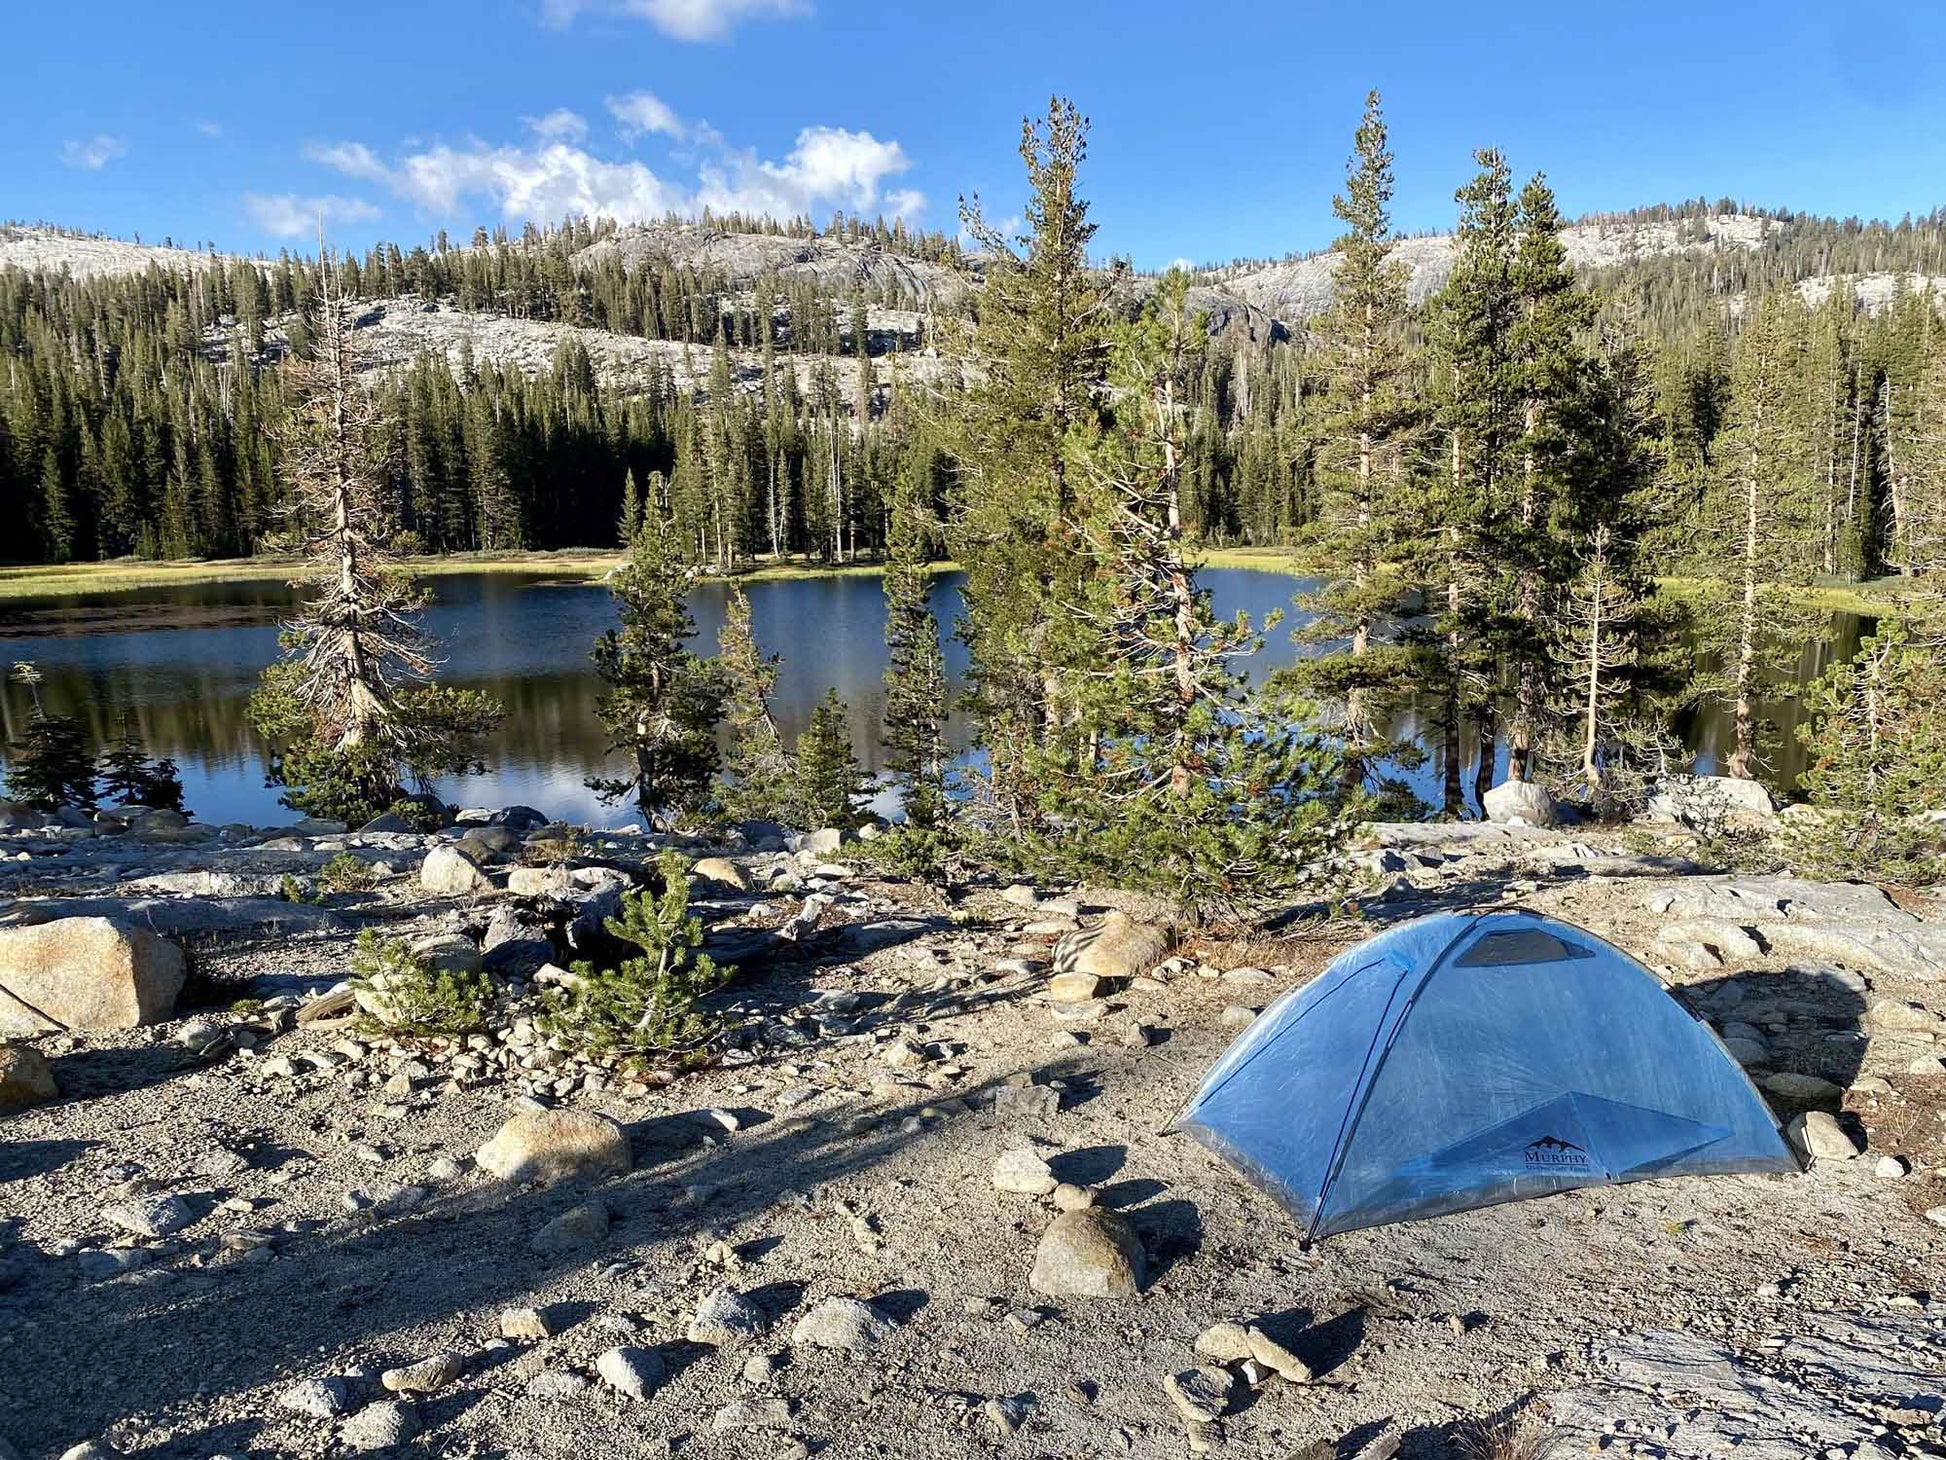
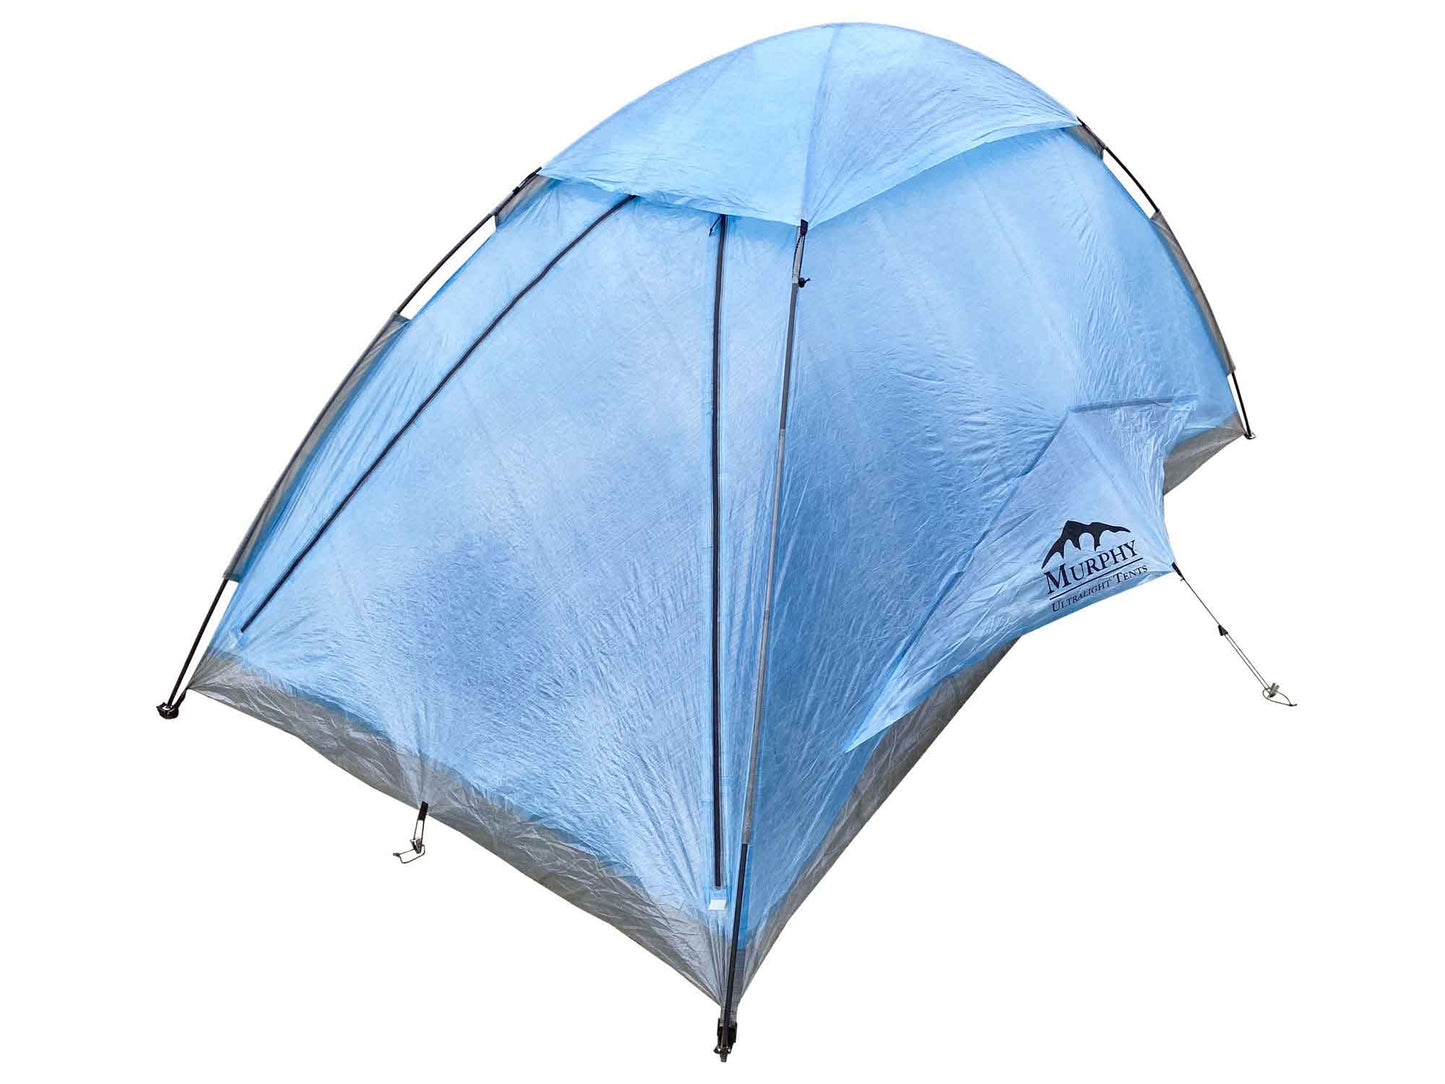
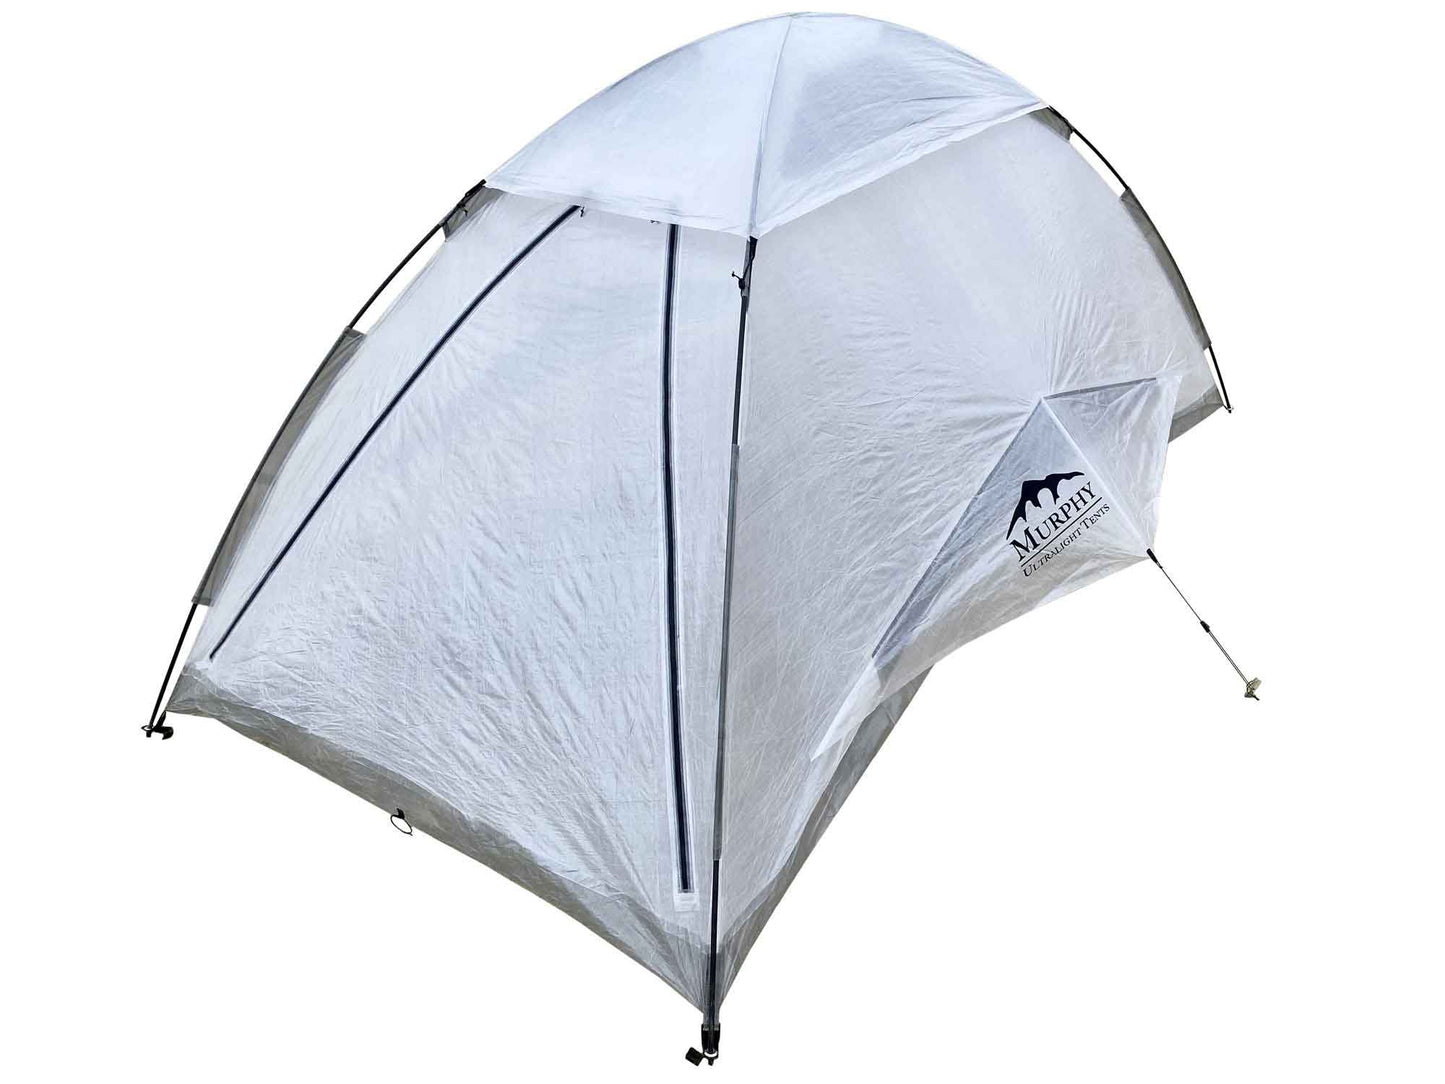
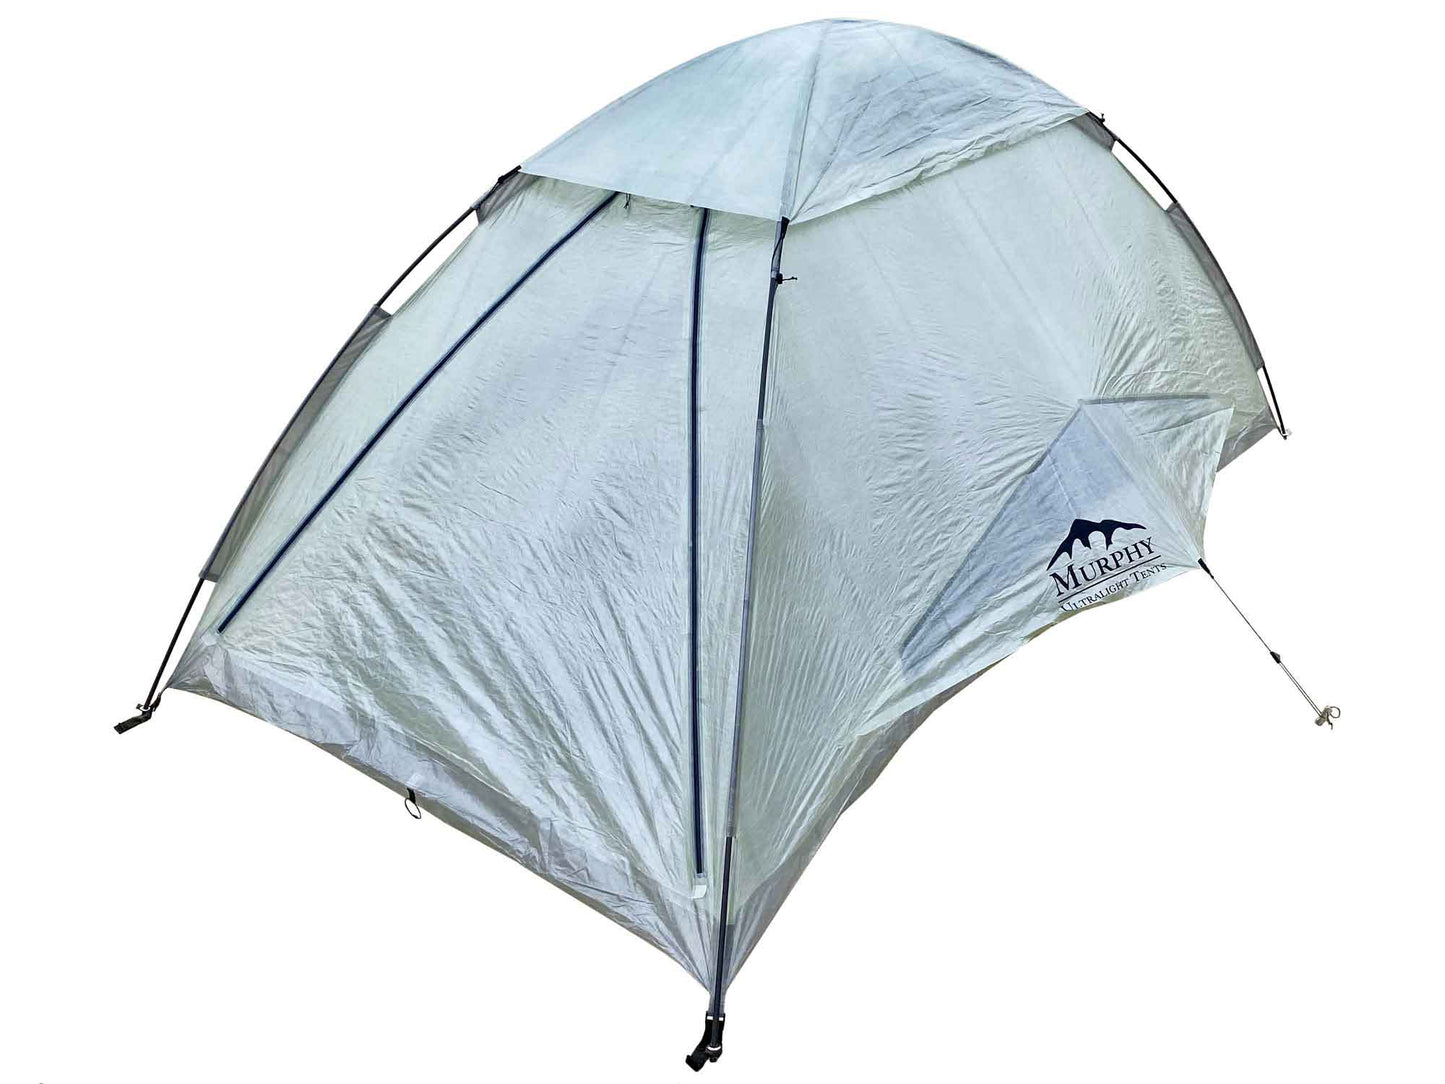
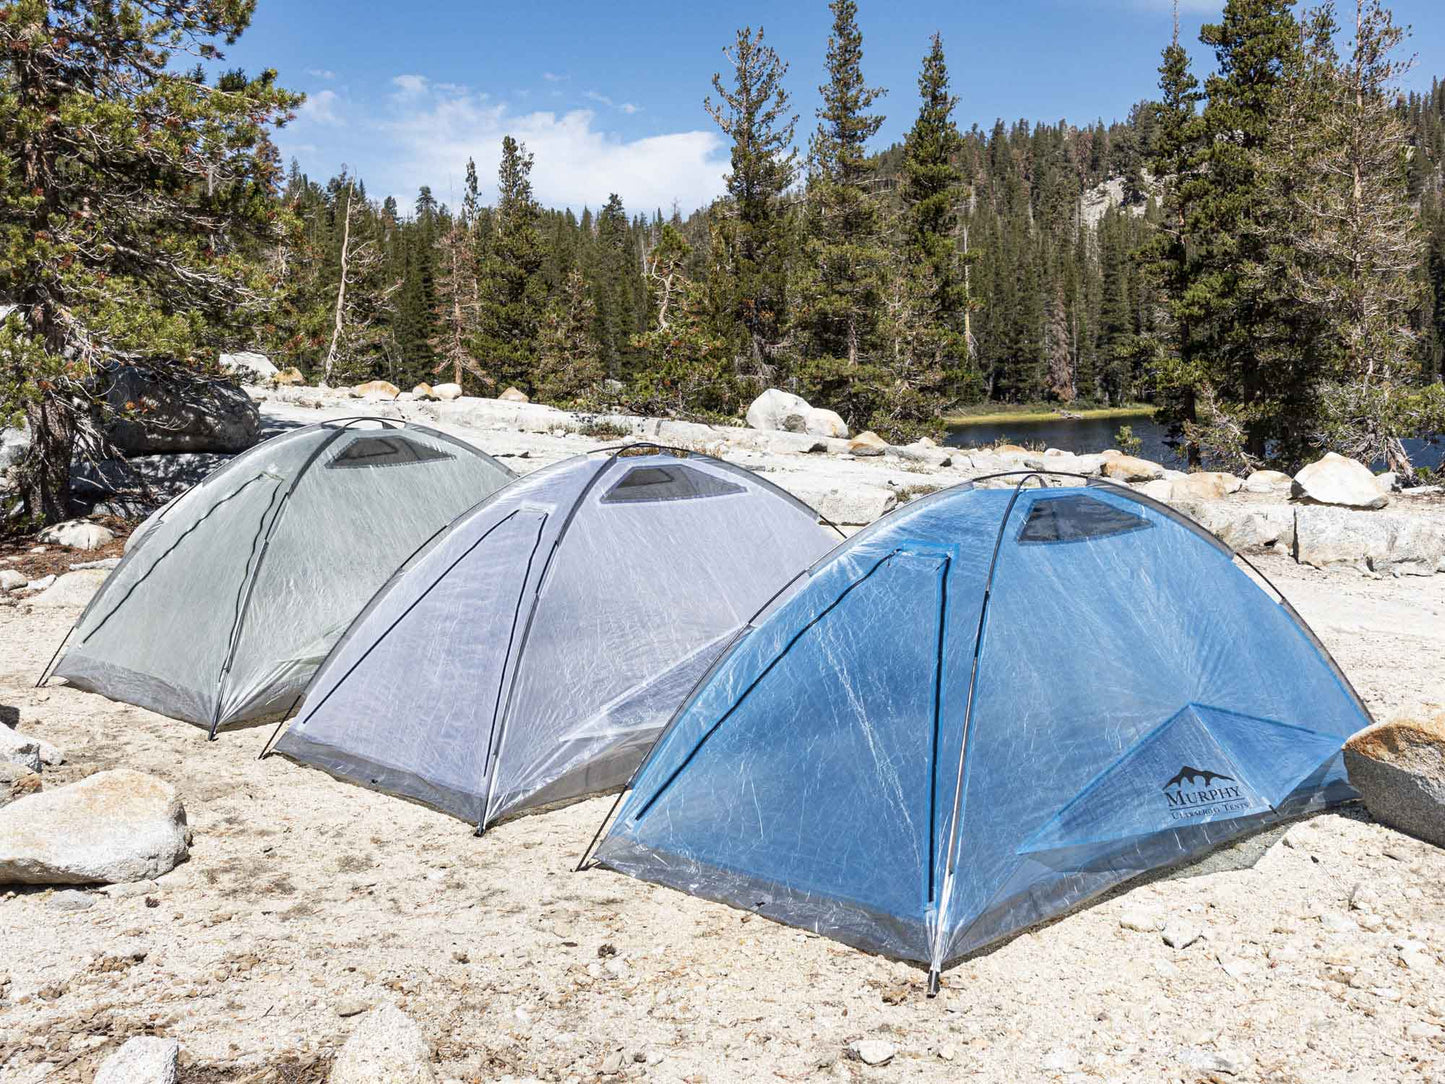
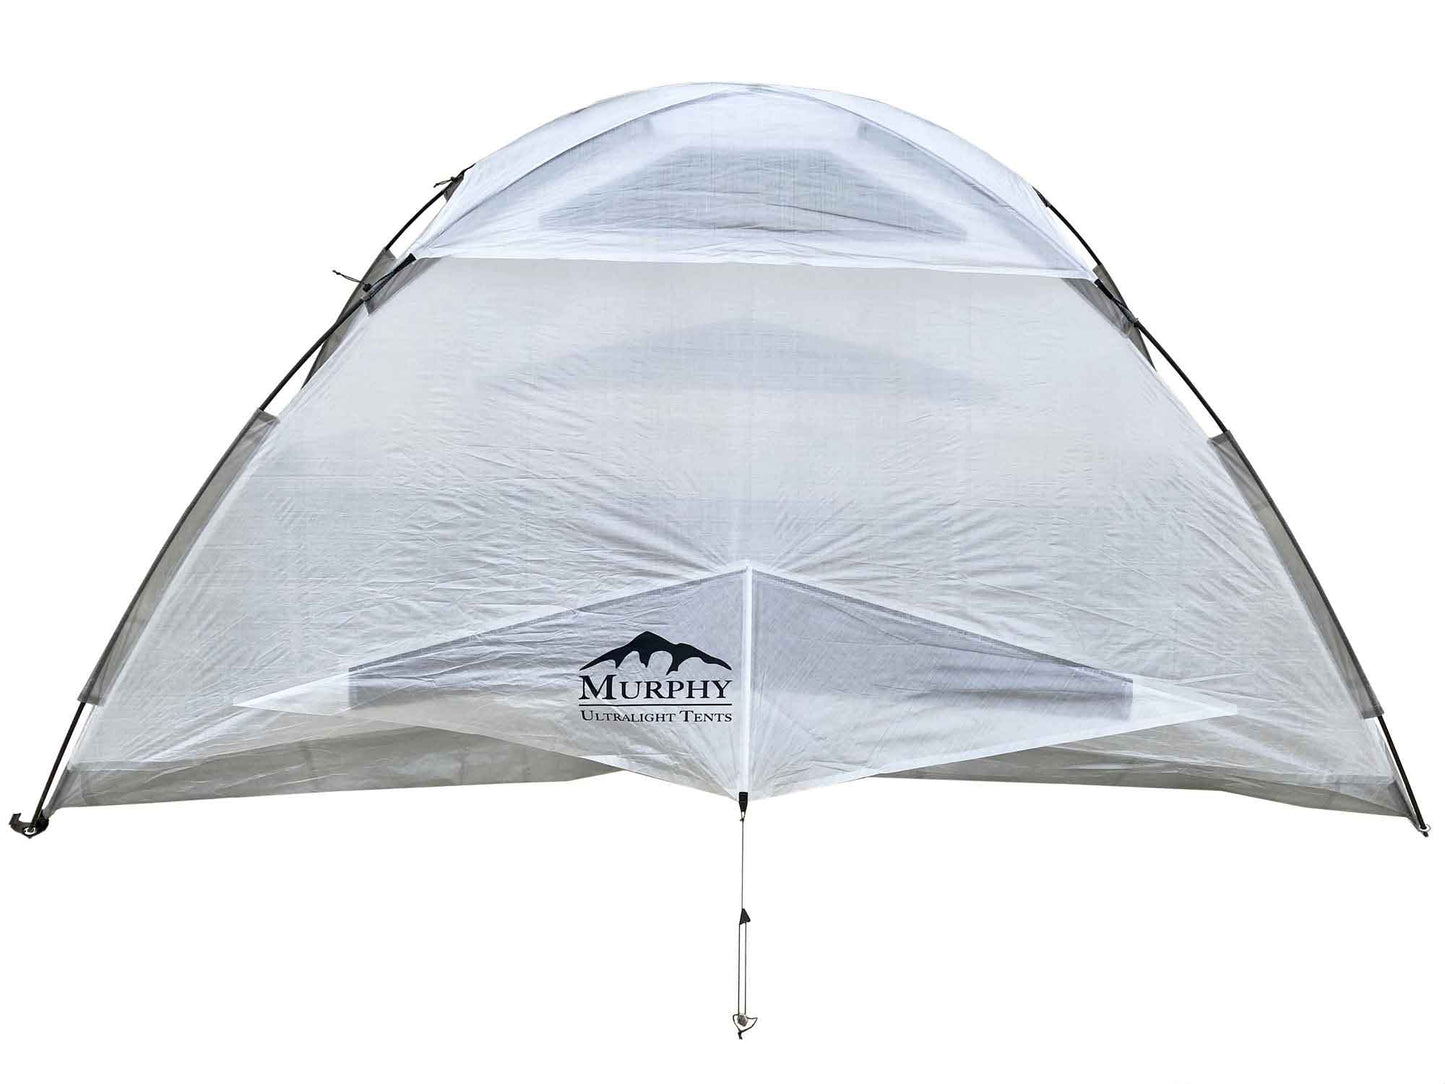
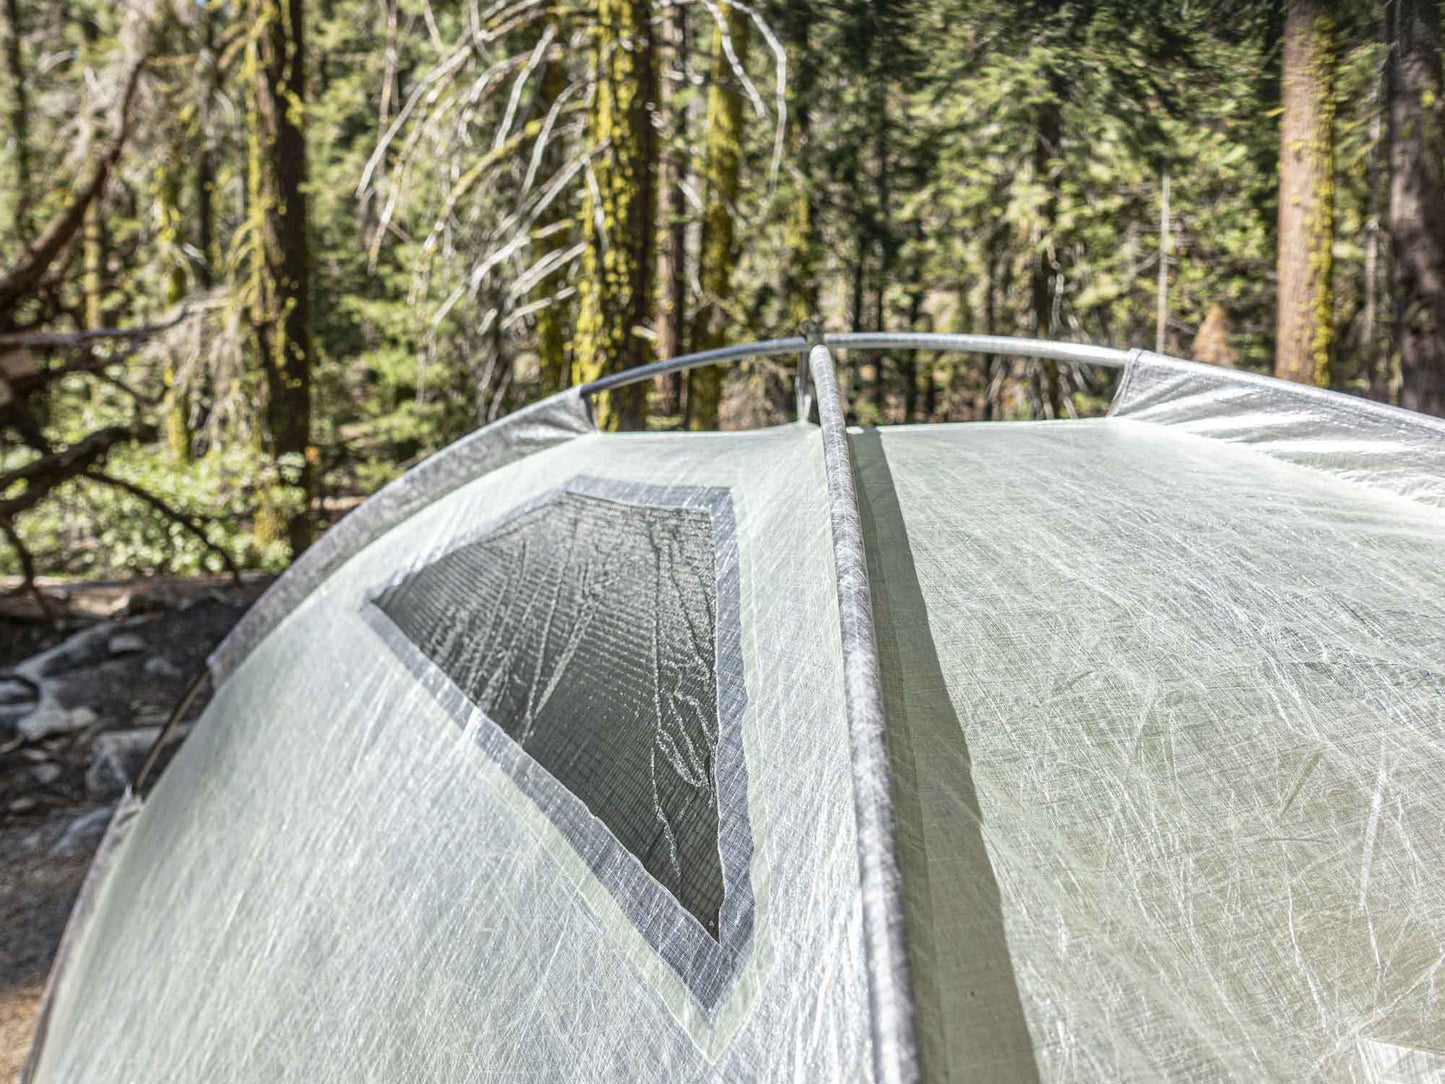
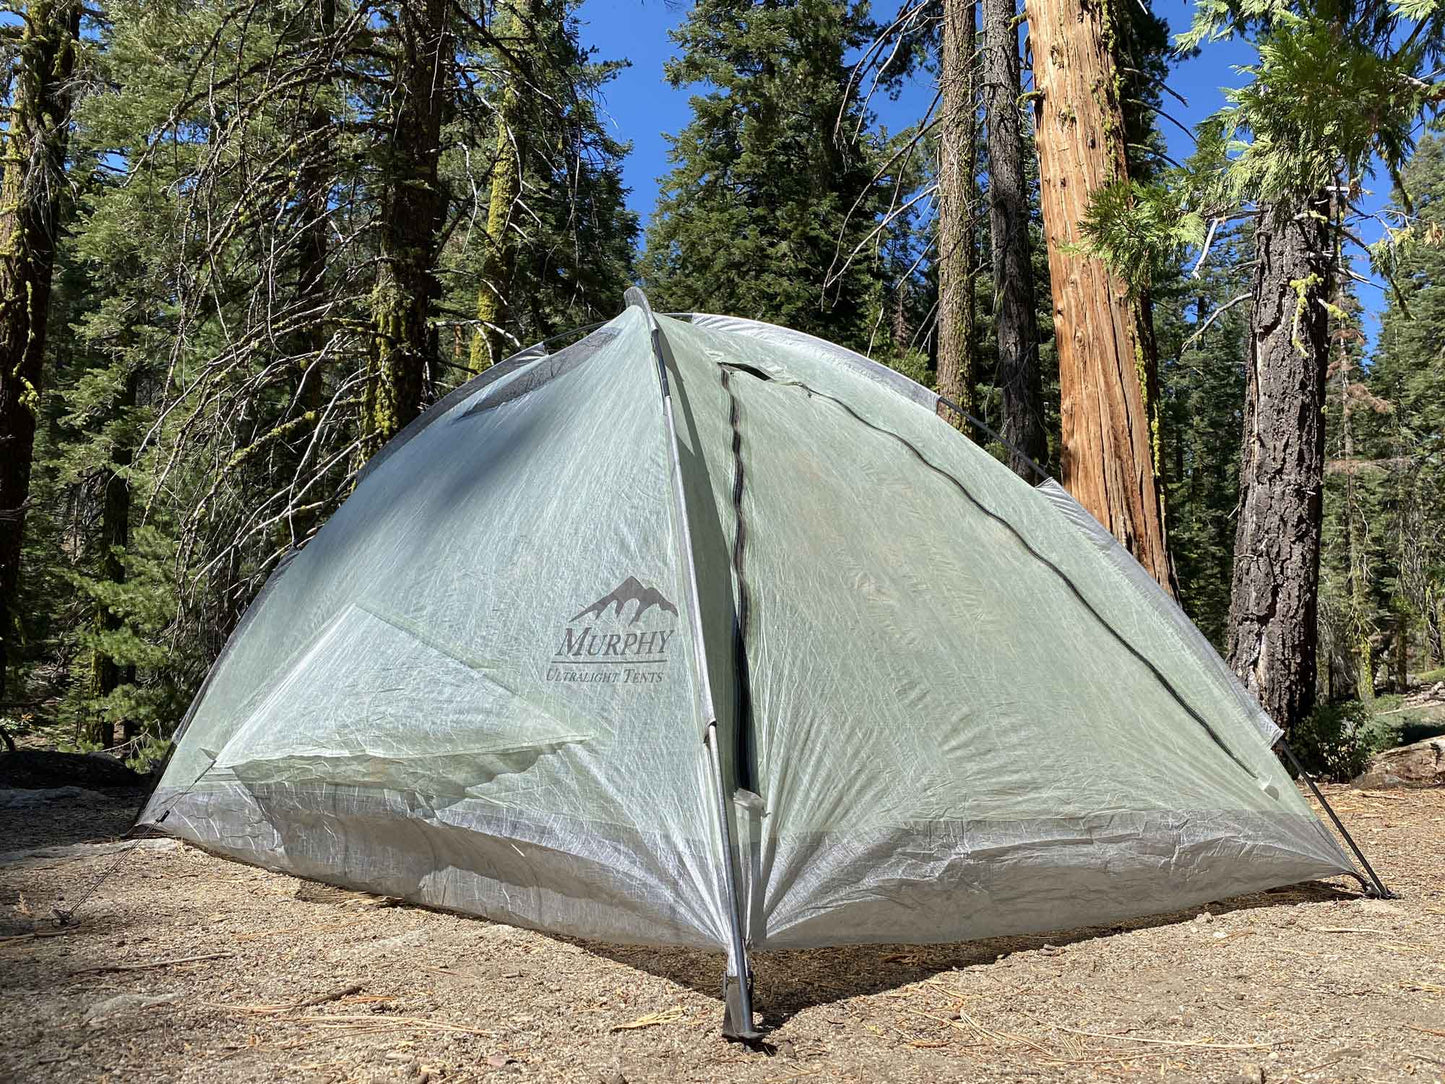
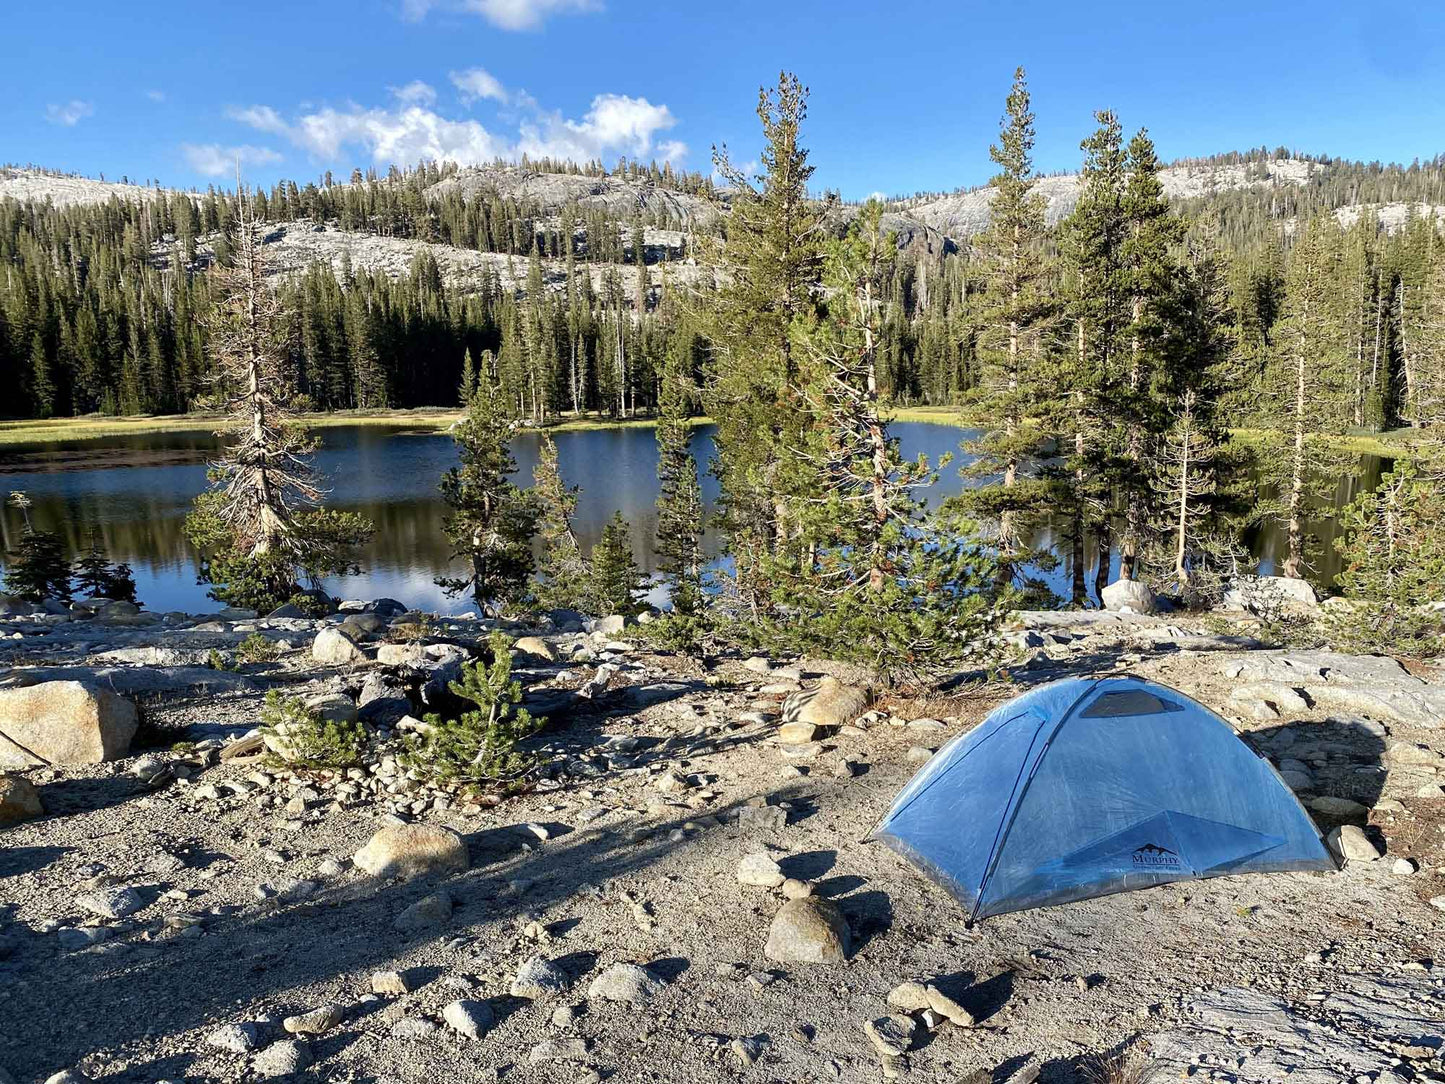
The Carbon Dome 2 - Ultralight Backpacking Tent is the lightest truly free-standing tent on the market, weighing only 20.4 oz (about 22 oz for Spruce Green). Our tents are made with Dyneema® Composite Fabric (DCF - formerly Cuben Fiber) and carbon fiber tent poles. Four large mesh vents create good airflow and mitigate condensation. The Carbon Dome 2 is the ideal Ultralight Tent for thru-hiking the PCT or Appalachian Trail. This tent is intended for 3-season use, for one or two people.
Specifications
Specifications
Trail Weight: 20.4 oz / 580 g (about 22 oz for Spruce Green)*
Packed Size: 4" x 19"
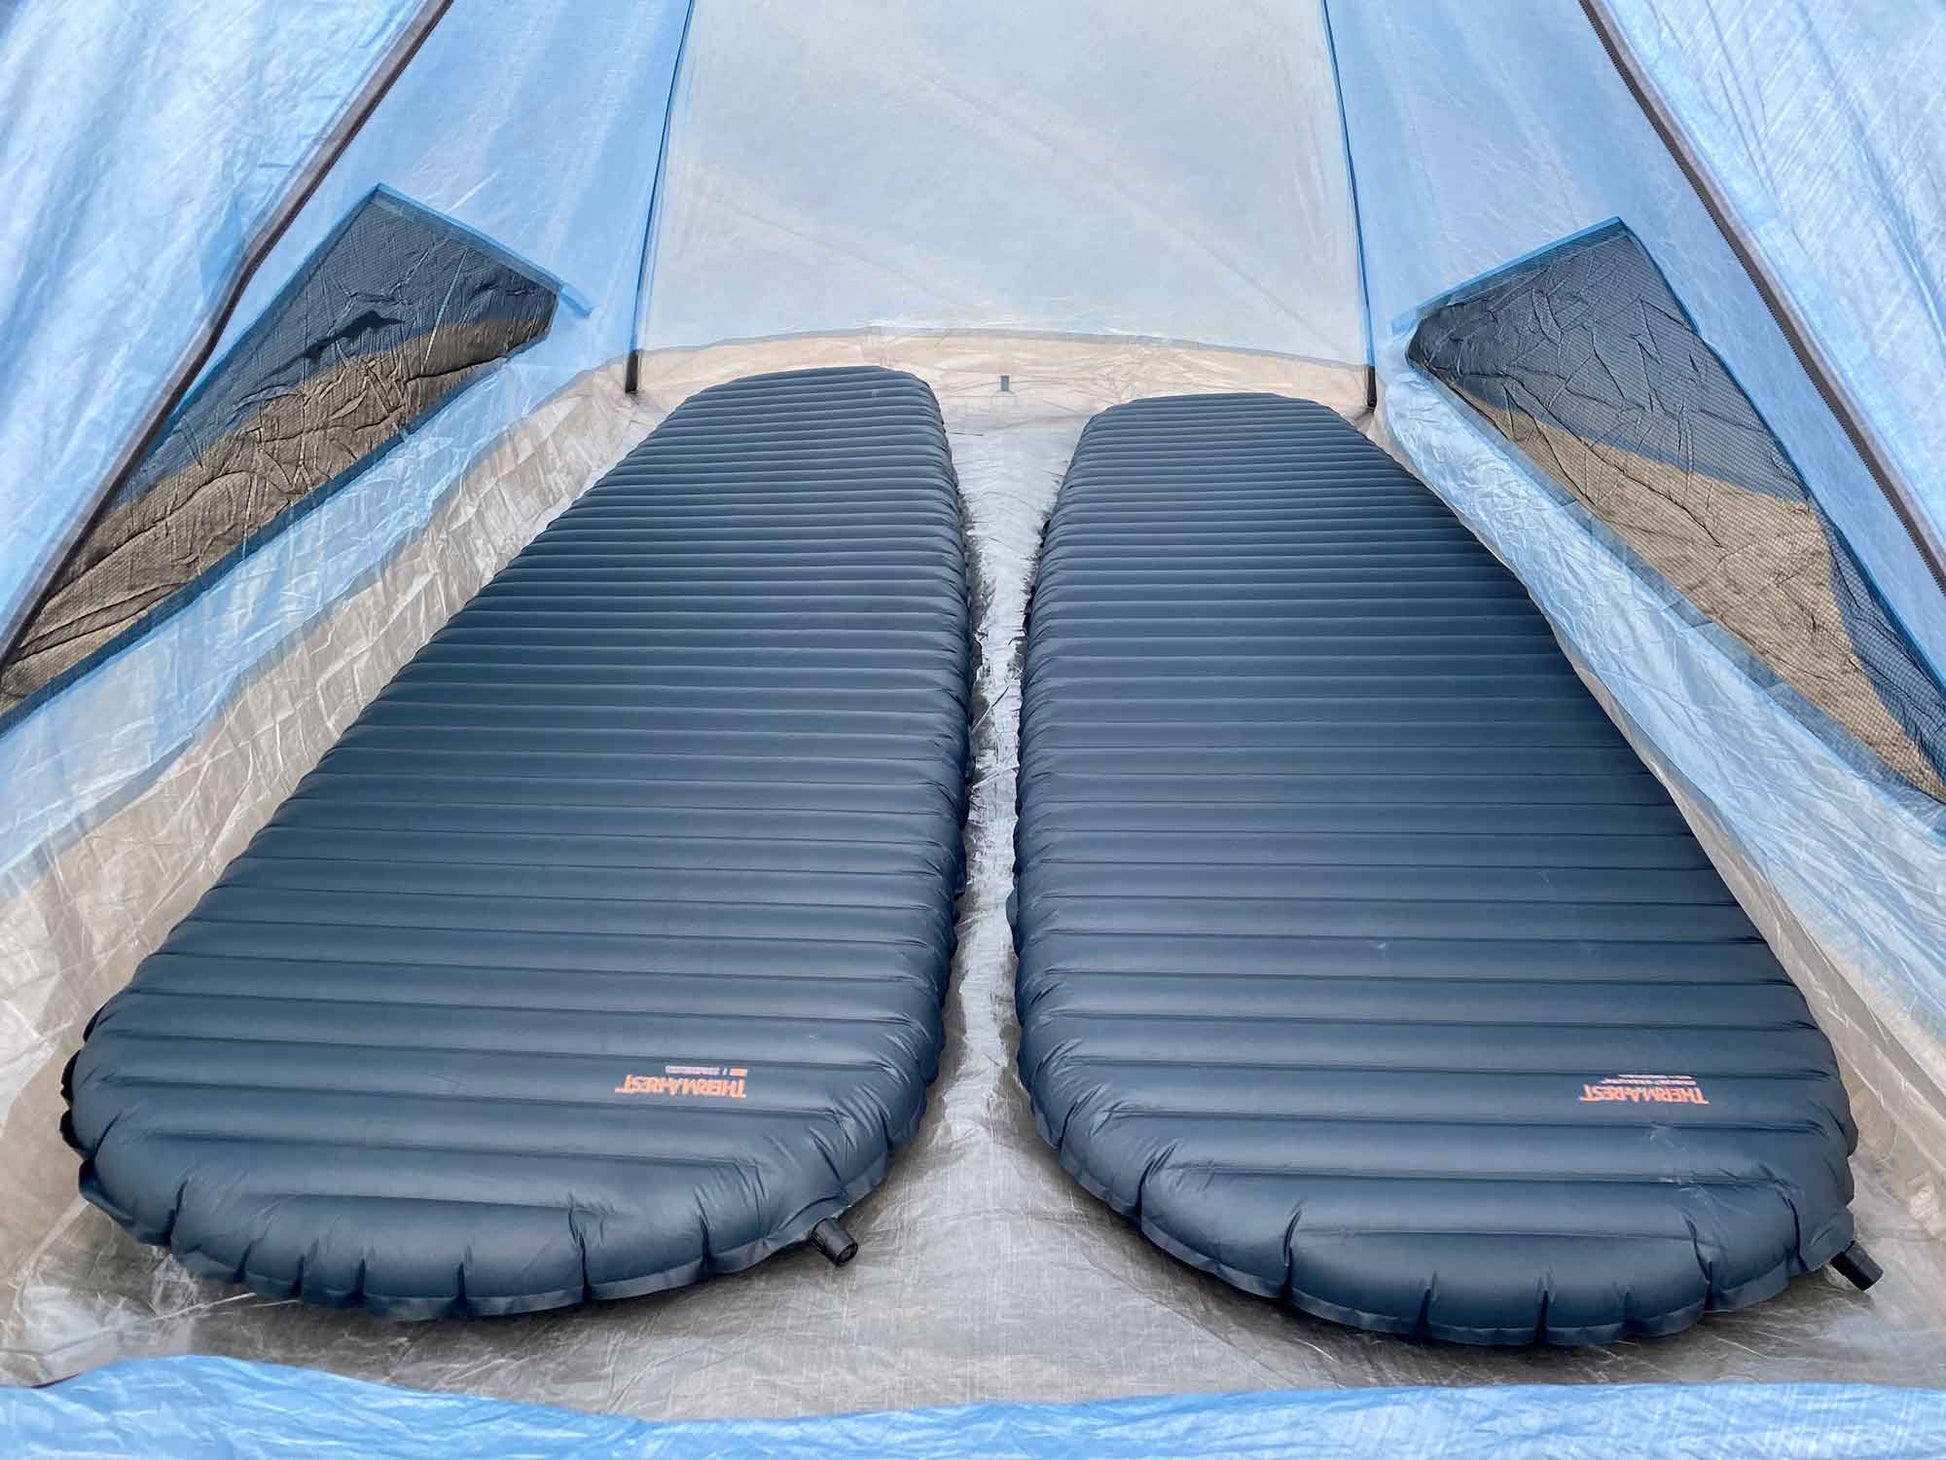
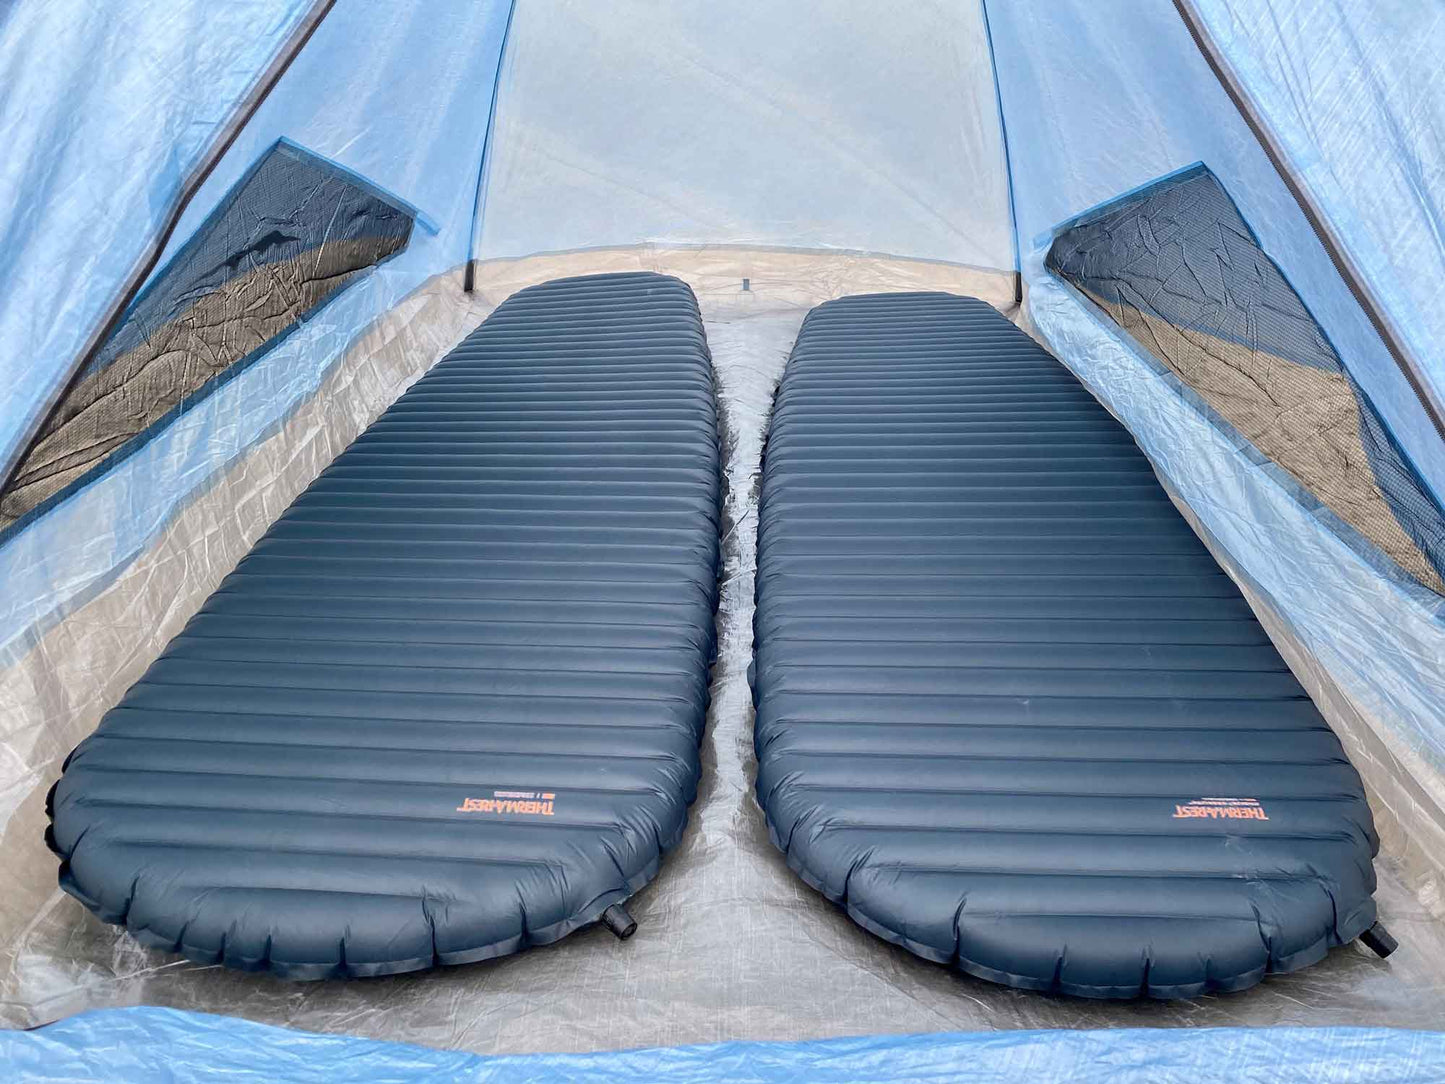
Sleeps: 2 People
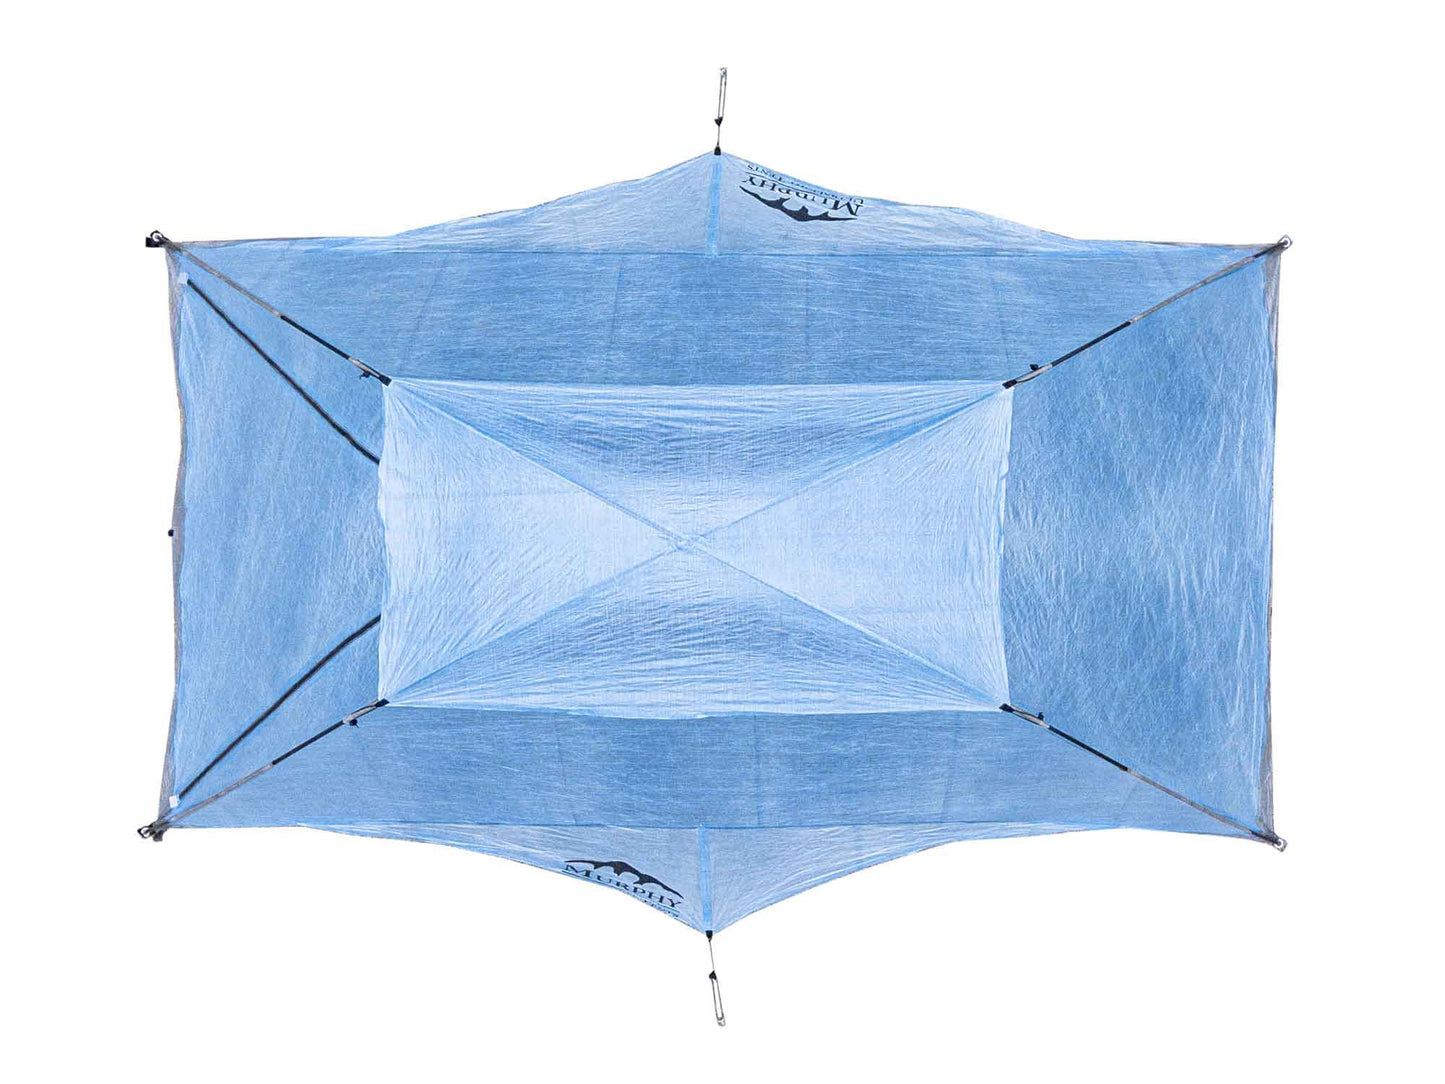
Floor Area: 28 sqft
Floor Dimensions: 7'6" x 45"
Inner Peak Height: 41"
Ventilation: 4 Mesh Vents
Seasons: 3
Doors: 1
*Trail Weight does not include stakes or stuff sacks.
Ultralight Materials
Ultralight Materials
Made with Dyneema® Composite Fabric (Formerly Cuben Fiber)
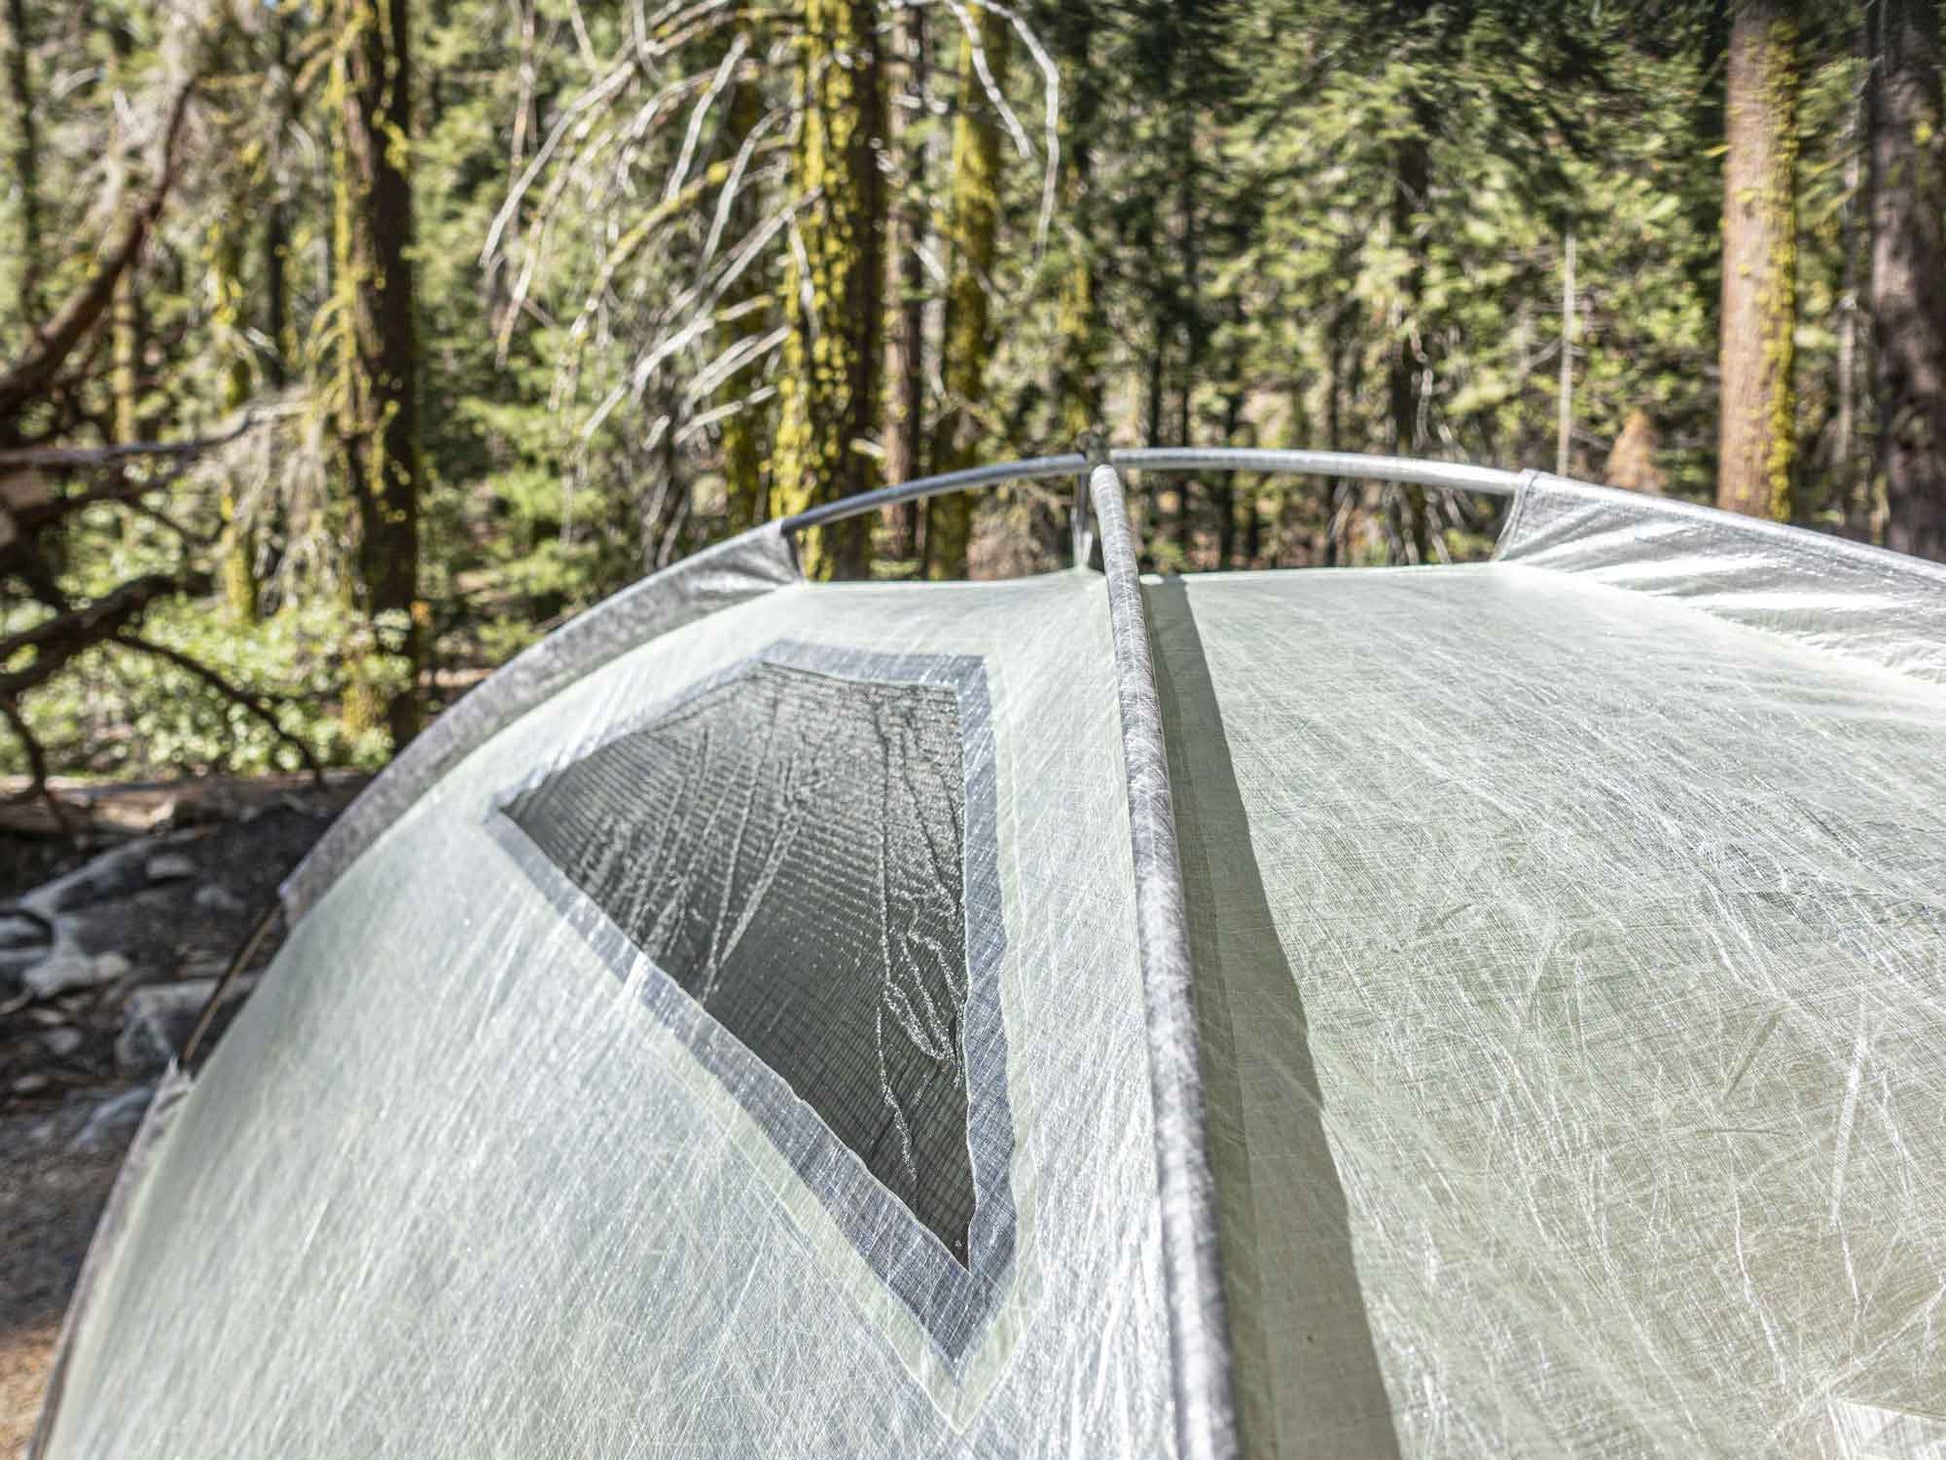
Murphy Ultralight Tents are made from the finest materials in the outdoor industry. The tent walls are made with Dyneema® Composite Fabric. Dyneema® is an Ultra High Molecular Weight PolyEthylene (UHMWPE) fiber that is 15 times stronger than quality steel for its weight.
Easton Mountaineering 3.9 Custom Carbon Poles
Even our tent poles are made with the lightest and strongest materials available. By using carbon fiber tent poles, we've achieved a tent design that's so light weight, there's simply nothing like it.
Collapsible content
Special Features
Ultralight Materials
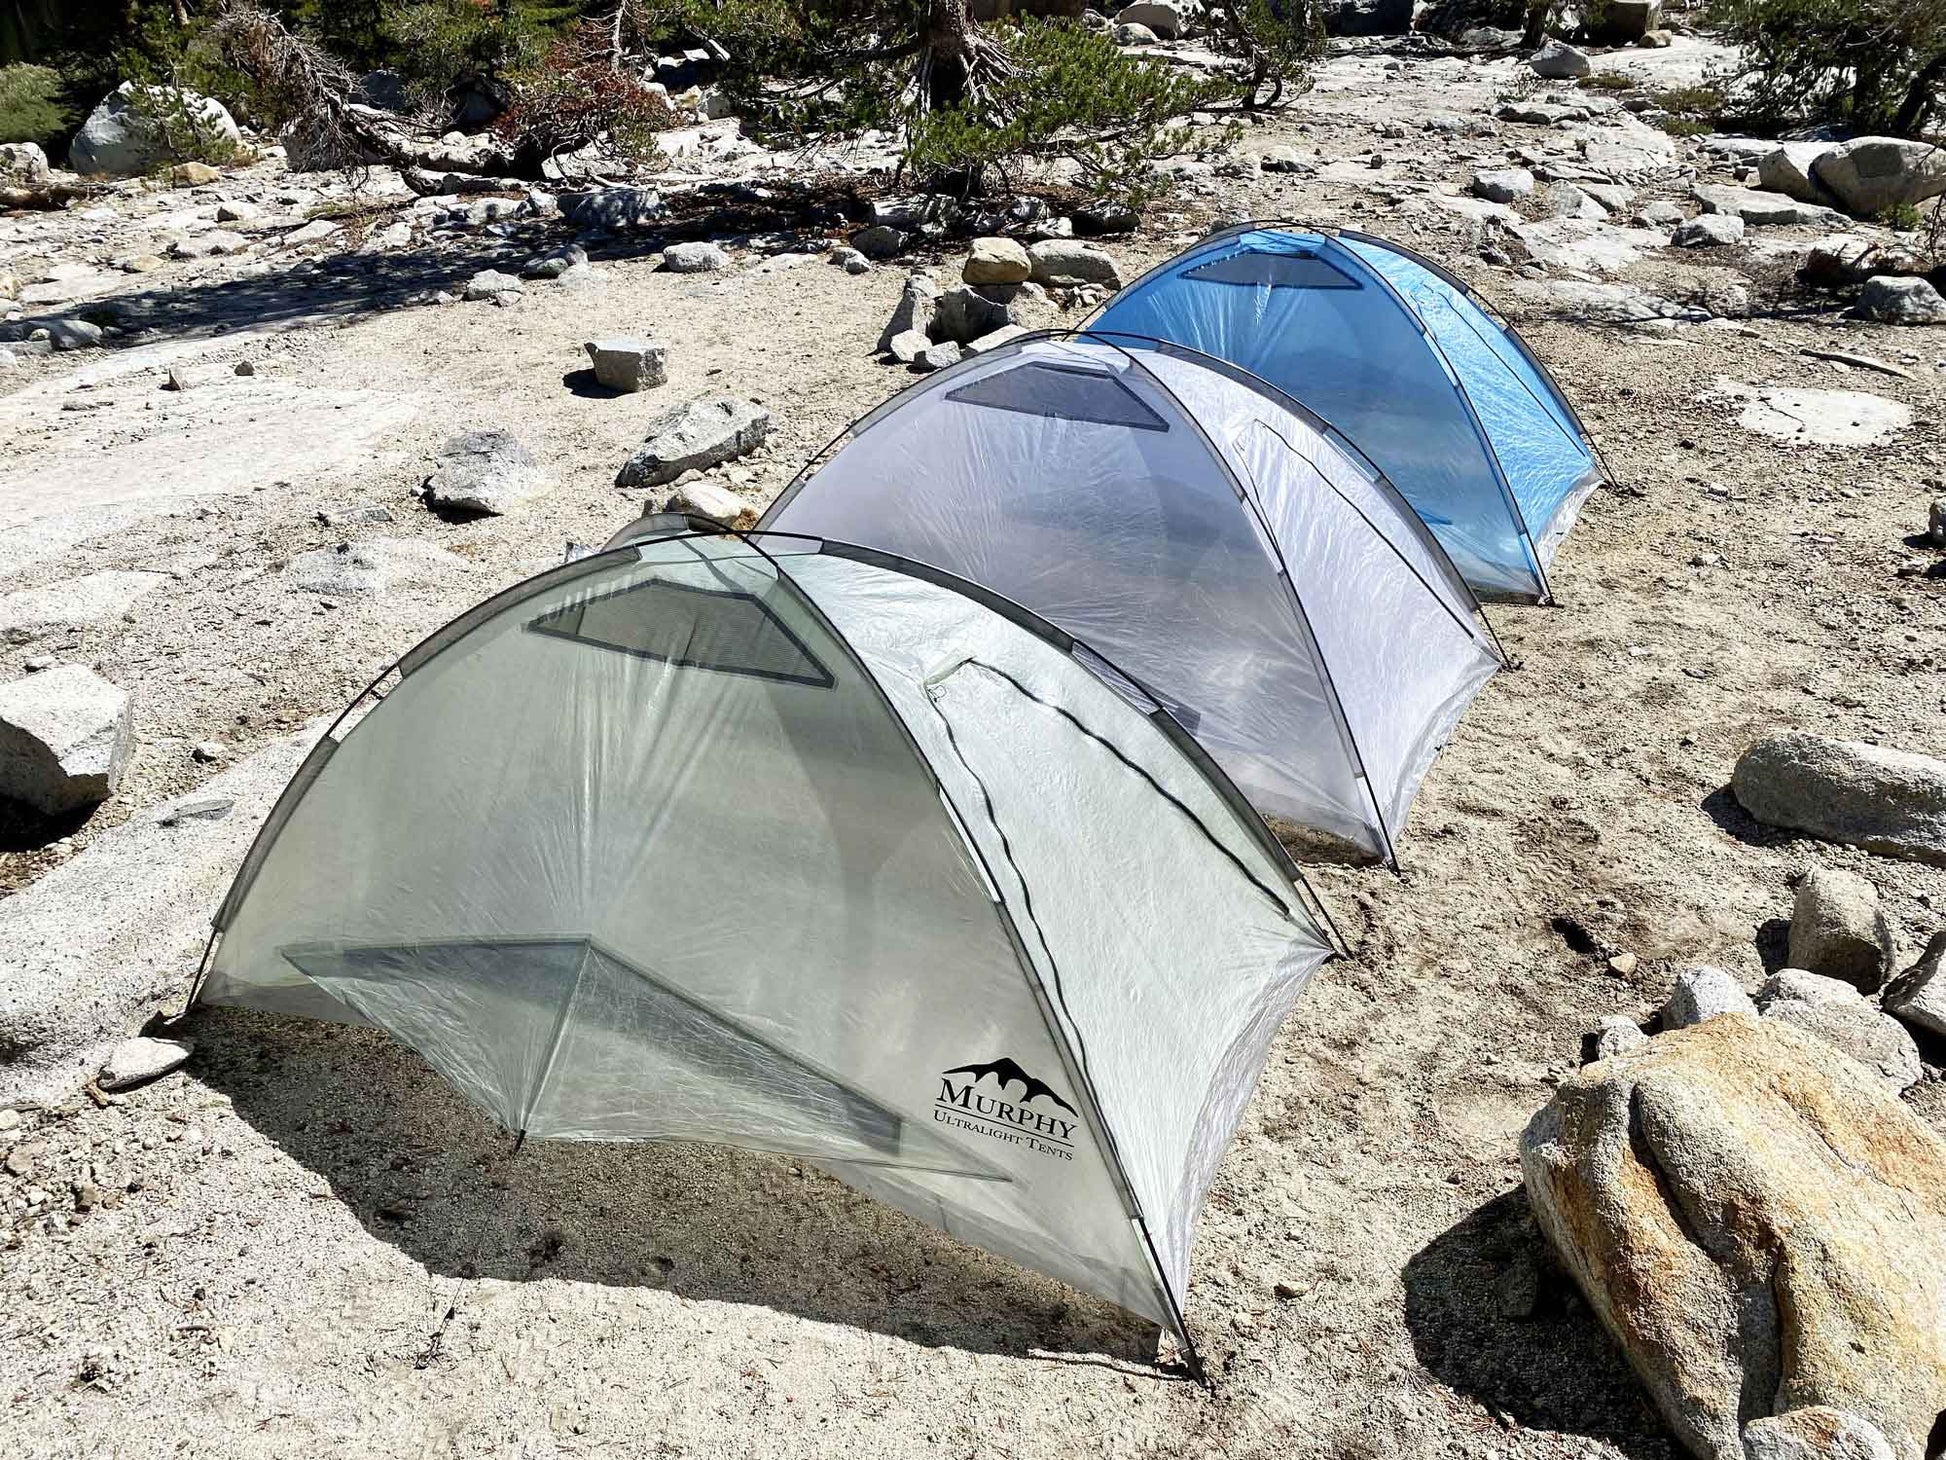
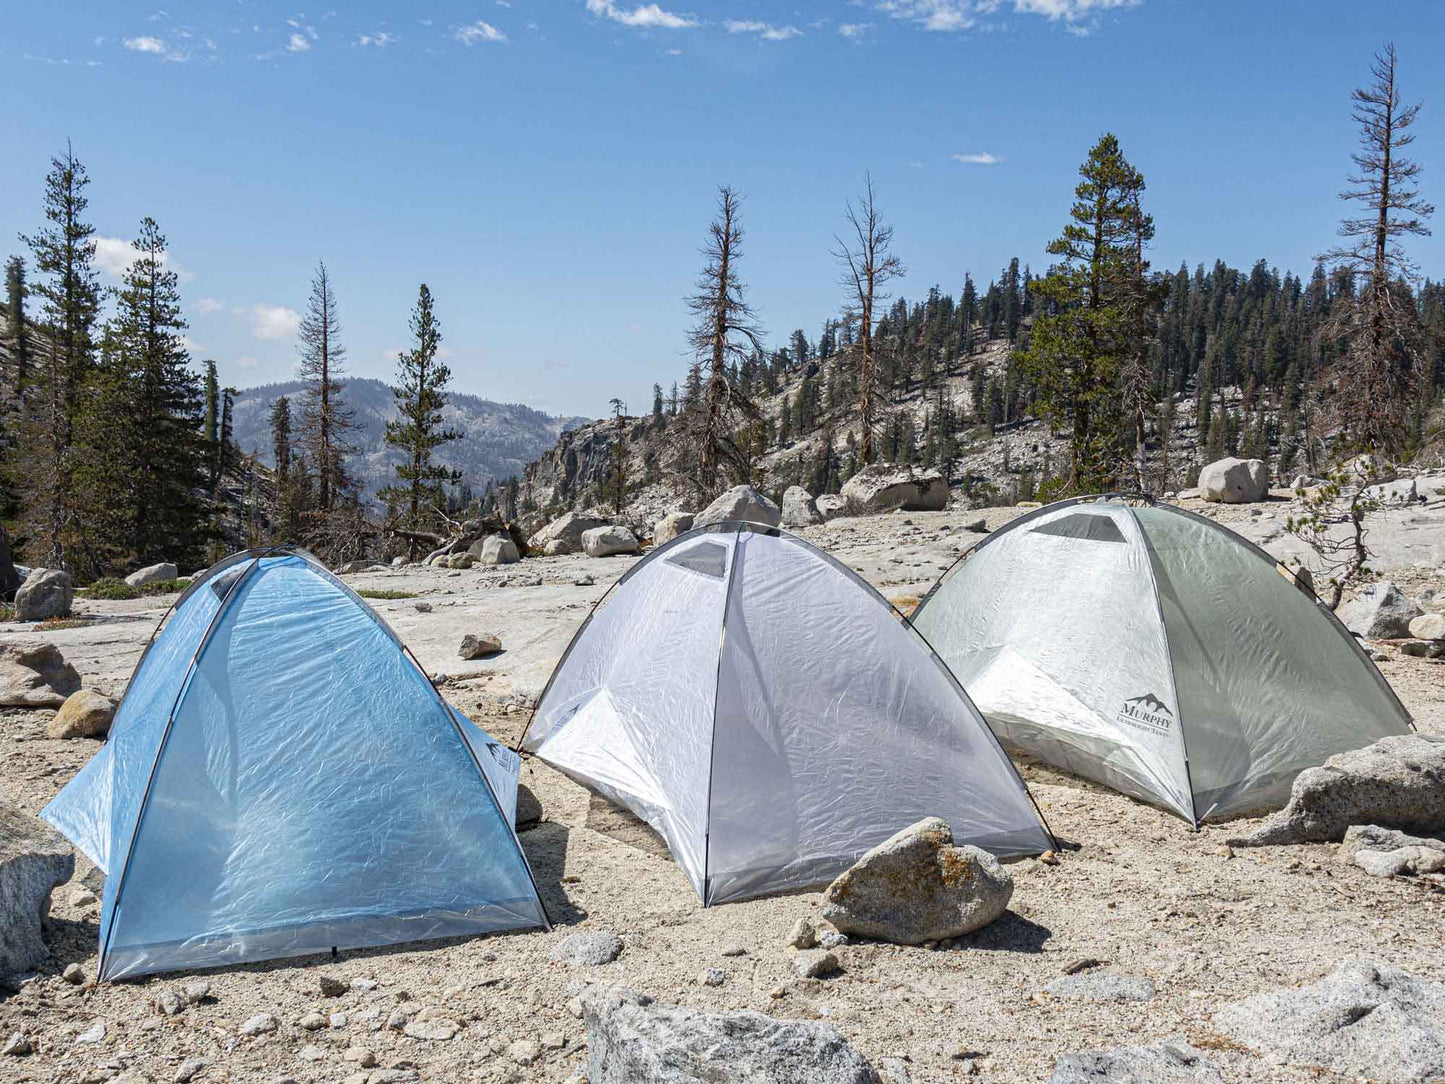
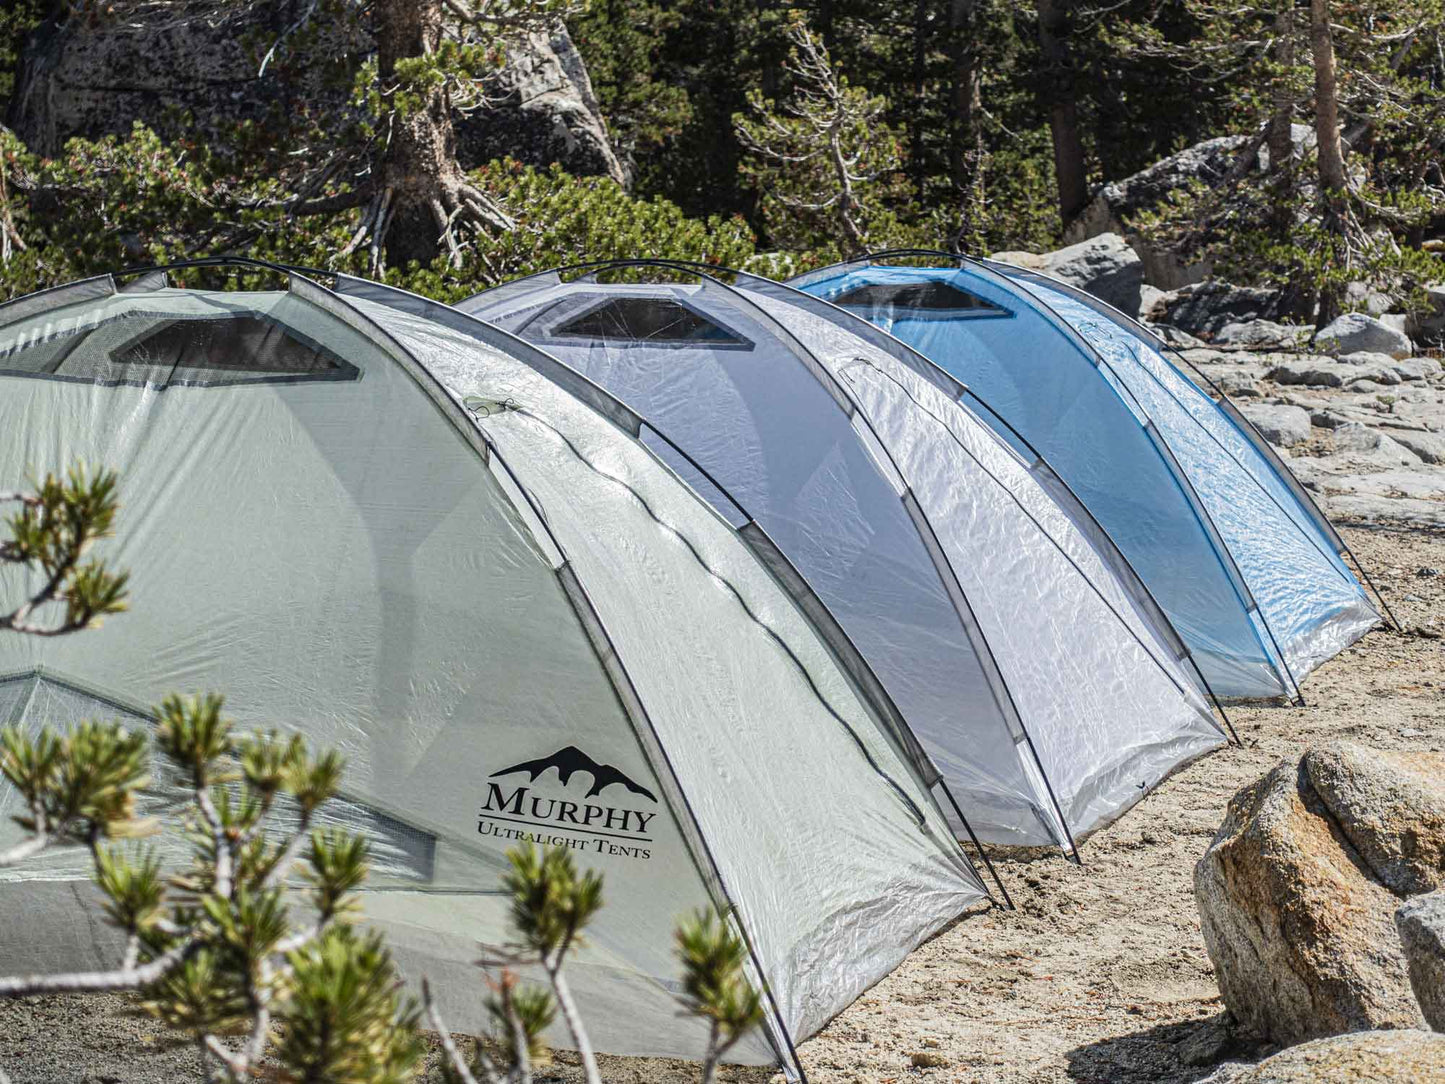
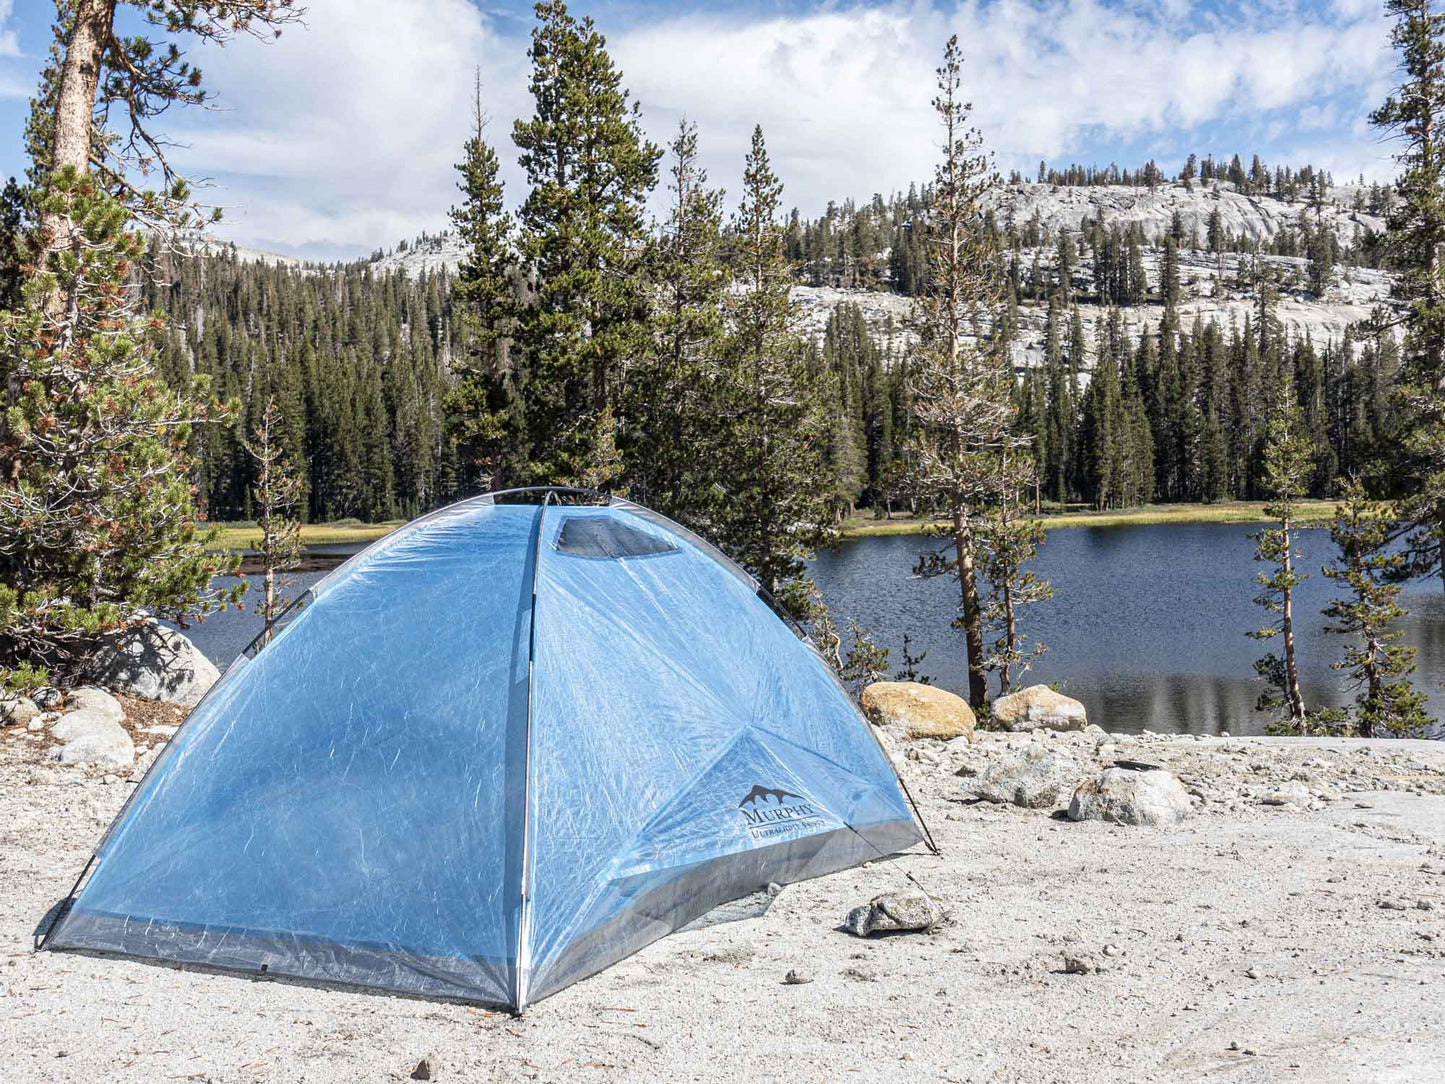
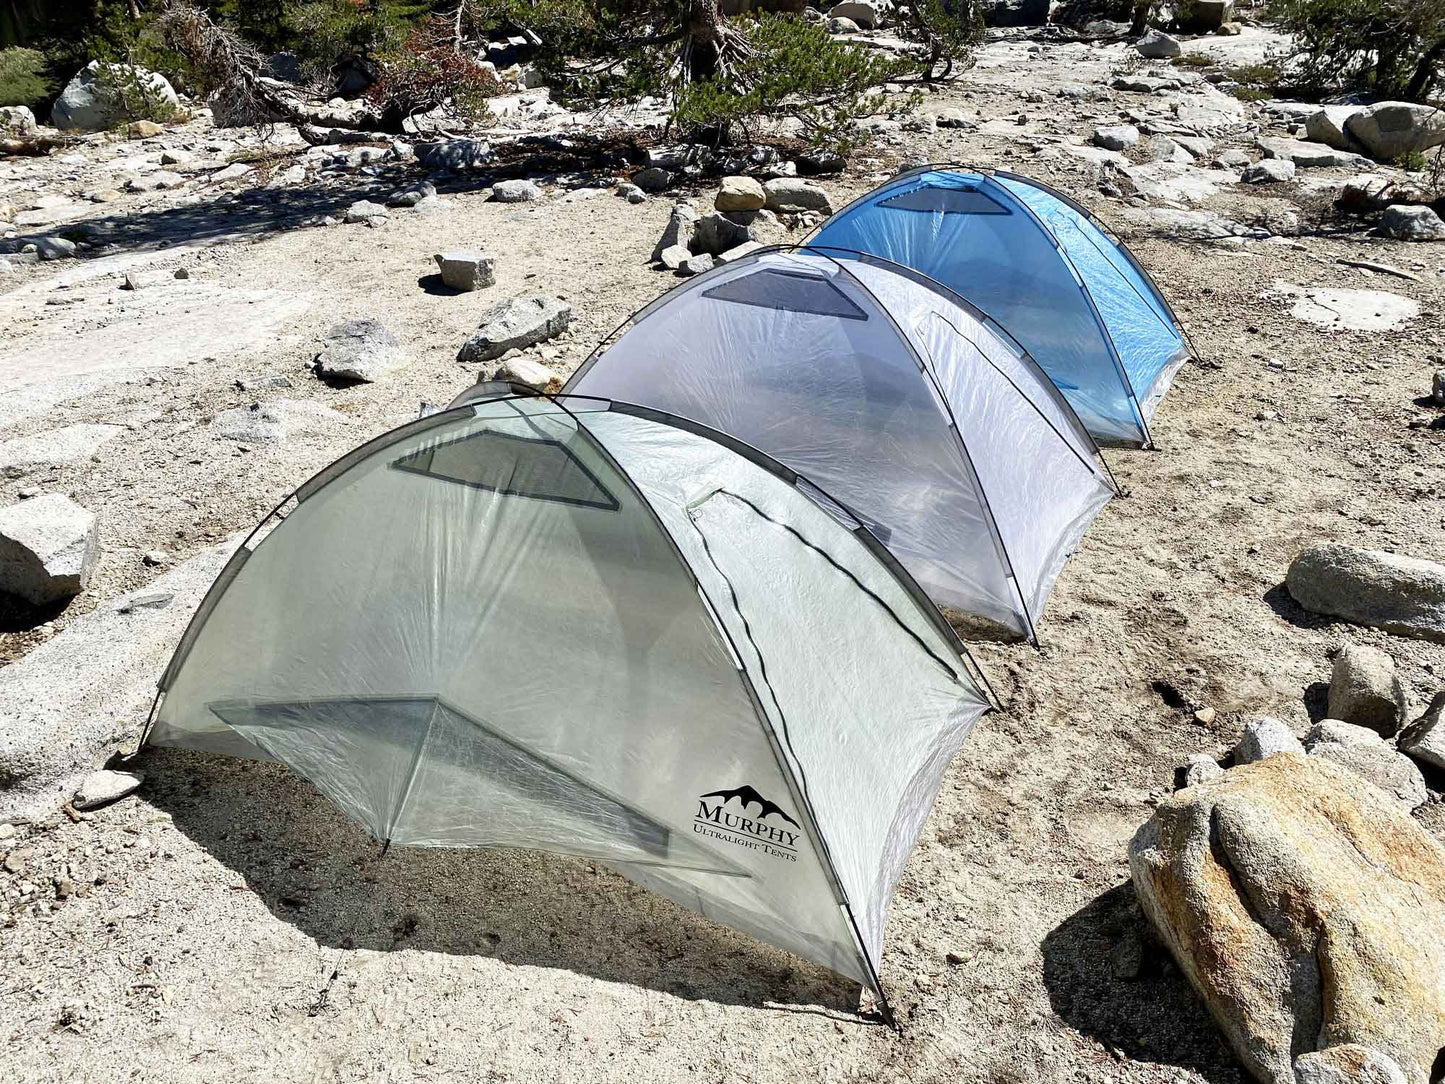
The walls of the Blue, White and Olive Green Carbon Dome Tents are made with .51oz/sq yard Dyneema® Composite Fabric (DCF - formerly Cuben Fiber). Spruce Green tents are made with .8oz/sq yard Dyneema® Composite Fabric.
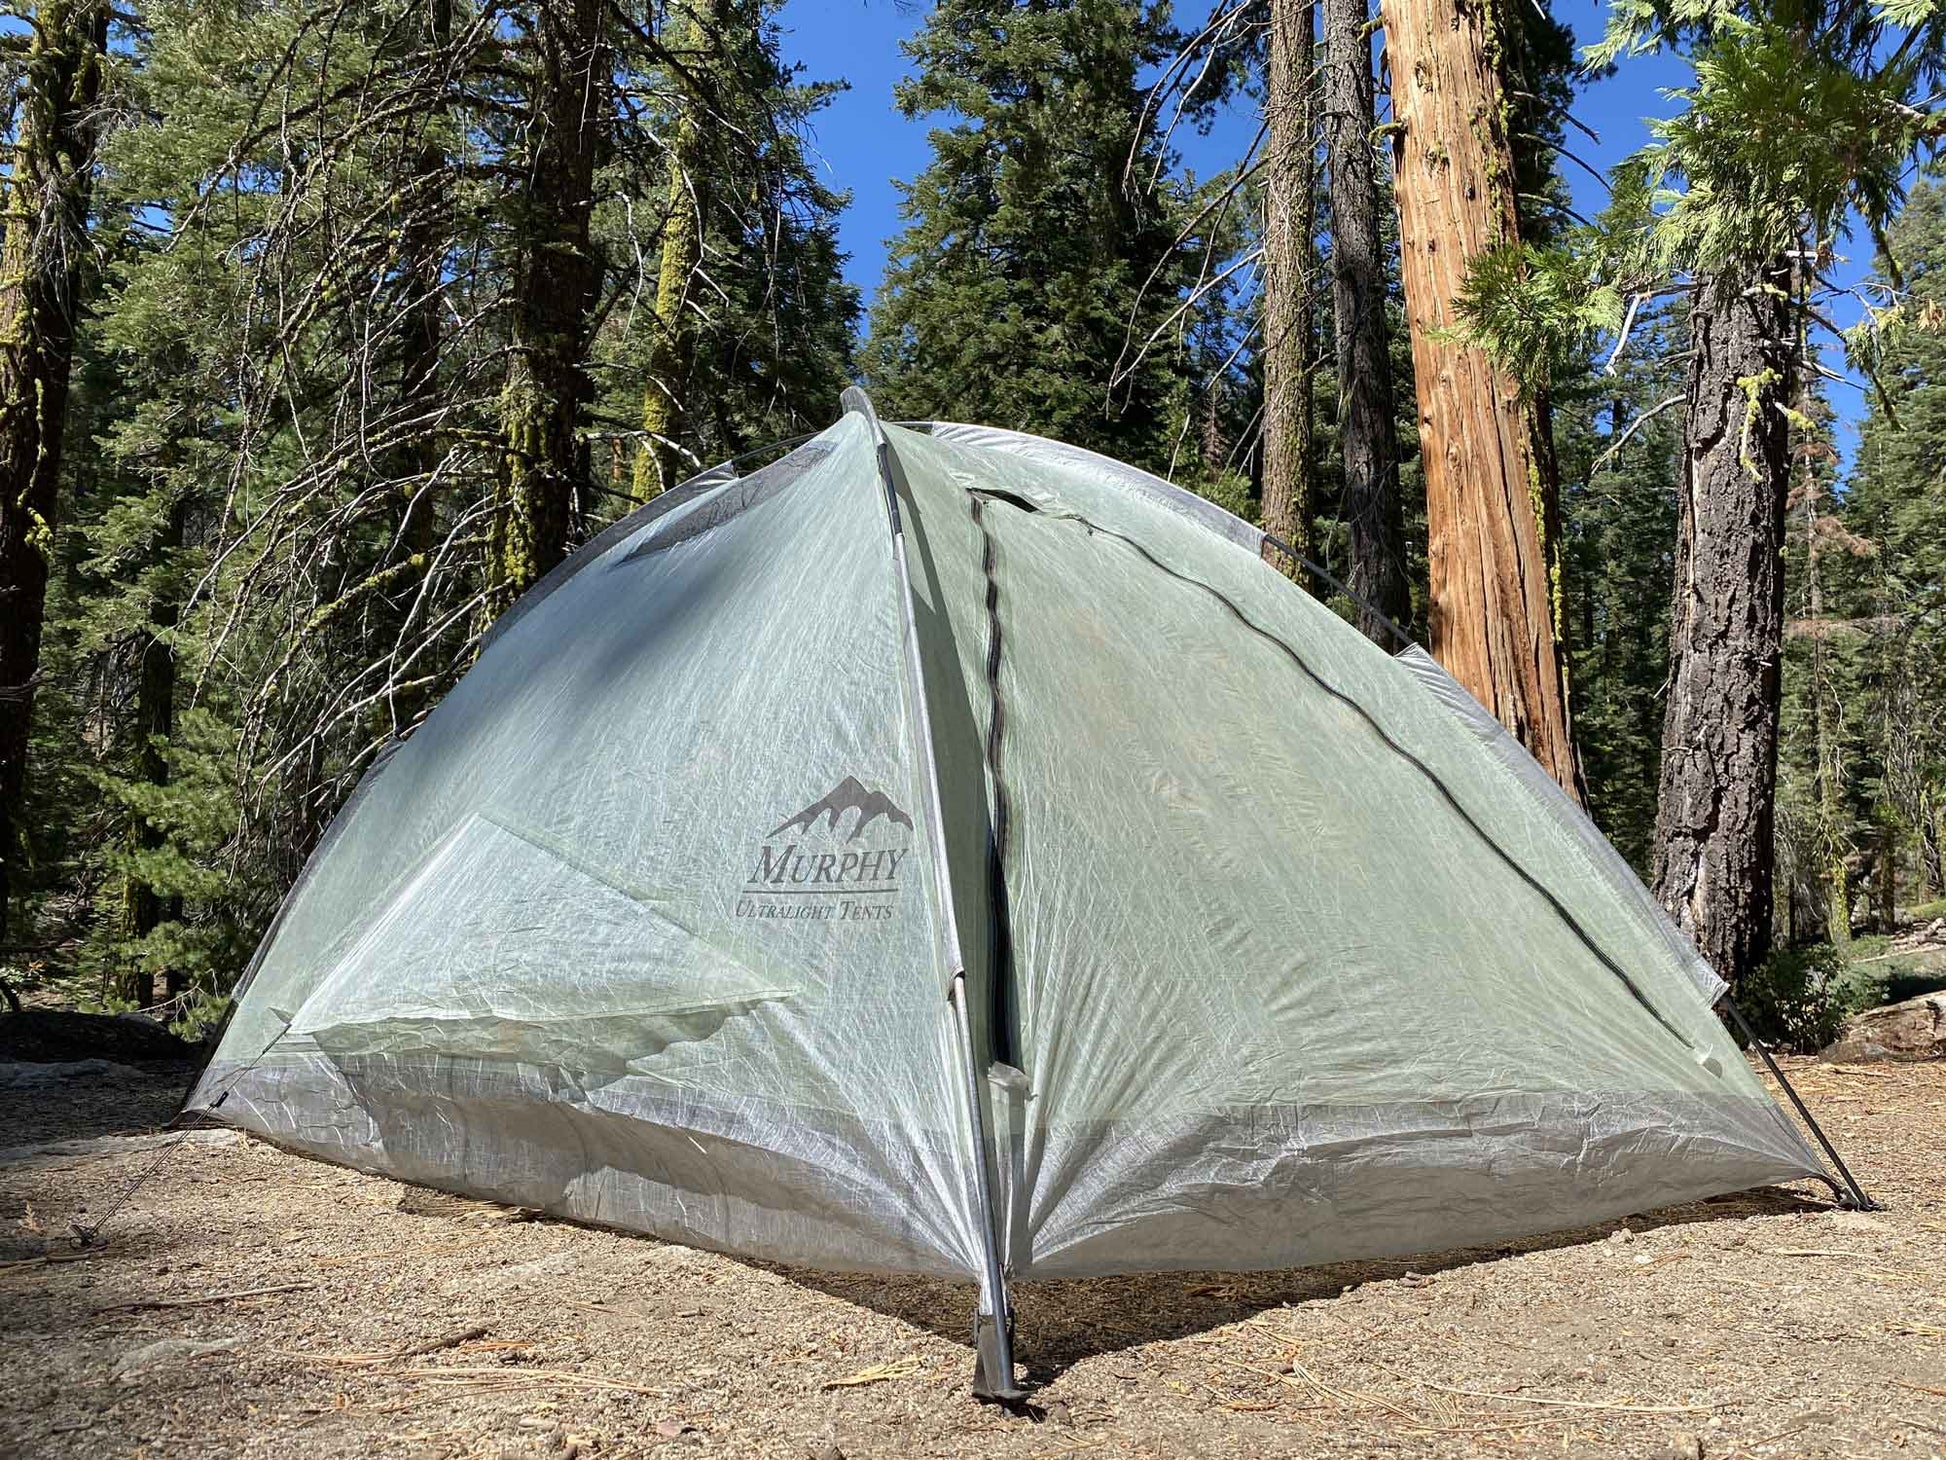
Waterproof Zippered Door
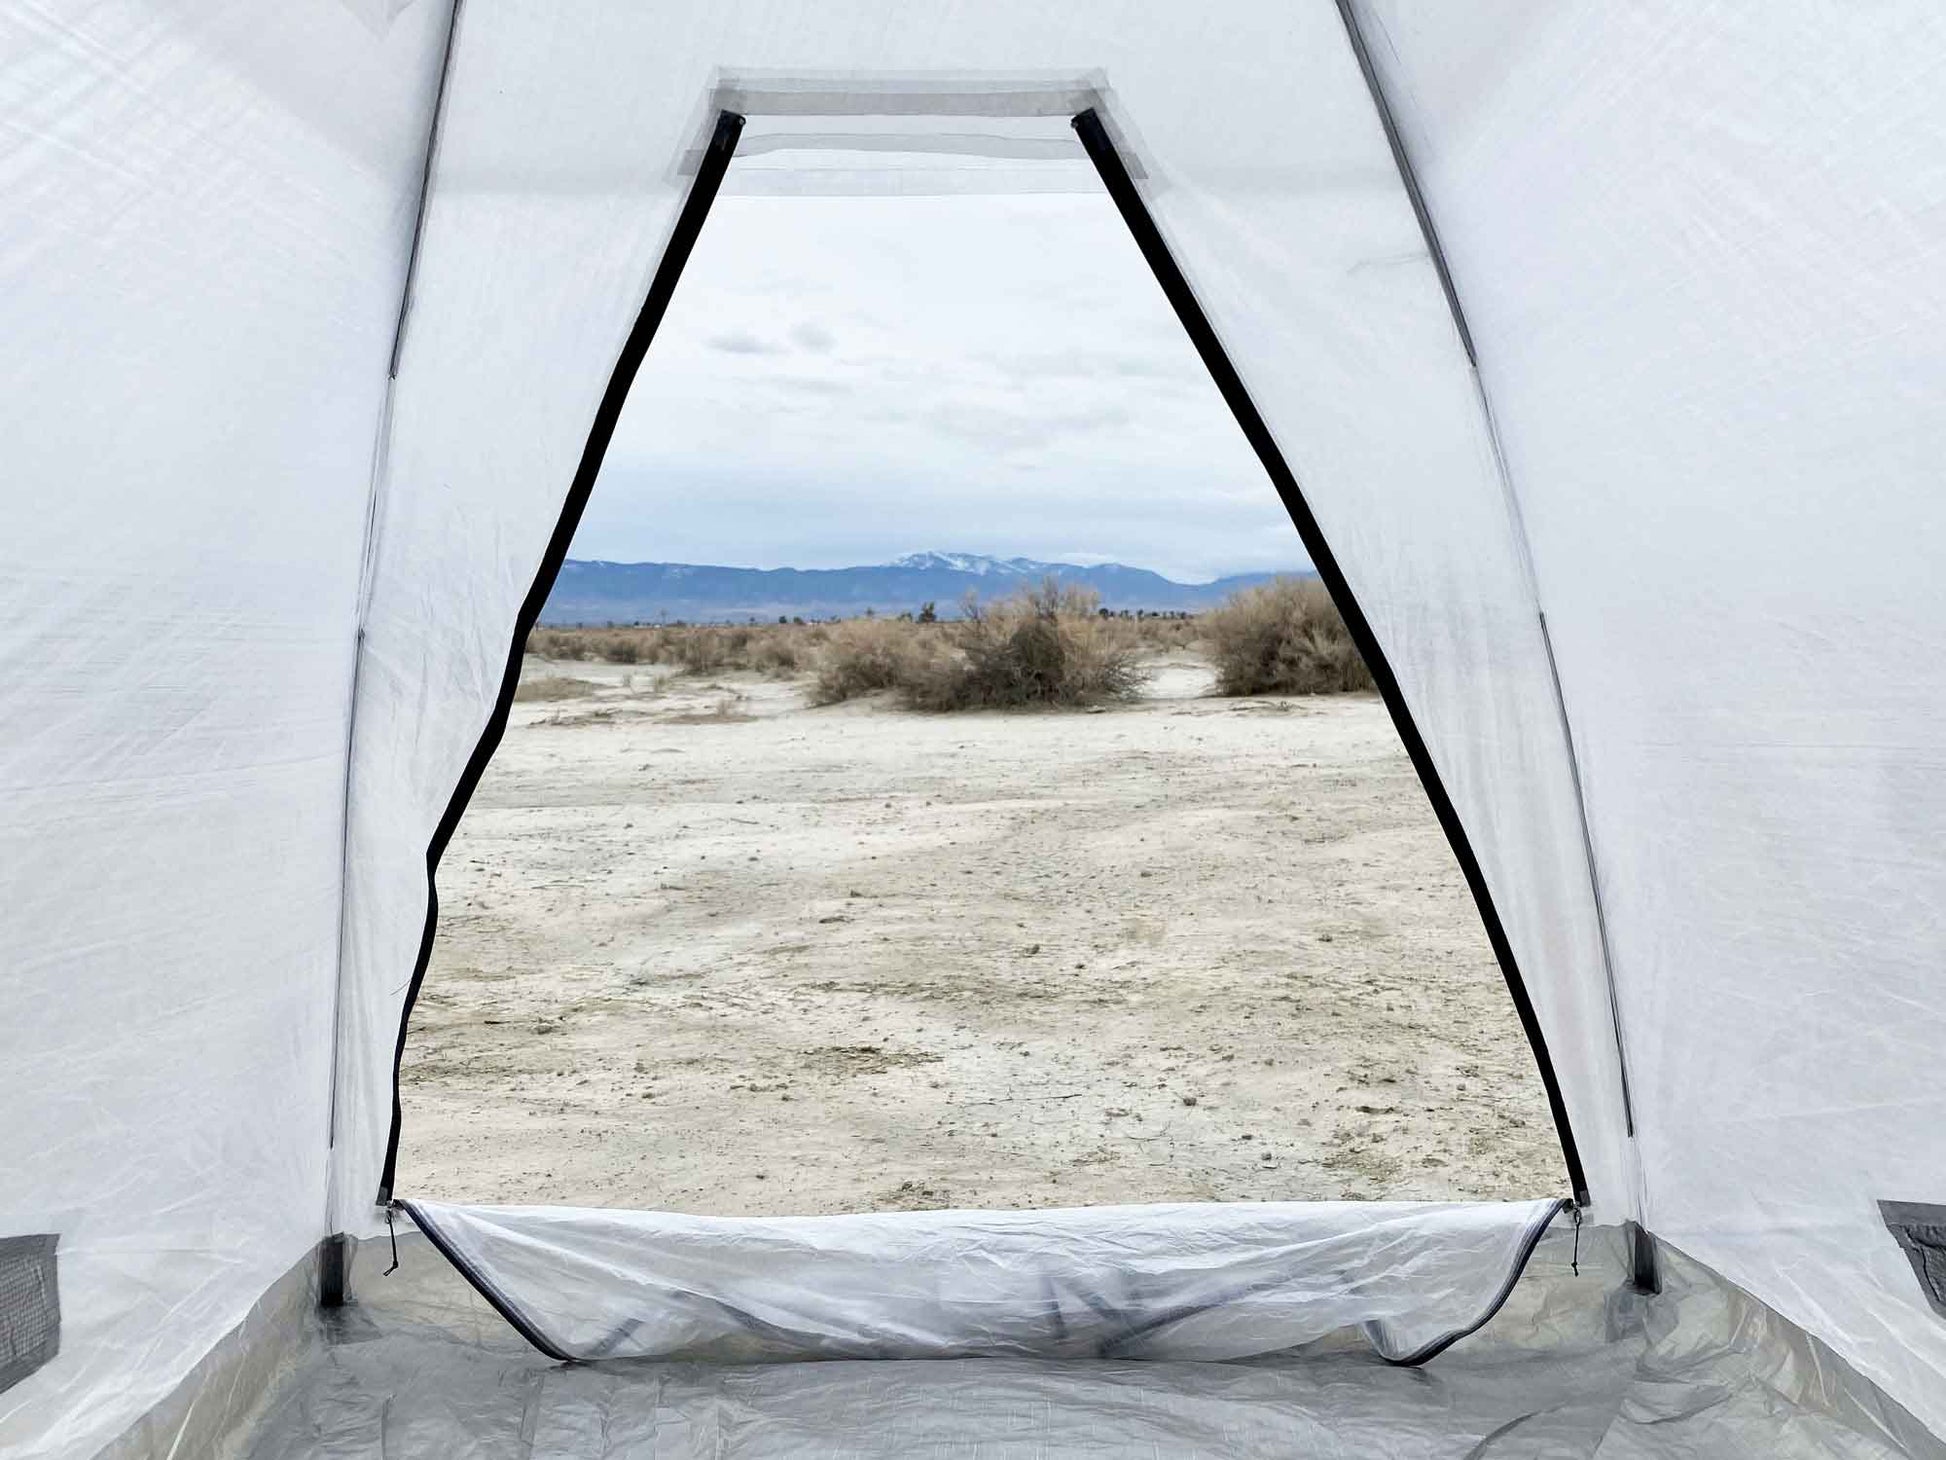
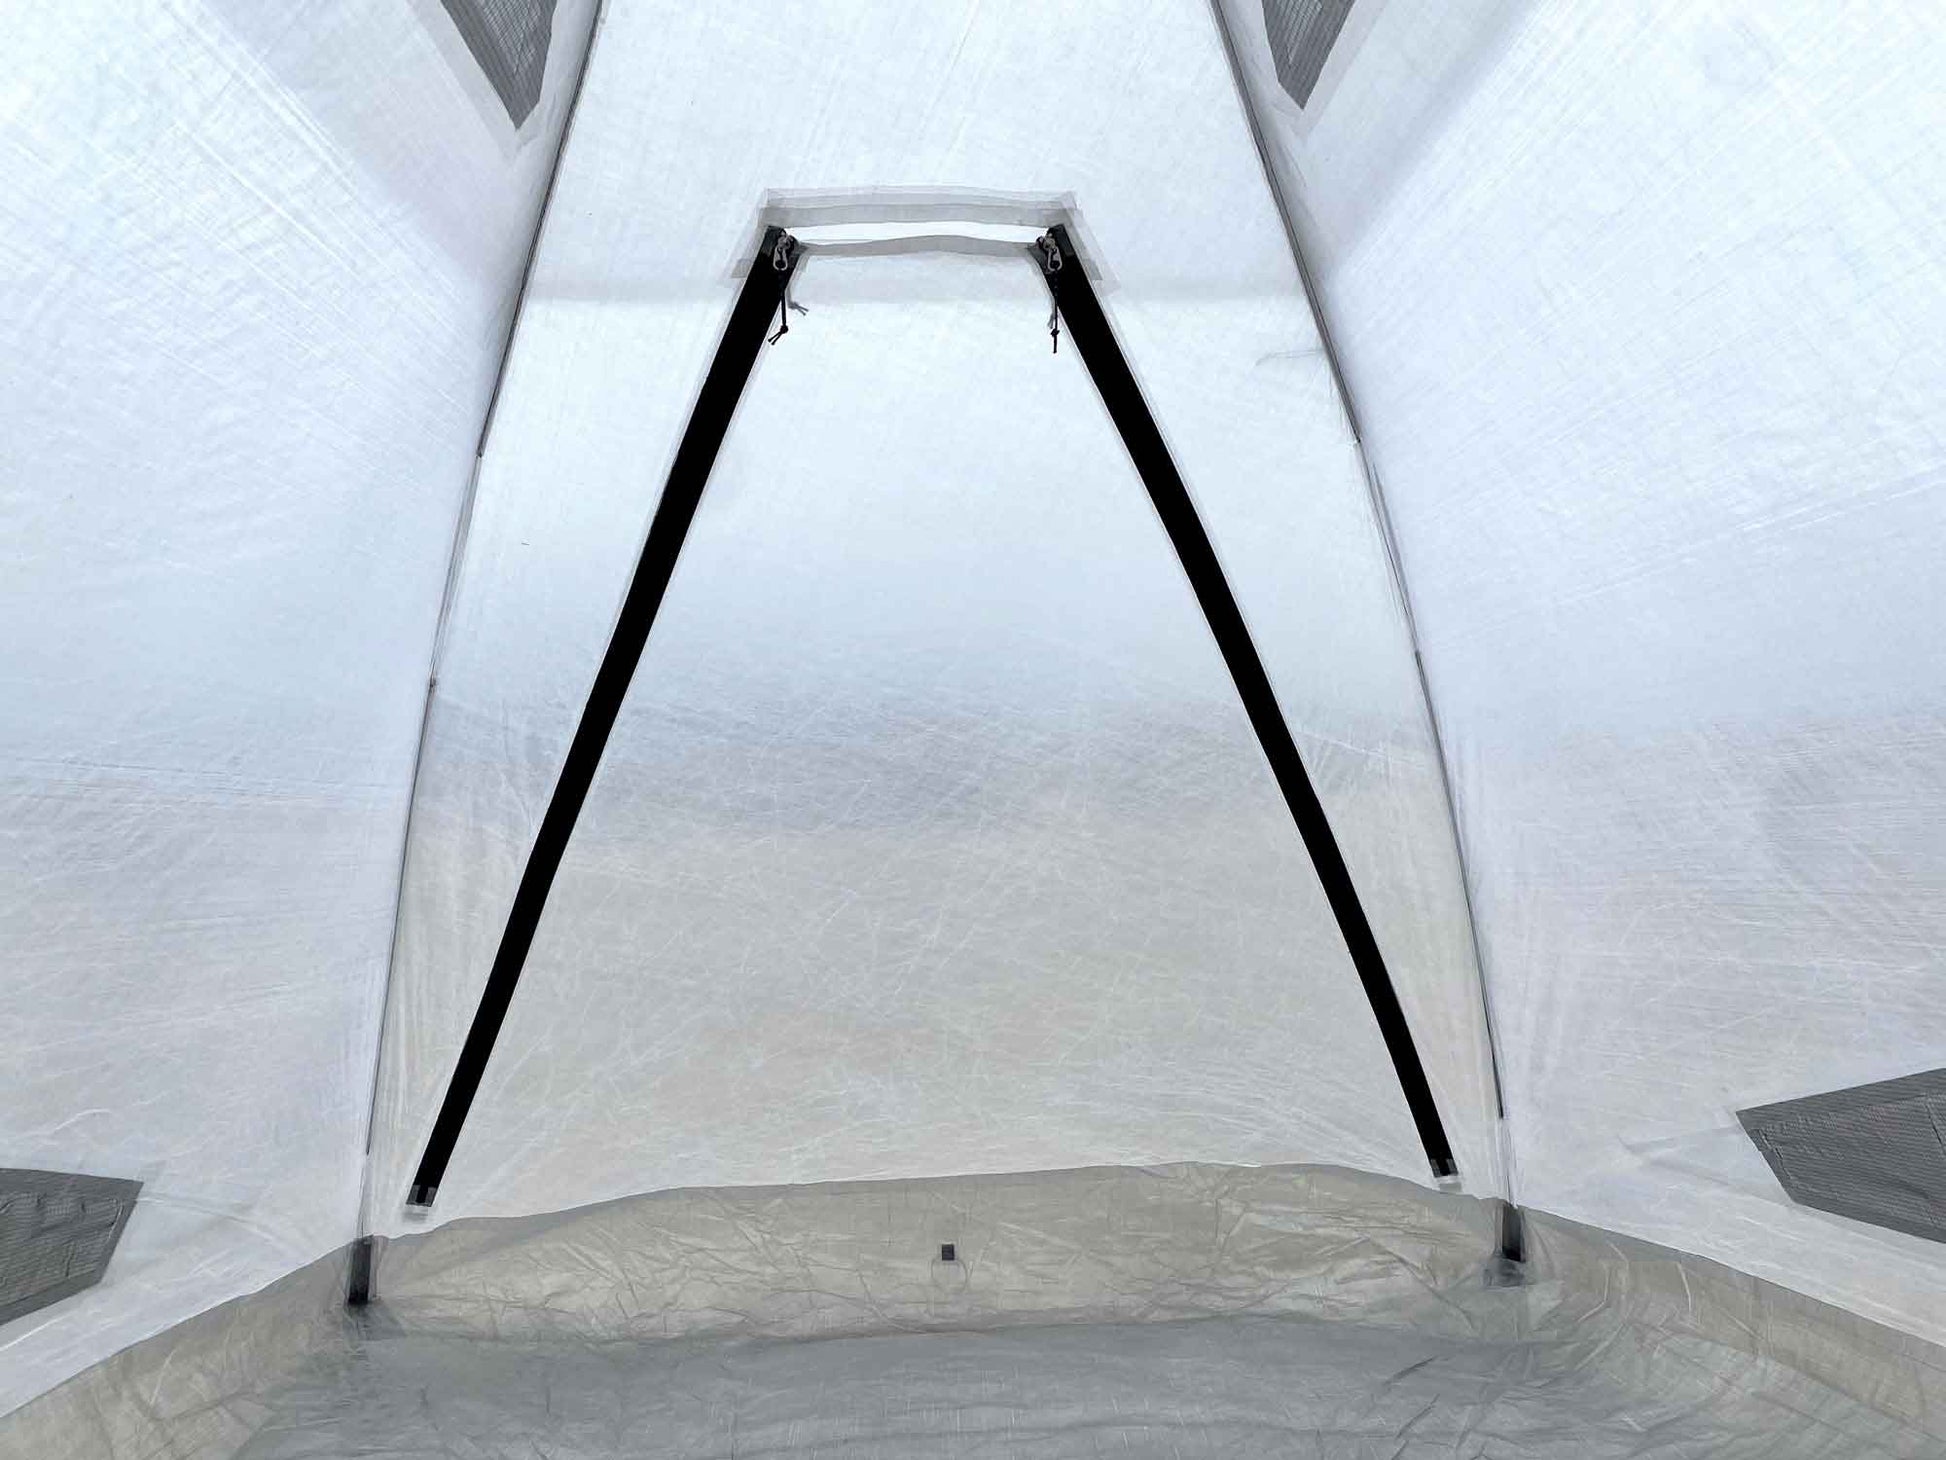
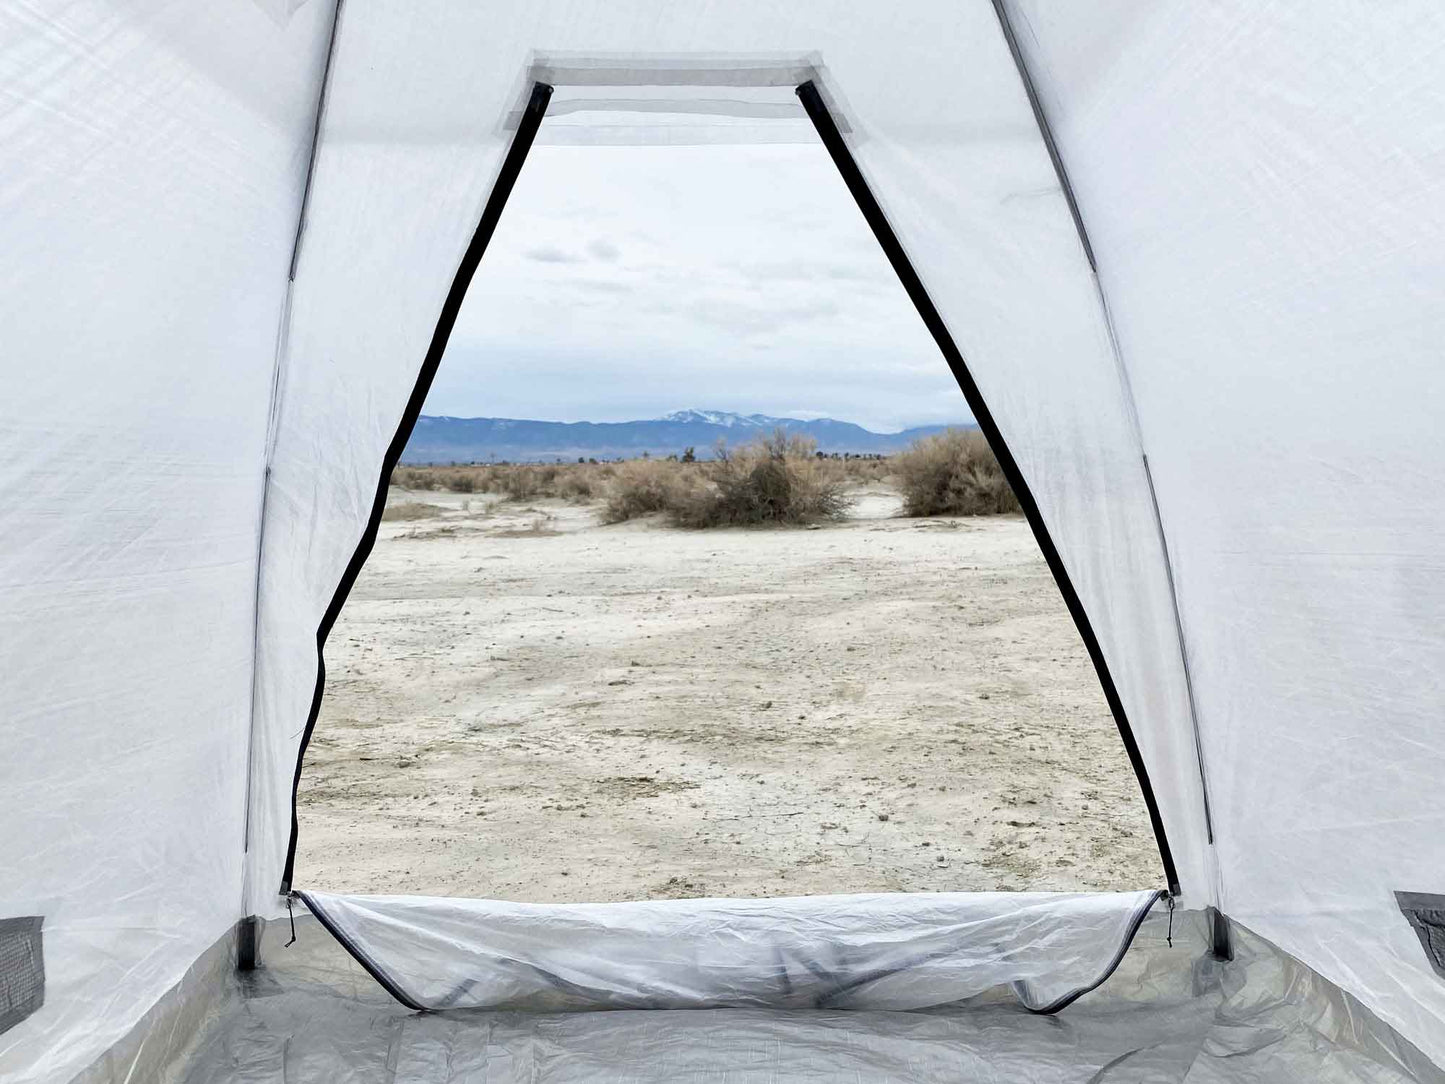
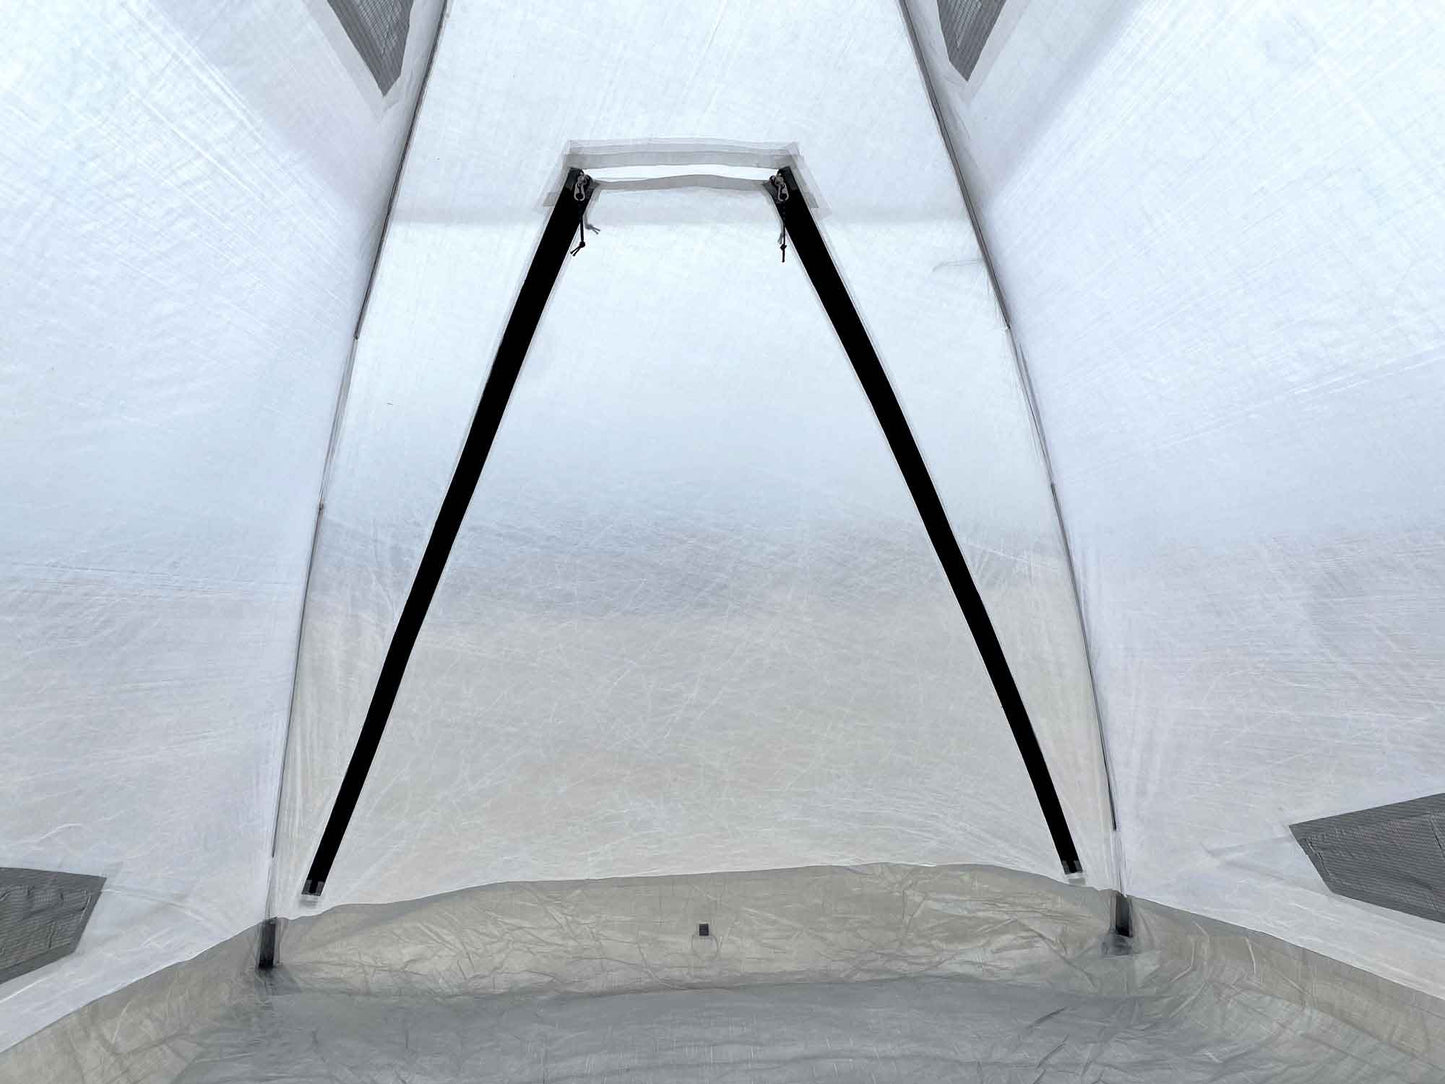
One large door allows for easy entry with 2 waterproof zippers for protection in bad weather. Each zipper also has a reflective pull cord for easy use at night.
Easy Setup!
Don't waste time messing around with a bunch of stakes and guy lines. Simply slide the poles through the pole sleeves and place two stakes (one on either side of the tent on the ventilation flaps) to hold the tent in place. Each tent can be setup in about 2 minutes.
Ventilation
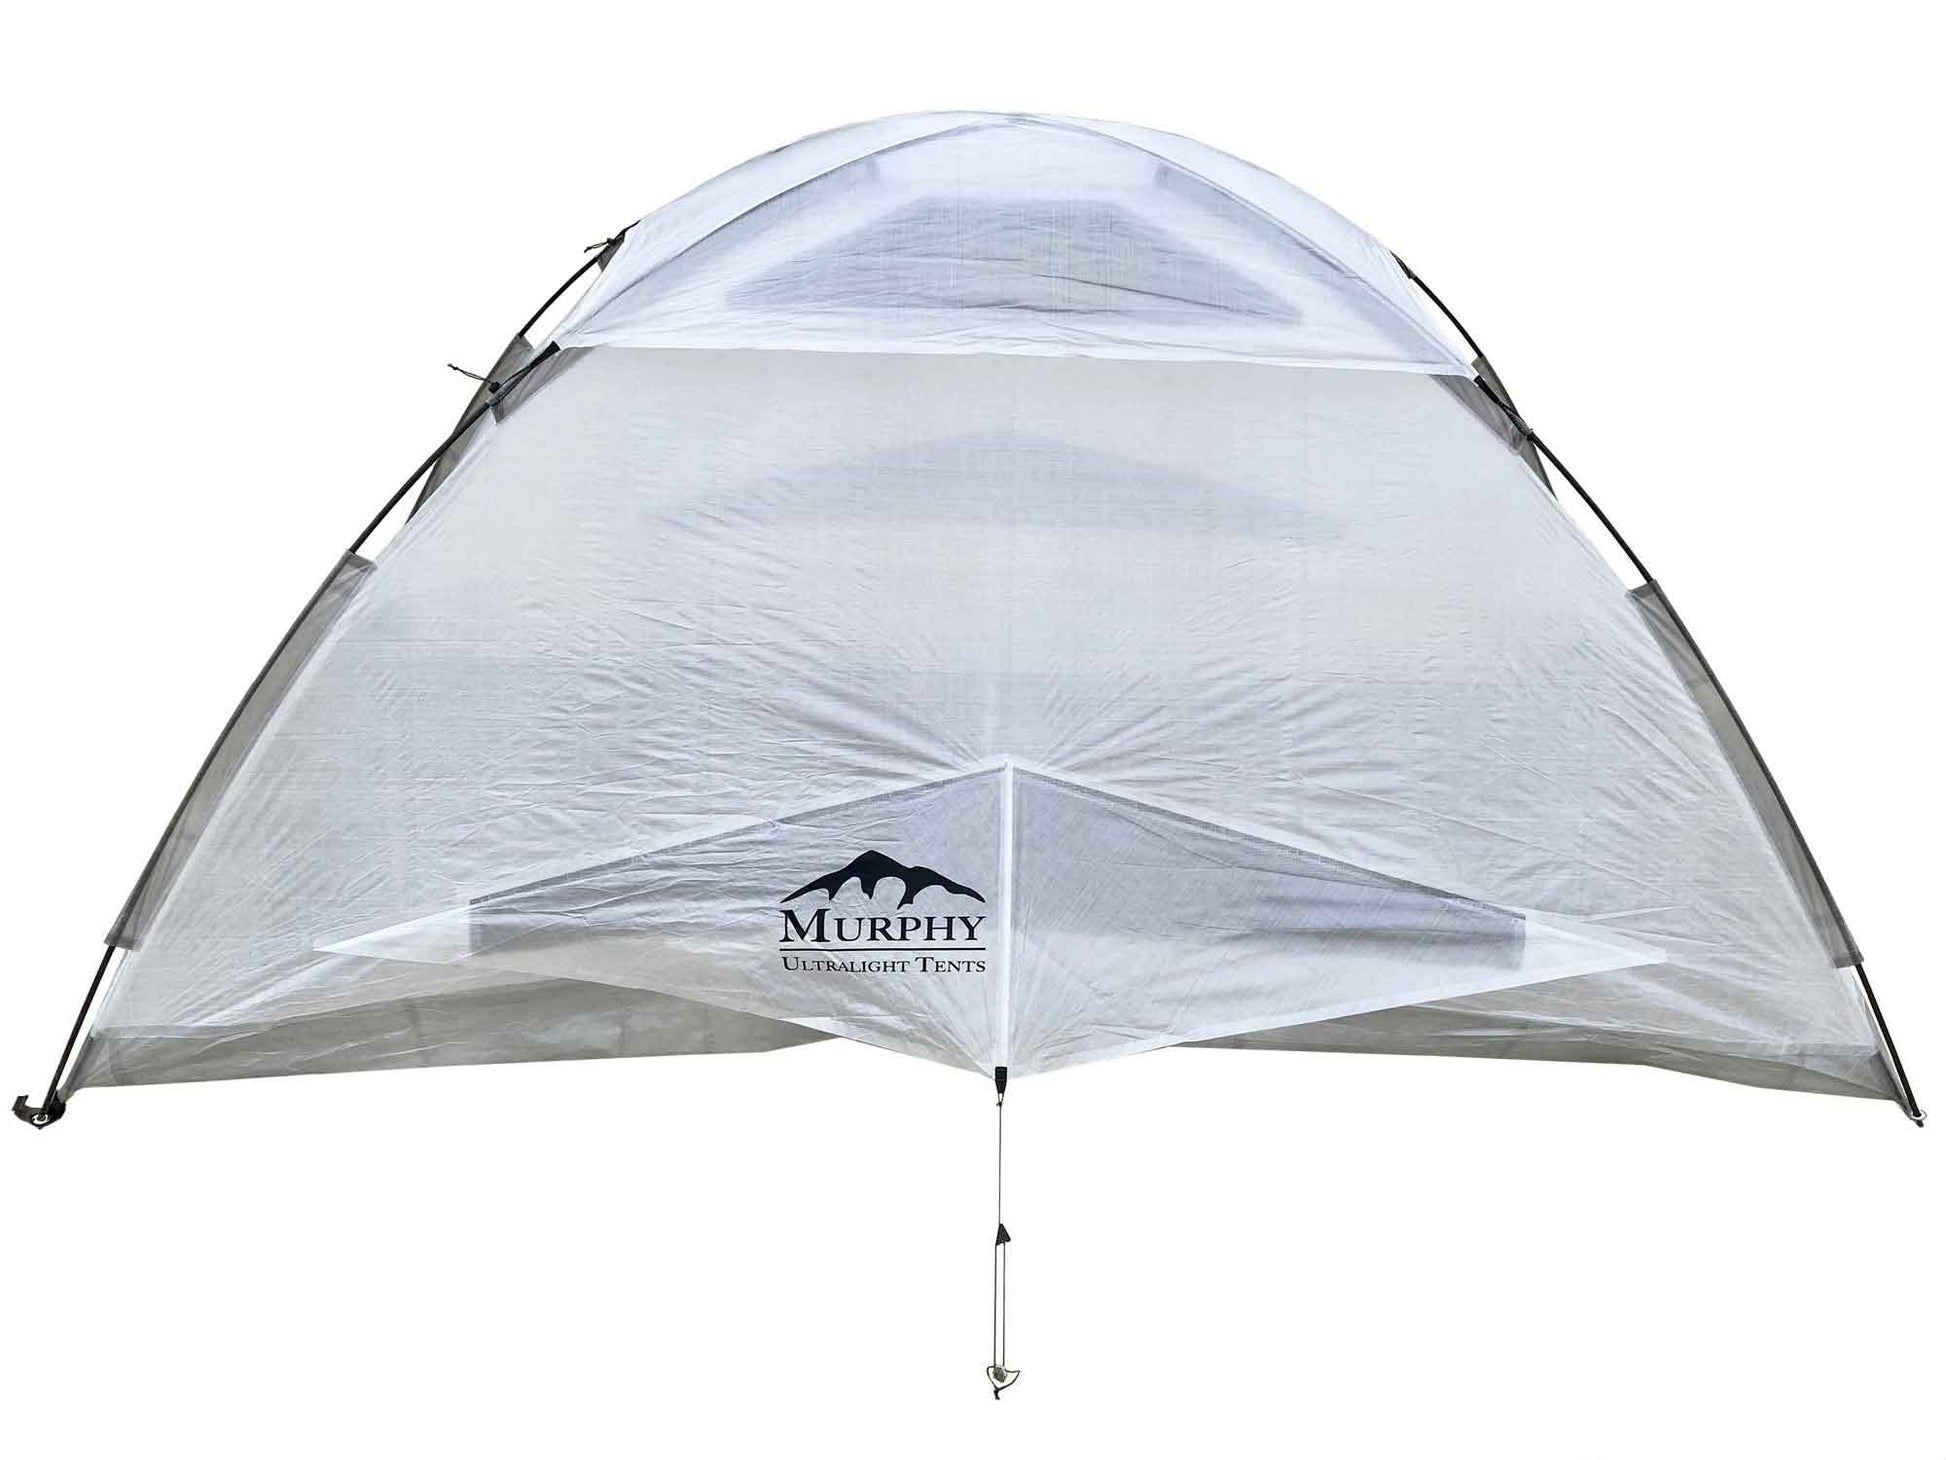
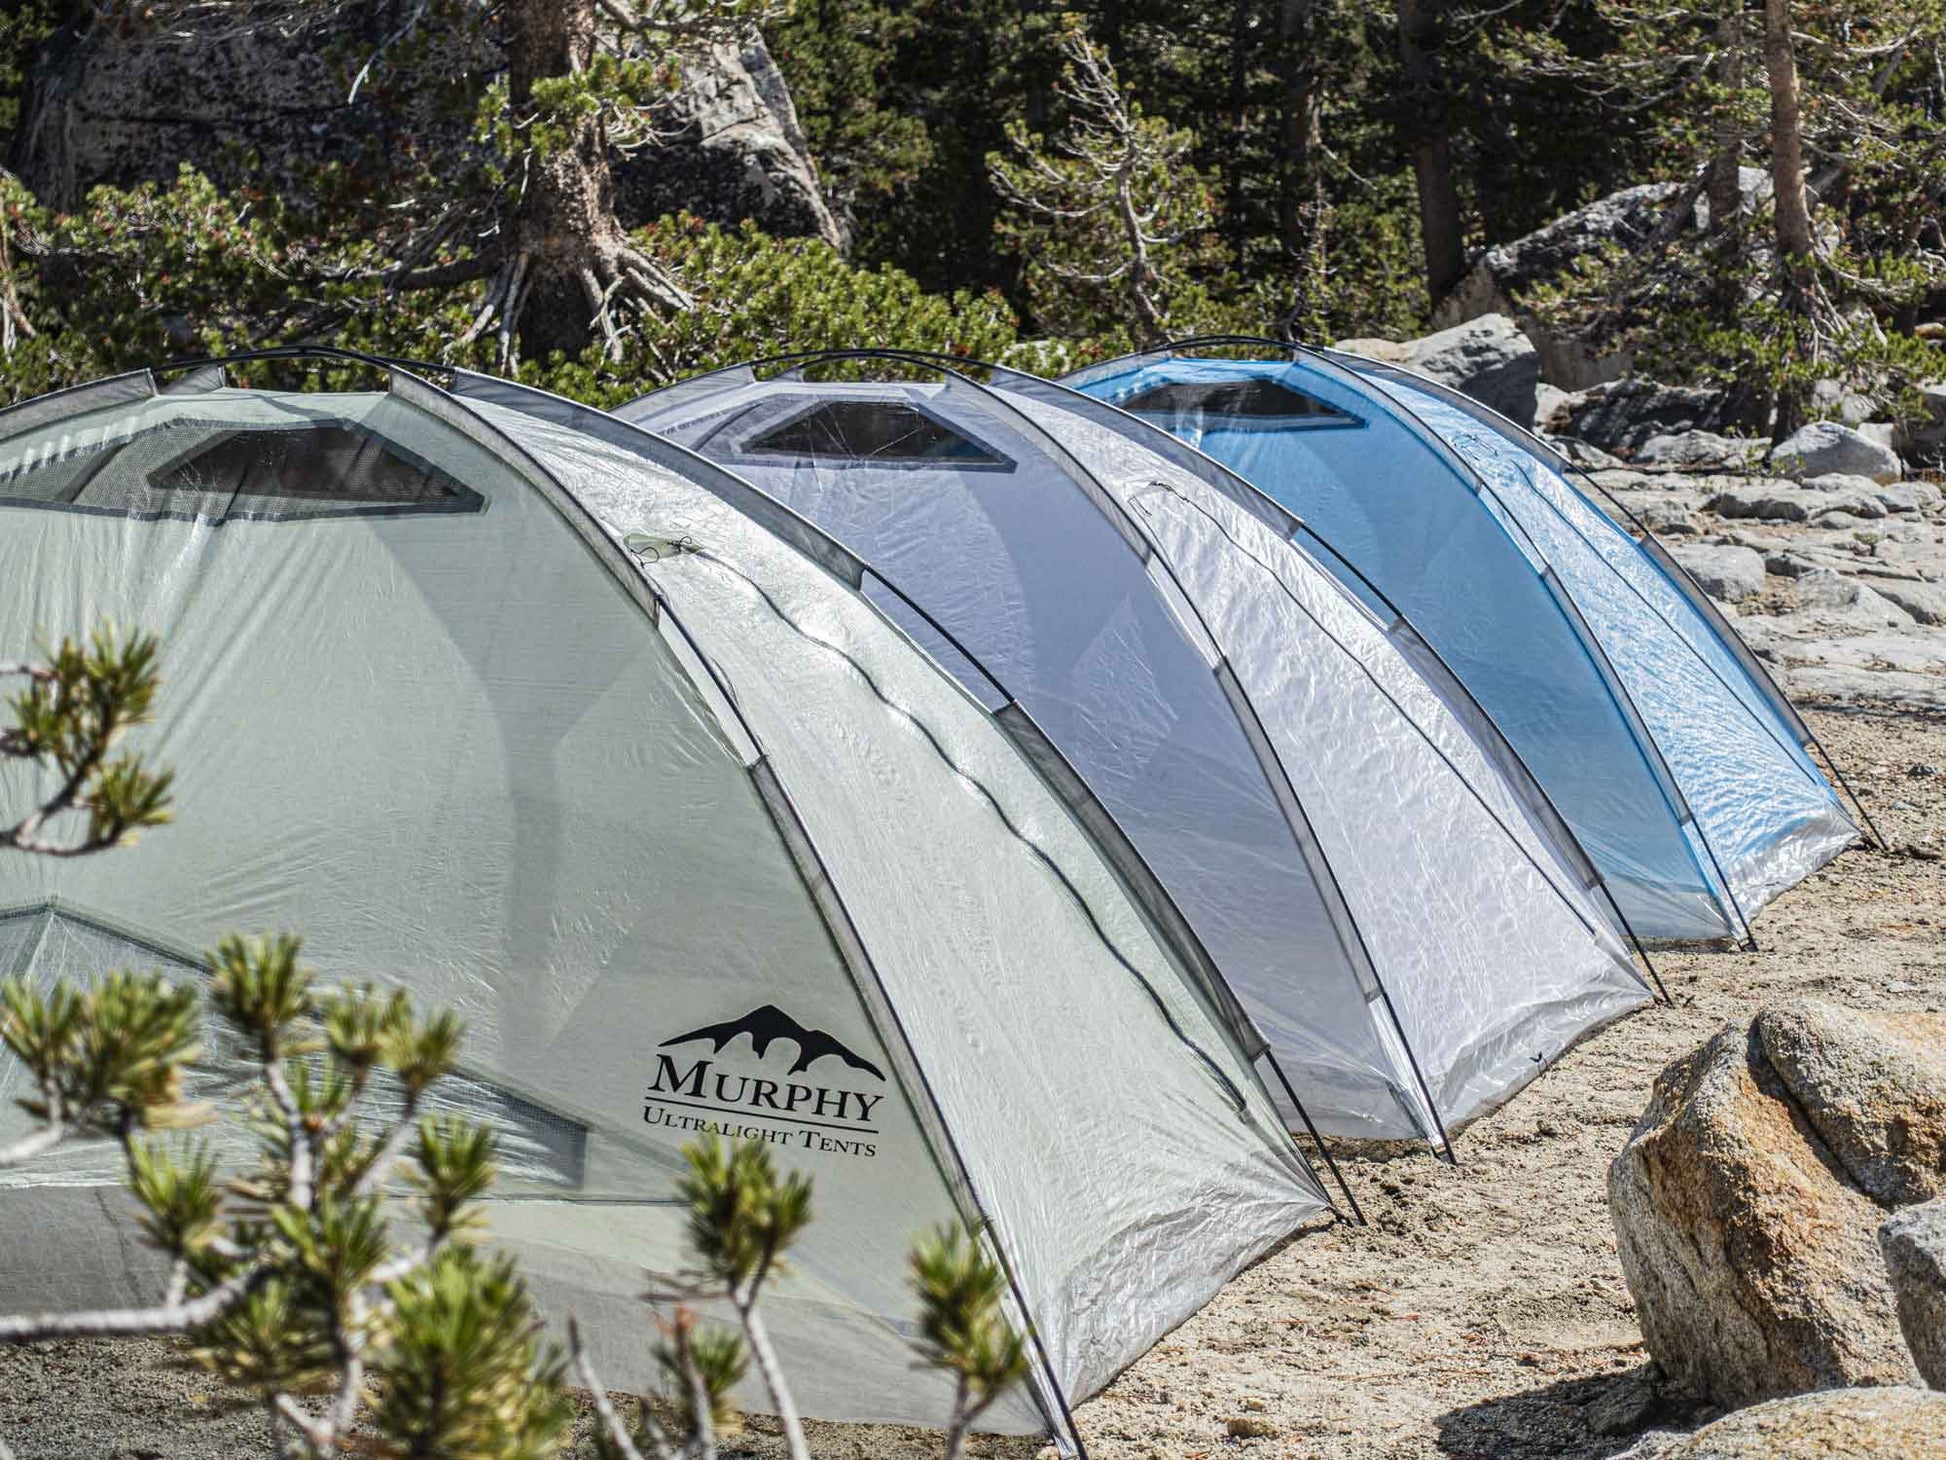
Mesh Vents are built-in to the side walls and top of each Carbon Dome Tent for ample airflow and to reduce condensation. Guy line cords for vent flaps are reflective for extra visibility at night.
Small Footprint
Since the Carbon Dome Tent doesn't have a bunch of guy lines or vestibules, you only NEED about a 7 1/2' x 4' area to pitch our tent. This can be critical when larger tent sites are unavailable.
Waterproof
The Dyneema® Composite Fabric we use with our tents is waterproof and doesn't stretch like other nylon-based materials. Our tents are taped on critical seams and sealed on other seams, providing you with a rain-resistant shelter.
Bathtub Floor
Our bathtub floor is made with 1.0oz/sq yard Dyneema® Composite Fabric that is very durable. The bathtub floor and sealed seams provide protection from water up to about 8 inches up from the ground (although the waterproof zippered door can extend below this).
Wind Resistance
Due to the cross-pole dome shape of the Carbon Dome Tent, the arched Carbon Fiber pole structure holds up well in the wind. The tent comes with 4 aluminum stakes that hold well in the ground for an extremely taught pitch.
Construction and Design
Dome Structure
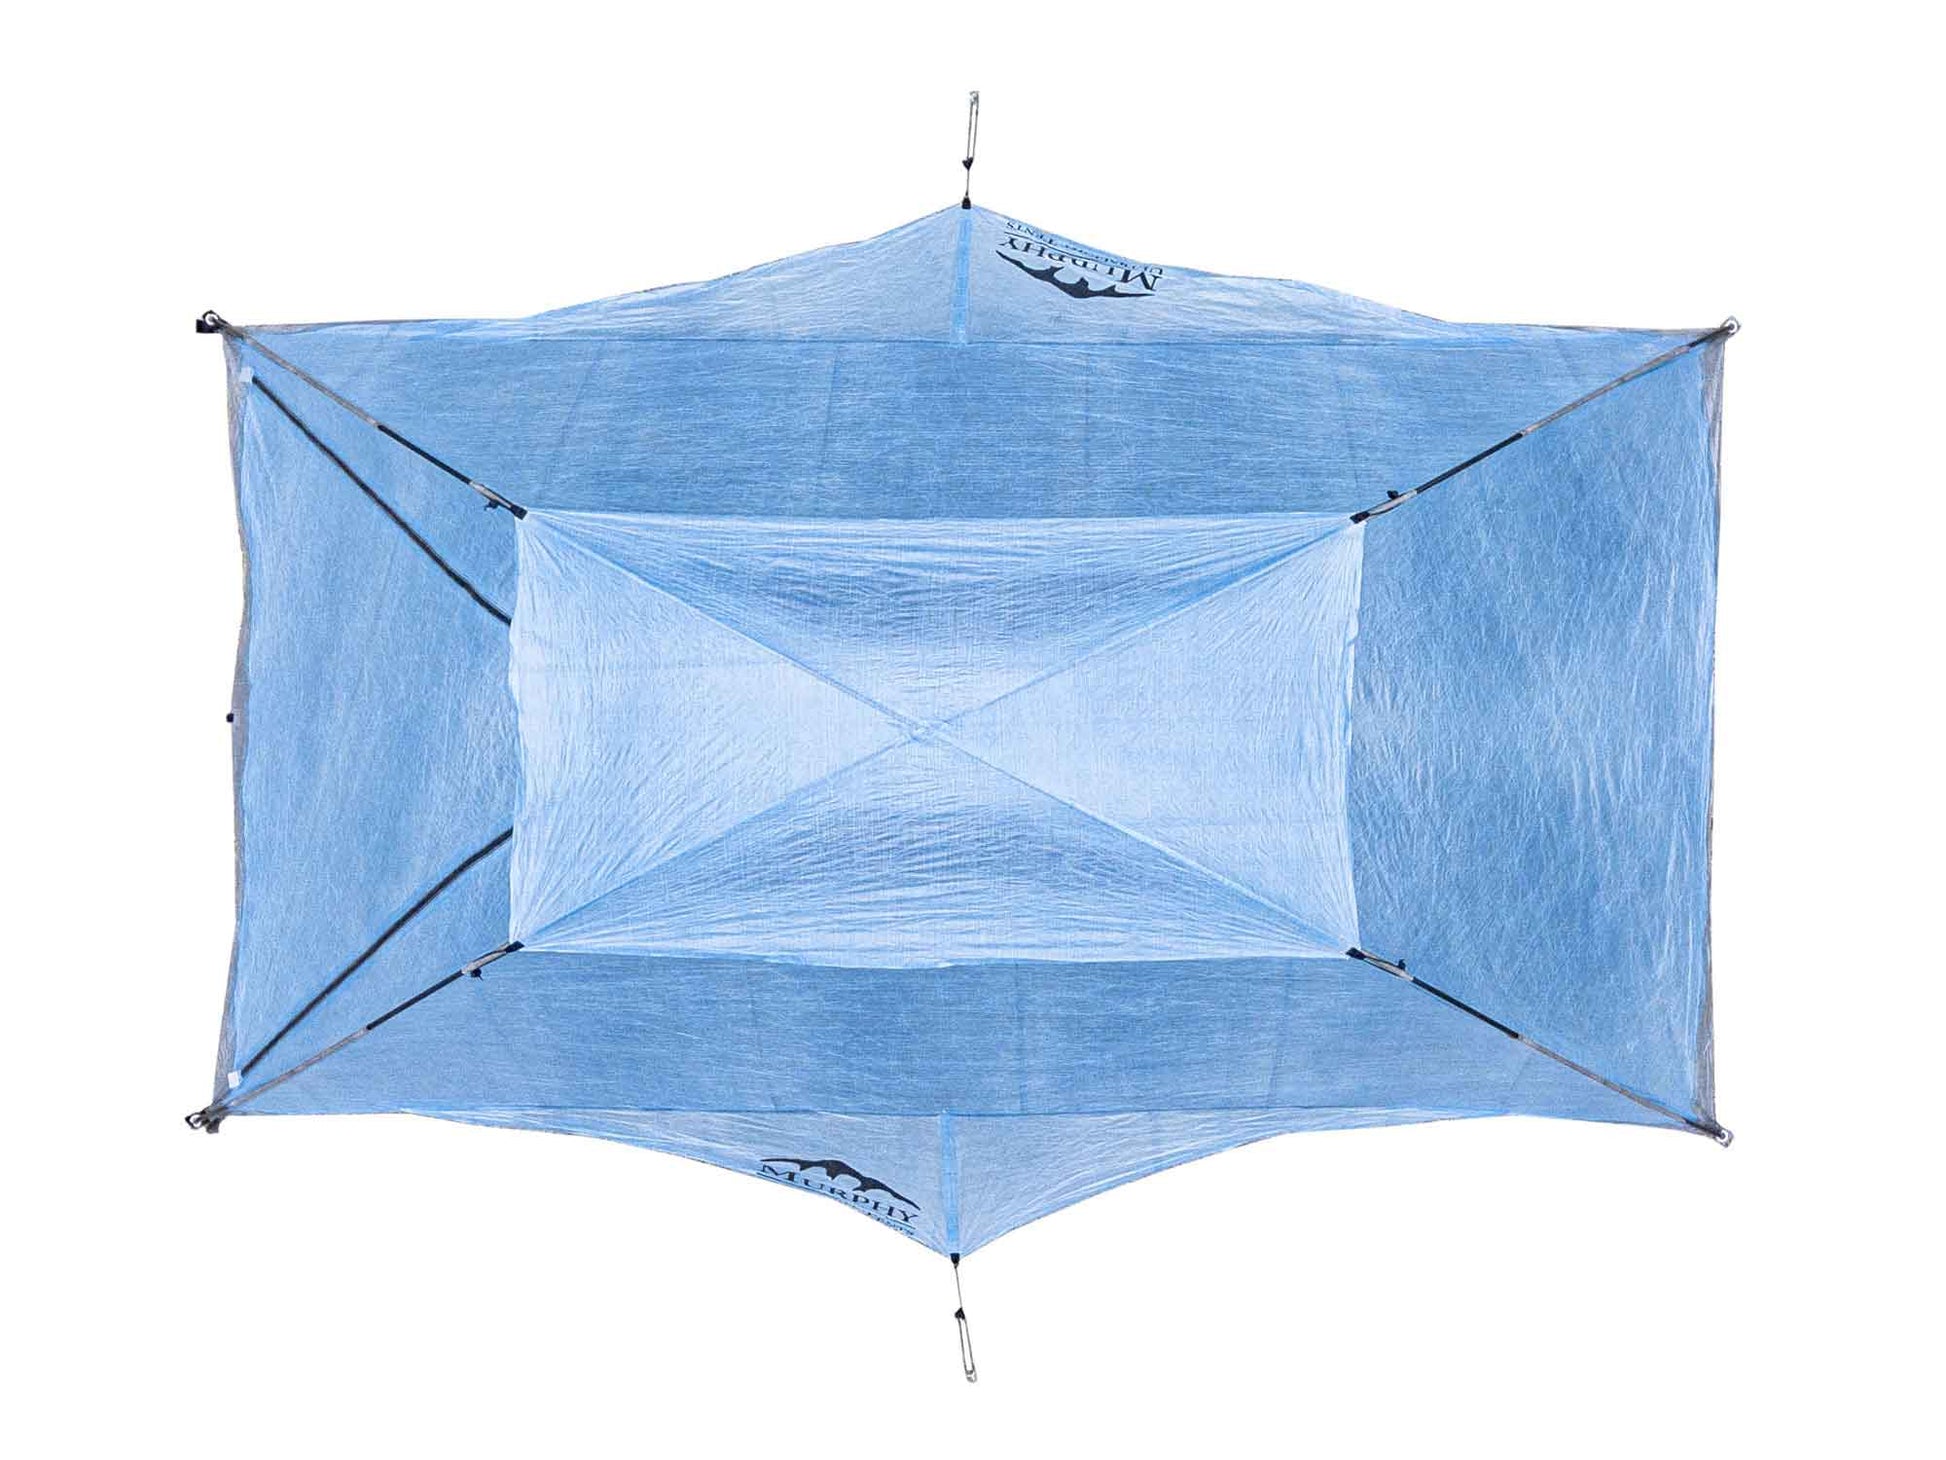
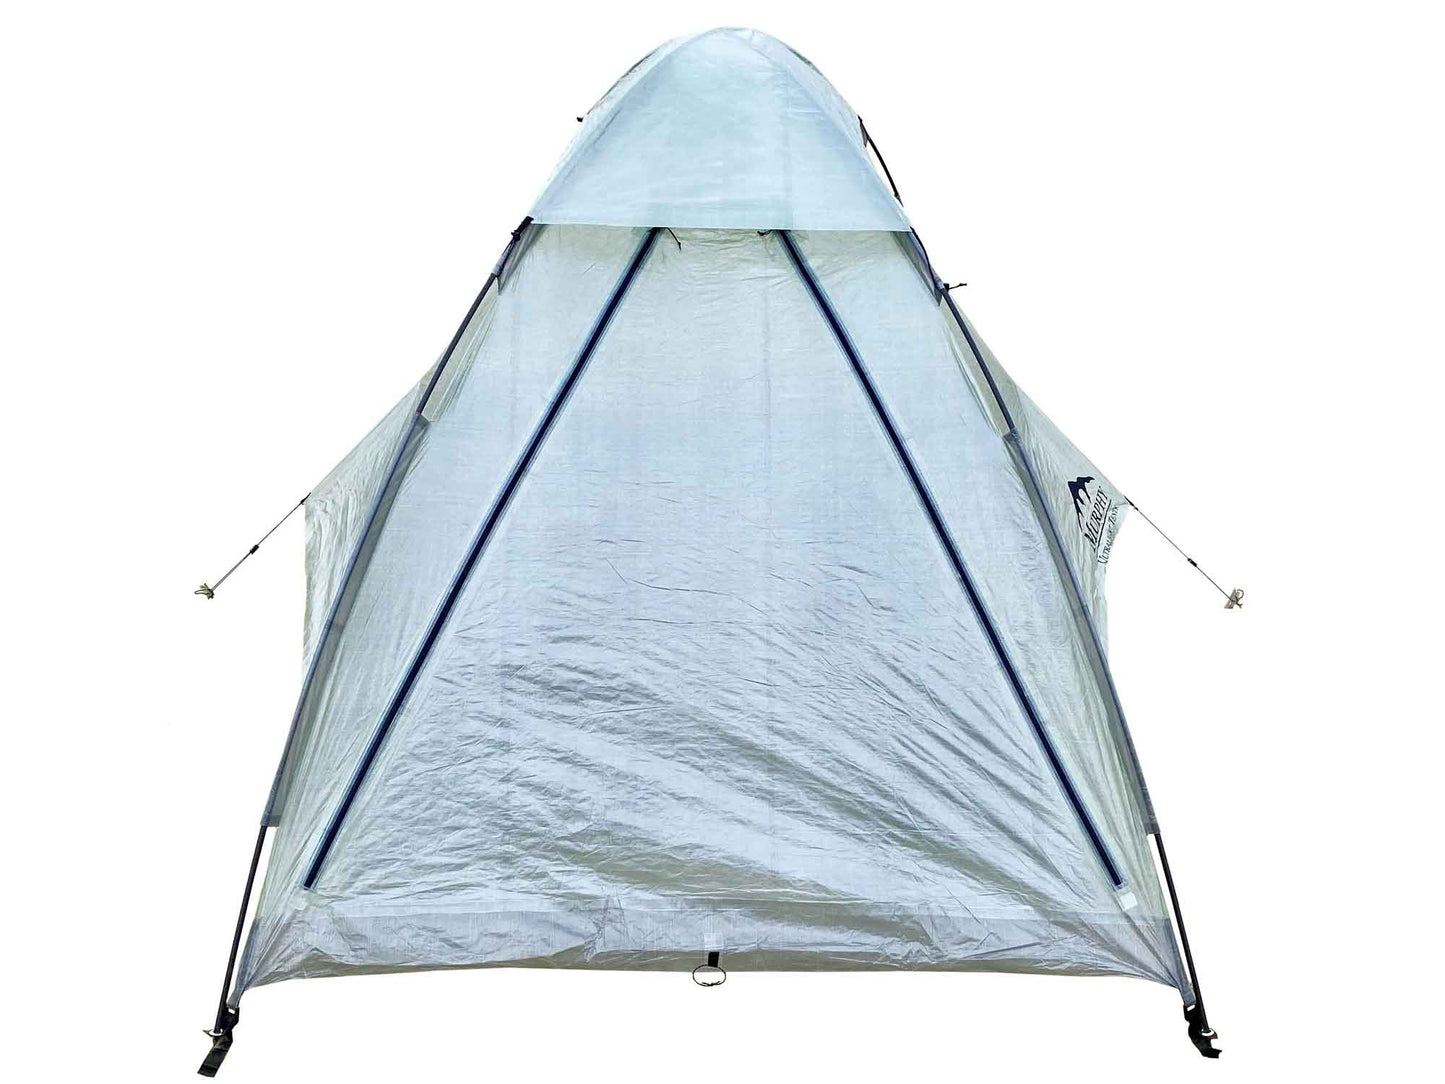
There are all kinds of tent designs out there, but nothing beats the simple dome tent. We took a time-tested design and added our own features, to make it the lightest truly freestanding tent on the trail. The cross-pole dome utilizes the typical arch shape, which provides plenty of strength.
Large Door
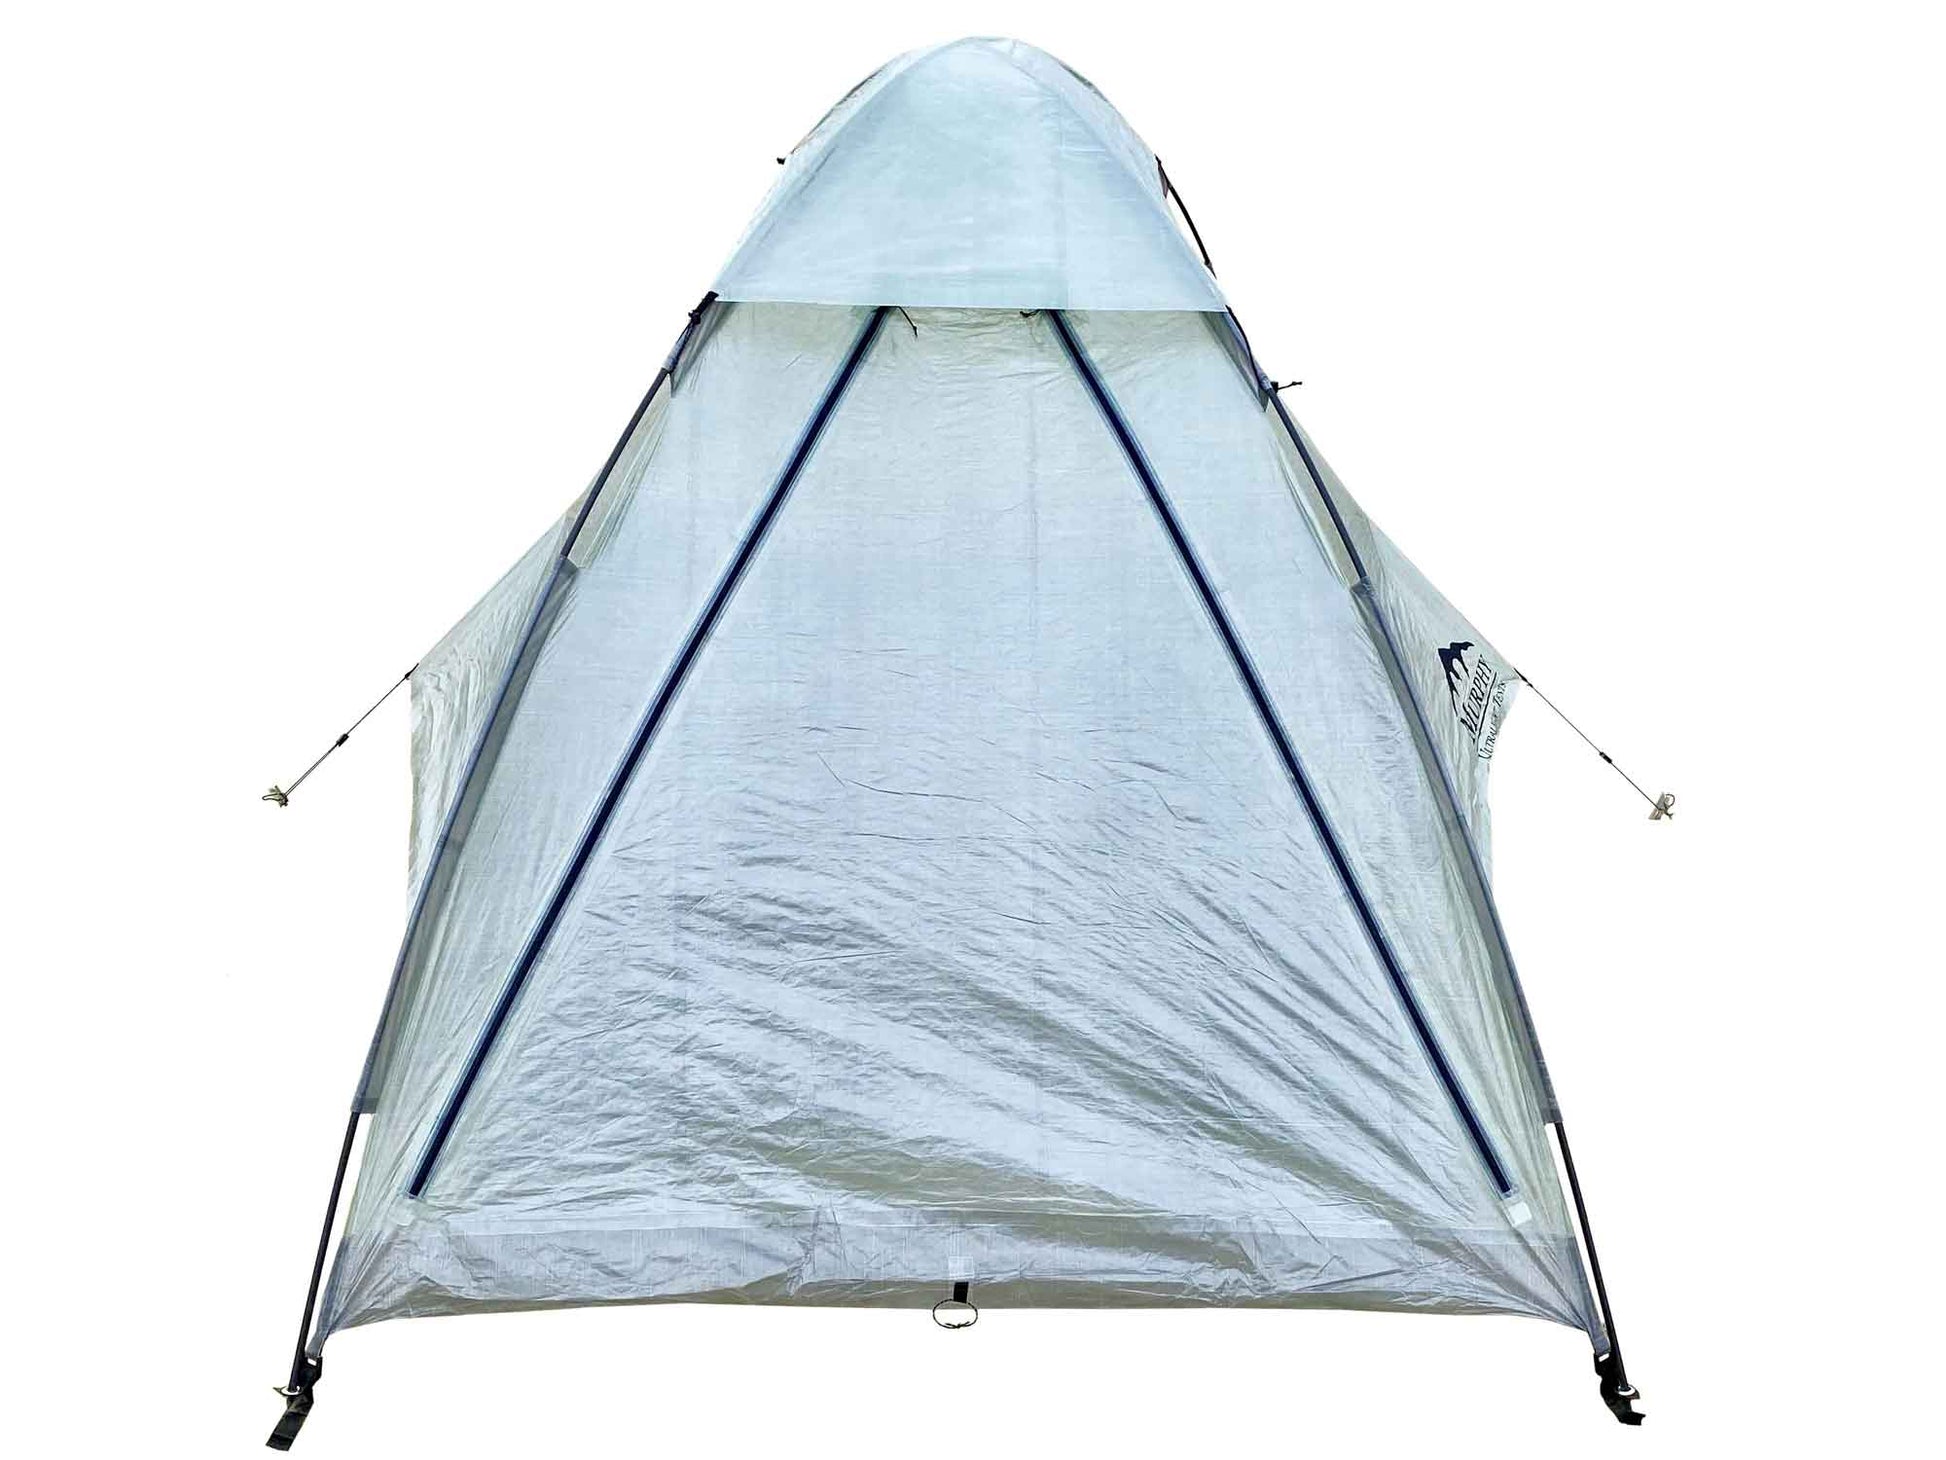
Each tent is built with one large door for easy entry and exit. The door zips open from the top, allowing extra ventilation when needed. When the door is fully open, you can stand up, with your feet still inside of the tent. This makes getting dressed or getting in and out of the tent very easy. The door is also made with waterproof zippers with taped seams to keep you dry during a storm.
Bonded Construction
Many of our seams are bonded with an adhesive, instead of sewn. This actually makes for a stronger bond than sewing, and more waterproof, as well. Our seams that are sewn, are also reinforced with DCF Repair Tape, making them waterproof and stronger, even in adverse conditions.
Setup Instructions
- Remove the tent from its bag. Unroll and unfold the tent. Be careful not to let the wind blow any parts away, like the small rain fly. Lay the tent out flat, with the top of the tent facing up.
- Remove the tent poles from the pole bag and assemble the poles, inserting the male end of each pole segment into the female end, as guided by the internal shock cord.
- Slide the assembled tent poles through the gray colored sleeves so that they cross in the middle of the tent. Each pole must pass through 4 sleeves. Insert the ends of each pole into the grommets you'll find on each of the 4 corners. If the material is too tight, loosen the webbing on the door end of the tent to allow the ends of the poles to reach the front grommets.
- Once the tent has taken shape, carefully tighten the webbing straps on the door end of the tent until you achieve a nice taught pitch.


- Use the provided tent stakes to stake down the small guy lines that extend from the the ventilation flaps. It is important that the stakes are positioned at about a 30 or 45 degree angle to the ground, with the top of the stake pointing away from the tent. The guy lines and flaps should form roughly a 45 degree angle with the ground. Slide the small plastic tensioner up toward the tent until the pitch is nice and taught.
- To attach the rain fly to the top of the tent, lay the rain fly over the tent. Unfasten the cords at each corner of the fly, then loop them around the top pole sleeve on each corner, under the pole. There is a small piece of DCF tape reinforcing the edge of the pole sleeve; this is where you wrap the cord around it. Finally, loop the cord over the small plastic cord lock. Once all 4 cords are looped around their respective cord locks, cinch the cords by pinching the cord lock buttons and pulling the cord to your desired tension.


- When taking your tent down, do each of the above steps in reverse. Once flat, fold the tent long-ways in thirds, then roll the poles, stakes and rain fly in with the tent. Leave one of the door zippers open and start rolling the tent from the back end (non-door end) so that air can escape through the door as you roll it, before sliding the rolled tent into the tent bag.
Care Instructions
Zipper Maintenance
Be sure to keep your zippers clean by keeping them out of the mud and dirt. We suggest rolling the door inward and letting it sit on the inside of the tent so that dust doesn't collect in the zipper teeth. We also recommend cleaning and lubricating the zipper with Zipper Cleaner/Lubricant whenever the zipper isn't as smooth. Don't force the zippers or they could break. If you're in the backcountry and need to maintenance your zippers, we recommend using warm soapy water, if it is available. Also, don't tug on your zipper pulls and weird angles. There are tabs at the bottom of each zipper, or simple pinch part of the material behind where you intend to pull from to reduce stress on the zippers.
Door Care
As mentioned above, when opening the door to your tent, roll it down and sit it on the inside of the tent. Whatever you do, don't lay it out in front of the tent. And for the love of God, don't stand or kneel on the door flap if you do set it outside. This could cause small punctures in the door flap, which would render it less waterproof. If you get punctures, repair them with small patches of DCF Repair Tape.
Keep the Tent Clean
When rolling up your tent on a backpacking trip, try to brush off as much dust as you can as you roll it. Over time, grains of sand or small rocks can slowly wear on the material or cause small punctures. If you get a puncture in the material, we recommend patching it with a small piece of DCF Repair Tape, which is included with each tent.
Don't Expose your Tent to Extreme Heat
Adhesives are used throughout the construction process of the tent, including the seam sealing tape. Although these adhesives hold well in cold conditions, they become less effective in extremely hot conditions. Try not to leave your tent in a hot car for an extended period of time.

